
Bridal Veil Falls and Lake Serene: A Complete Trail Guide
Usually, when we’re looking for a hike in the Pacific Northwest, we have in mind a hike in the mountains that takes you on a nice journey through the forest (the more ferns, the better) and brings you to either a waterfall, a crystal clear alpine lake, or an outcropping with a sweeping view.
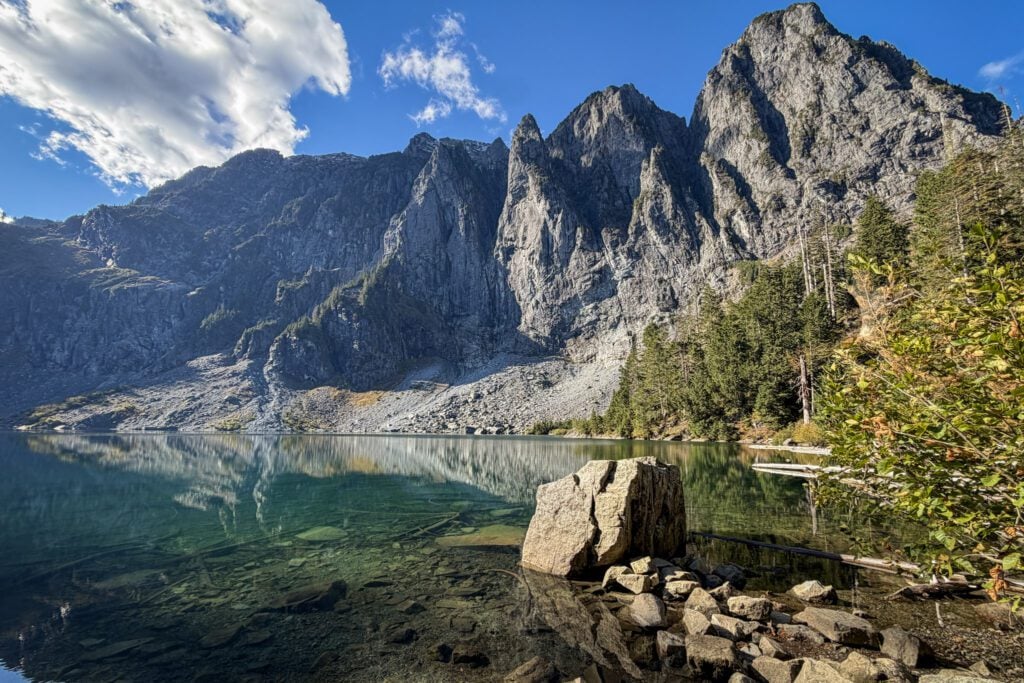
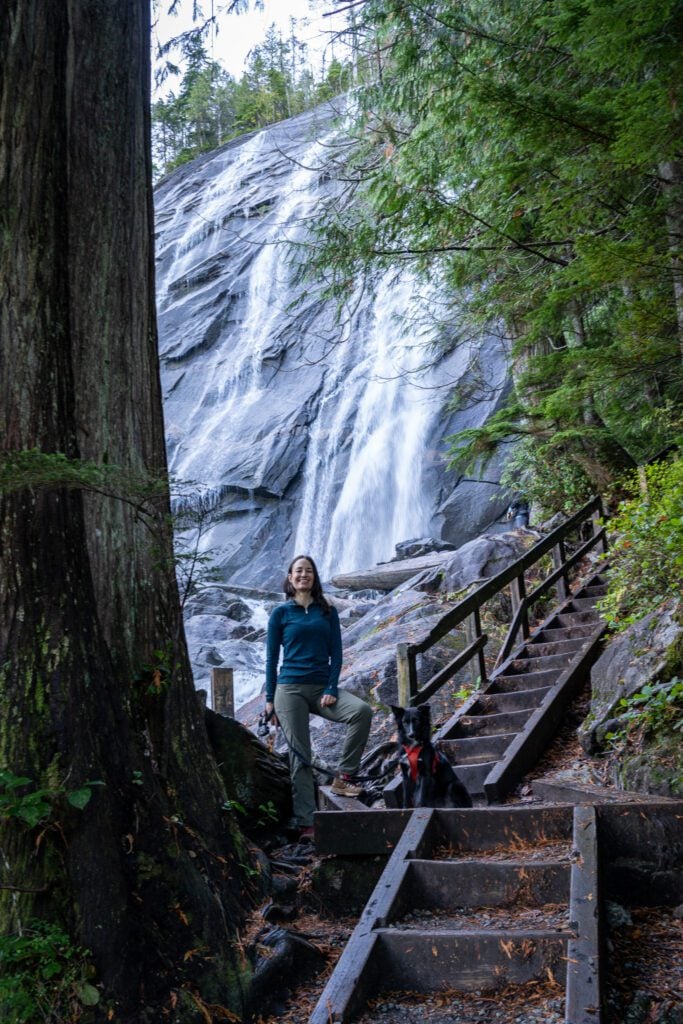
If you’re looking for a hike that arguably has all of those elements – a beautiful alpine lake, a towering waterfall, some nice views, and a lovely stretch of forest with plenty of ferns – look no further than the hike to Lake Serene and Bridal Veil Falls along Highway 2 on the way up to Stevens Pass.
We tackled this hike on the last fall morning before the first snow of the season, and though it is not an easy hike (we’ll get into that in the guide below), this hike really delivered on all of the promises it makes.
Both Bridal Veil Falls and Lake Serene are gorgeous, and would each arguably be somewhere on our list of the most scenic hikes near Seattle if they were completely separate.
The fact that they are both located on the same stretch of trail catapults this hike to somewhere near the top of that list.
In this guide, we’re going to cover everything you need to experience the hike to Lake Serene and Bridal Veil Falls safely and confidently.
We’ll talk about the best route, the best time of year and time of day to hit the trail, and then take you through a play-by-play of our experience on the hike so that you know exactly what to expect.
Sound good to you? Let’s get into it.
Disclaimer: Some of the links in this post, like hotel links, are affiliate links, meaning at no additional cost to you, we make a little bit of money if you click through and book. That being said, we would never recommend something to you that we don’t stand behind 100%.
The Bridal Veil Falls and Lake Serene Trail at a Glance
The reason we love this hike is the waterfall and alpine lake combination, therefore the version of this hike that we’re going to cover is the one that includes both of them (starting with the trip to the falls, then heading up to the lake, which is the order we’d recommend doing them).
The trail stats below are from Matt’s Garmin watch (we’ve found that to be more accurate than AllTrails oftentimes).
- Length: 8.3 miles
- Elevation Gain: 2,667 feet
- Trail Type: Out and Back + Detour
- Season: Memorial Day – October
- Difficulty: Hard
- Pass Required? Northwest Forest Pass
- Dog-Friendly? Yes, on a leash
- Trailhead Location: Lake Serene & Bridal Veil Falls Trailhead
How Difficult is the Climb to Lake Serene?
We’re not going to sugarcoat this: the climb between Bridal Veil Falls and Lake Serene is hard.
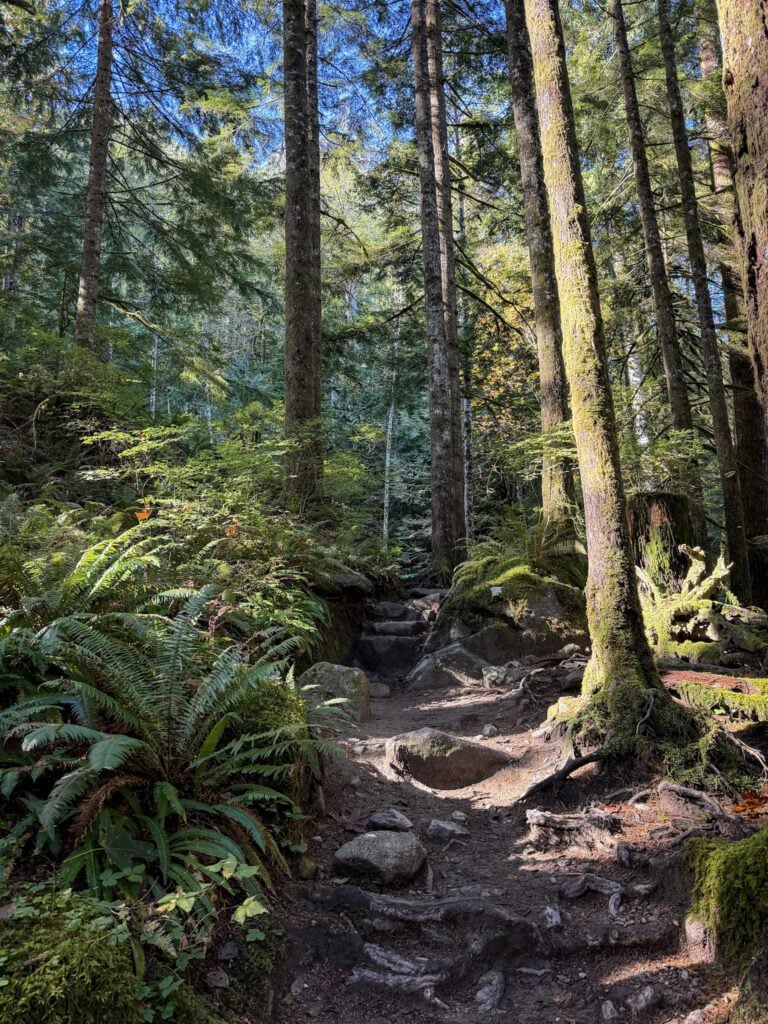
That difficulty is compounded by the fact that the trail is also somewhat technical because it’s some combination of slippery rock steps, slippery wooden steps, or steep switchbacks. Sometimes all three at the same time!
The stretch of trail we’re talking about starts at the fork with the trail up to Bridal Veil Falls and climbs 1,400 feet in right around two miles to reach the lake.
That’s 700 feet of elevation per mile on that stretch of trail (and there’s definitely a more difficult section that climbs more aggressively), which is firmly in the “difficult” category, we’d say.
Our cutoff for hard is around 500 feet of elevation gain per mile of trail.
You need to be prepared for a classic Washington State slog. Which means appropriate footwear (we saw someone doing this hike in Vans, which is bonkers), plenty of food and water, and trekking poles if you have them.
Why Should You Do This Hike?
We already gushed about this in the introduction, but the fact that you can get both a gorgeous alpine lake and one of the most beautiful waterfalls in Washington State all on the same hike makes this trail one-of-a-kind as far as we’ve found.
Especially on a trail that is so easily accessible from Seattle at just over an hour away, depending on traffic and where exactly you’re coming from.
Sure, you’re going to work for it, but we’d argue that the best things in life are things you work for anyway, a philosophy that absolutely extends to hiking.
Whether you live in the Seattle area and are in search of a classic hike, or you’re visiting and are looking for a hike that offers a great taste of everything that makes the Pacific Northwest special, this is an elite option.
Getting to the Trailhead & Parking
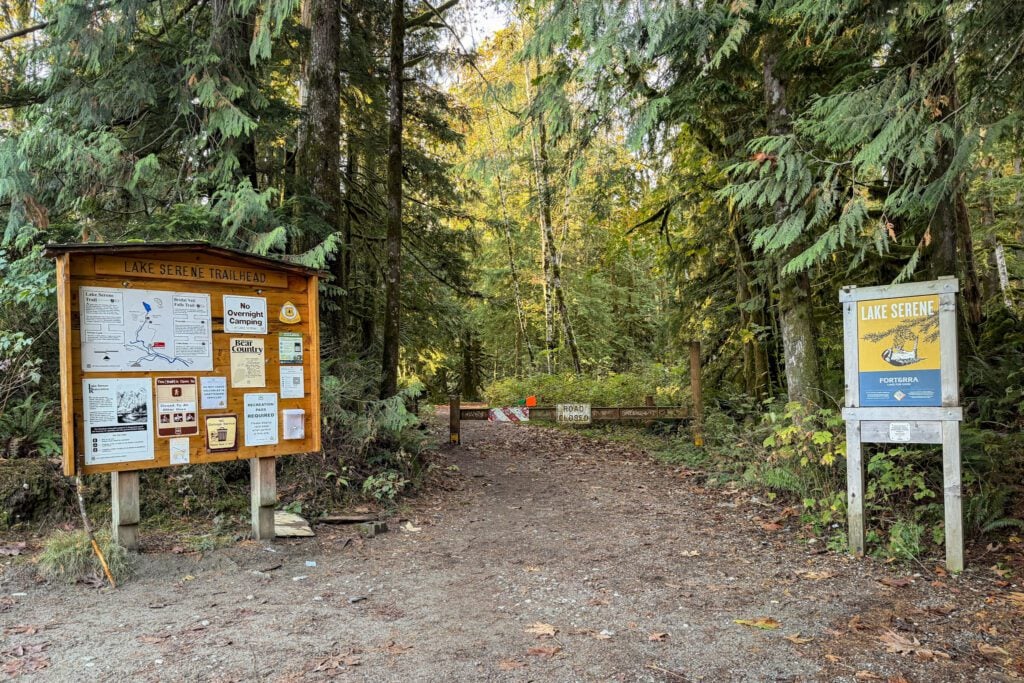
The trailhead for this hike is a short drive off of Highway 2, about 7.5 miles east of the town of Gold Bar, near the town of Index, Washington.
When you turn off the highway, you’ll immediately start up a short 0.5 mile stretch of gravel road that is relatively well maintained for a gravel road in the Cascades.
When we were there, there were a couple of big potholes right before you drove into the parking lot.
They were easily navigable with an SUV, but there were plenty of sedans that made it too, so don’t let the road deter you.
The parking lot is fairly large, but it was basically full when we got back to our car at 1pm, even on a Monday in mid-October.
Many people come here to do the waterfall portion of the trail, which is much more accessible, so it’s a very popular trail.
Get here early, both because it will be a more pleasant experience on the trail (Lake Serene was certainly more serene before the people who seemed to be FaceTiming their entire contacts list showed up), and also to secure a parking spot in the main lot.
There is an overflow lot a short ways down Mt. Index Road (before you turn off to the main parking lot). It’s here on Google Maps.
There are two pit toilets at the trailhead, along with garbage cans.
The Best Time to Hike to Lake Serene
One of the reasons why this trail is so popular is the fact that it is accessible for longer than many of the trails in the mountains in Washington.
While hikes further up towards Stevens Pass, at Rainier, and up in the North Cascades are covered in a blanket of snow well into July, this hike starts thawing out closer to Memorial Day, making it one of the best trails in the Seattle area for an early season alpine adventure.
Generally speaking, this trail is accessible from Memorial Day (the last weekend in May) to Halloween, but it of course depends on the year and the first snowfall of the season.
The other component to think about here is day of the week, and if you have a choice, we’d definitely try to do this hike on a weekday if you can.
The crowds will be significantly thinner (though not nonexistent) than trying to do this hike on a Saturday or Sunday morning.
Things to Know Before You Hit the Trail
Here are a couple of things you should know before you hit the trail.
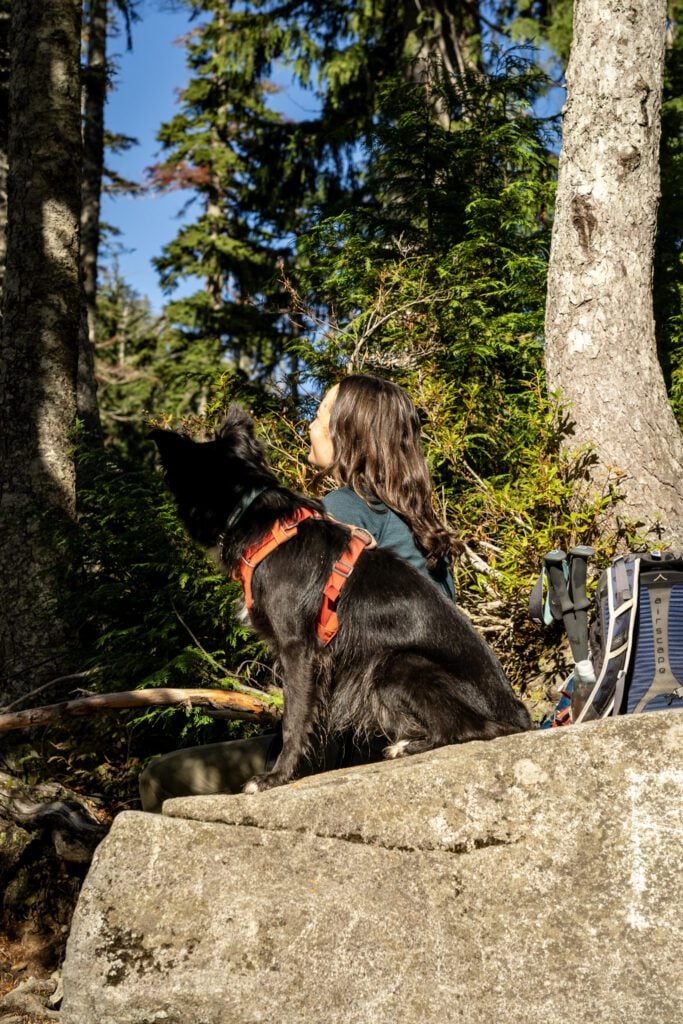
Dogs are allowed on this trail, but they must be on a leash.
Seriously, on a leash. It’s not that your dog isn’t a good dog, it’s that other people and dogs might not be as well-behaved and they may not appreciate an off-leash dog encounter.
We had multiple off-leash dogs run up to us on this hike with no owner in sight, which could be a bad situation if our dog wasn’t friendly.
I’ve started telling people that their dog needs to be on a leash, but it doesn’t seem to be helping.
Even in the summer, the trail can be muddy and slippery.
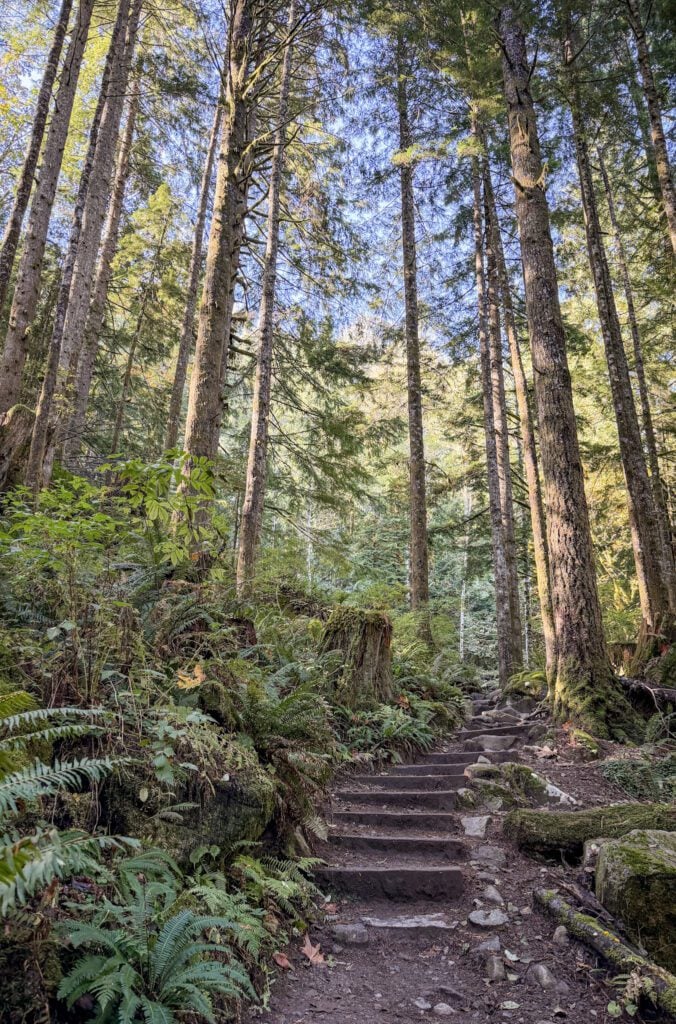
The terrain is part of what makes this climb so difficult. You’re climbing up some combination of wooden staircases, rock steps, or random loose rocks.
All three of those, when wet, can be very slippery, which made coming down with a dog on a leash a bit treacherous.
You need to be wearing appropriate shoes for this hike, which means hiking shoes or boots with good support and traction. Waterproof is a bonus, because early in the season there is a fair bit of standing water on the trail.
Alysha hiked all over the western U.S. in her Columbia Newton Wander boots for years until recently, and they would make an excellent first waterproof hiking boot.
Do the detour to the falls on the way up. Trust us.
As we approached the trail junction that would take you up to the falls, we considered doing it on the way back in order to get up to the lake as quickly as possible.
Ultimately, we decided to do it first. Let me tell you, that was the right decision.
After the grueling climb, we absolutely would have decided to skip it if we had saved it for the way back, and that would have been a shame.
You need a Northwest Forest Pass to park at the trailhead.
You can buy an annual pass for $30 at REI (a good investment if you live in Washington or Oregon and are into hiking), or you can test your cell reception at the trailhead and scan the QR code there to pay $5 for a day pass.
Hiking to Bridal Veil Falls and Lake Serene: A Complete Trail Guide
We hiked this trail on a weekday morning in October, and we got on the trail by 8am. When we left, the lot was maybe a third full. It was basically full when we returned to the car 4.5 hours later.
As we’ve already covered, this hike is basically an out-and-back hike to Lake Serene, with a detour to Bridal Veil Falls about a mile and a half into the trail.
Our recommendation is to do that detour on the way up, because by the time you’ve done the full climb, you’re almost certainly going to be out of gas (or close to it) and the chances that you skip it are high.
As you leave the parking lot, you’ll start on a wide gravel path (maybe an old road?) that meanders through the forest.
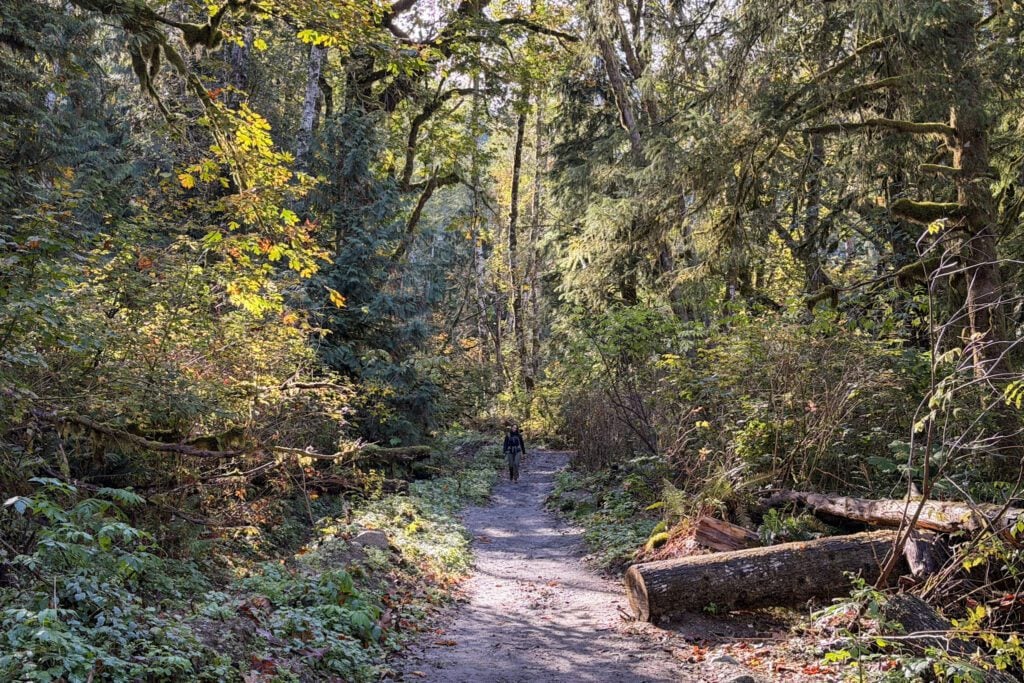
The incline here is very gradual, and it makes for a nice warm up before the real fun begins.
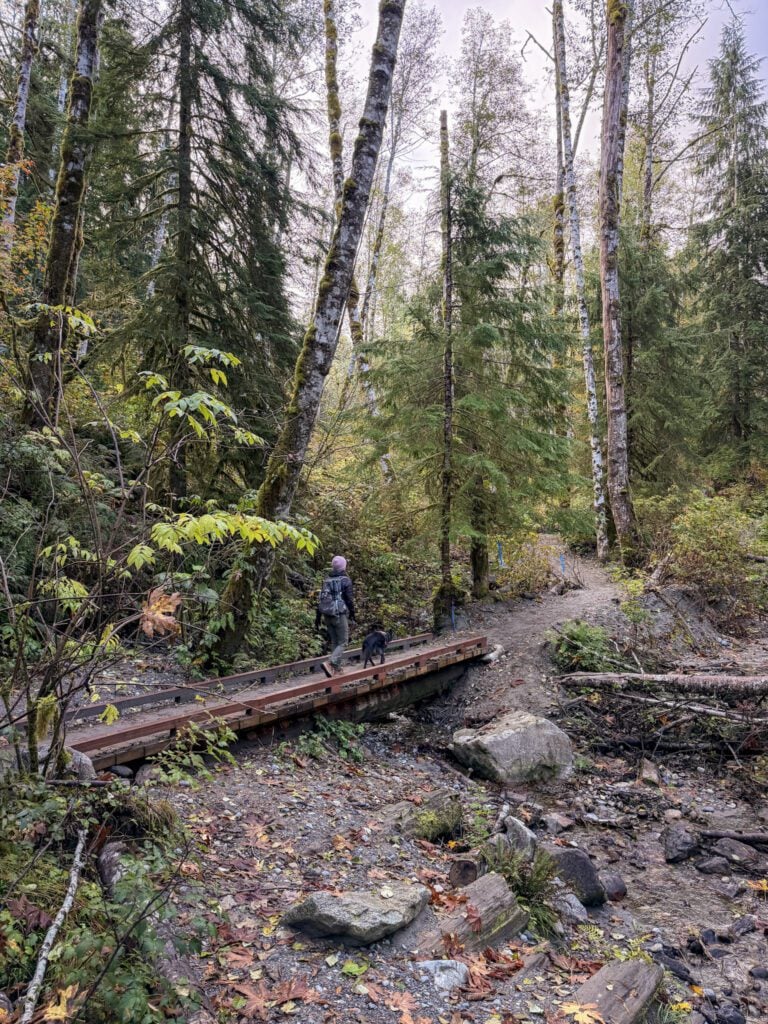
You’ll cross a stream over a wooden footbridge at a quarter mile into the climb, and the trail turns from wide gravel to narrow dirt, more like the hiking trails you’re used to.
The forest is really nice through the first stretch of the hike, full of ferns and moss, and there’s nothing difficult or notable about the trail until you hit the 1.6 mile mark, when you’ll arrive at a “Y” junction. This is the turn off for the detour to Bridal Veil Falls.
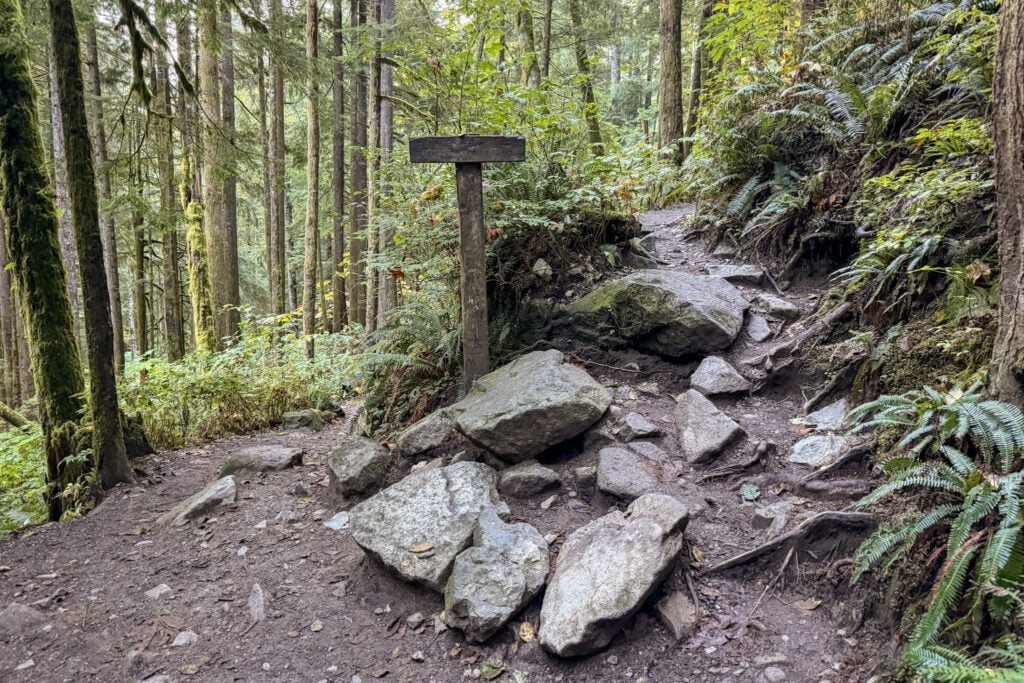
As we’ve mentioned numerous times, you should do this detour on the way up.
You should also know that the trip up to Bridal Veil Falls is actually fairly difficult, climbing ~300 feet over the course of 0.4 miles to the base of the falls.
You start off with a series of tight switchbacks, then finish the climb on some steep wooden stairs that take you to a loop with several different views of the falls.
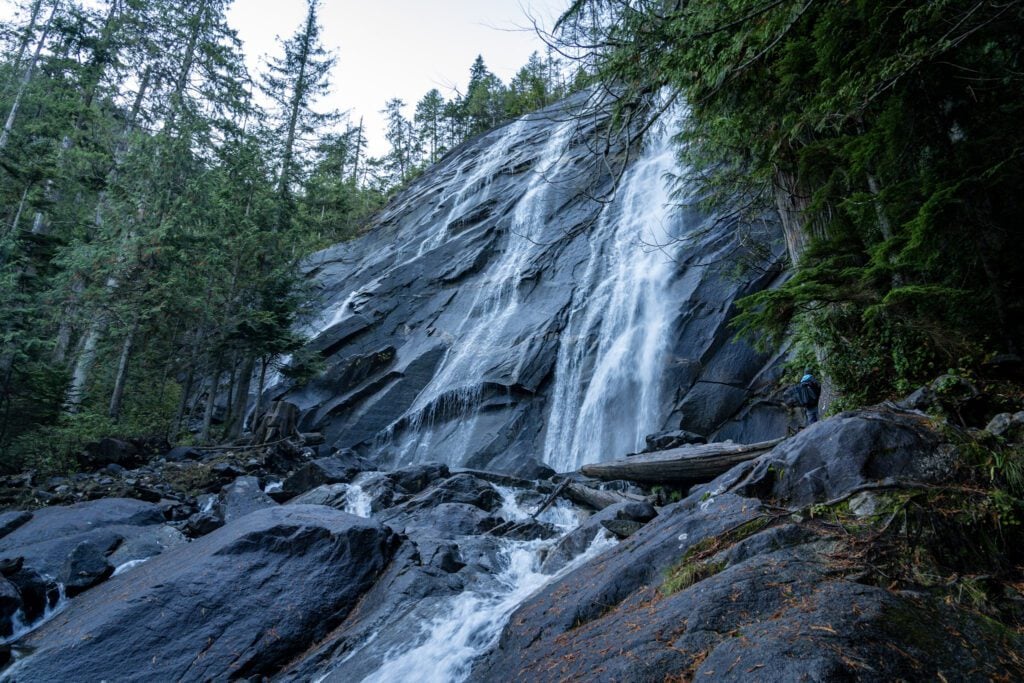
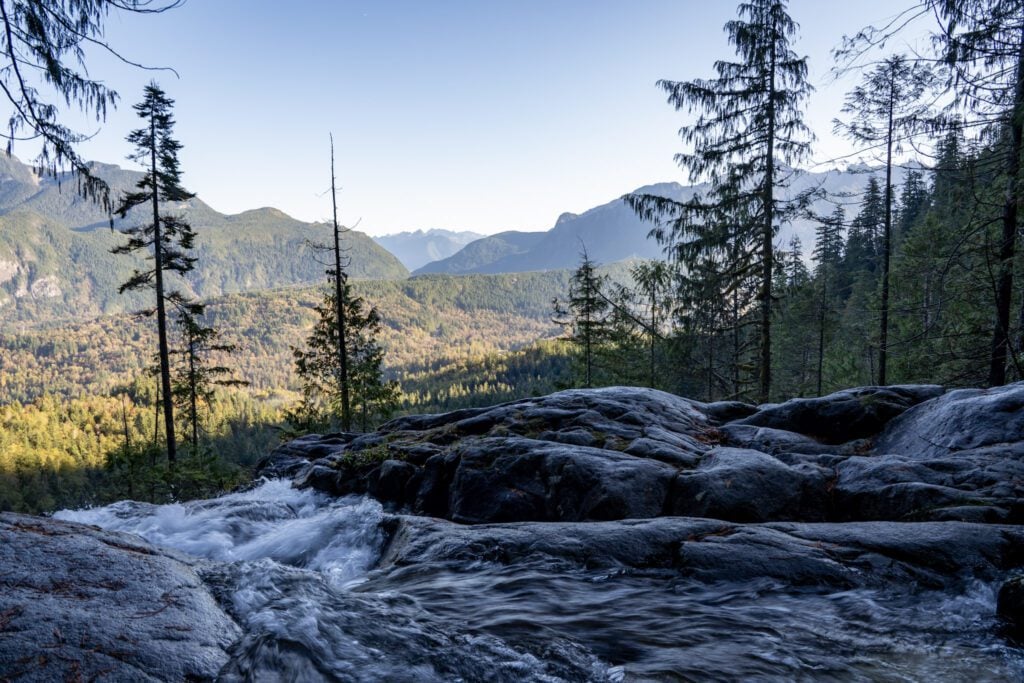
After admiring the falls, head back down the way you came and meet up with the trail up to Lake Serene.
Back on the main trail, you’ll cross a big wooden footbridge over the creek with some nice small waterfalls (and a view of the larger falls in the distance above you) and then you’ll pass a lovely little rock basin with a trickling waterfall before the real fun begins.
Stairs. Stairs. More stairs. And some rocky steps in between. From the wooden footbridge to the shore of the lake, it’s around two miles and 1,400 feet of climbing.
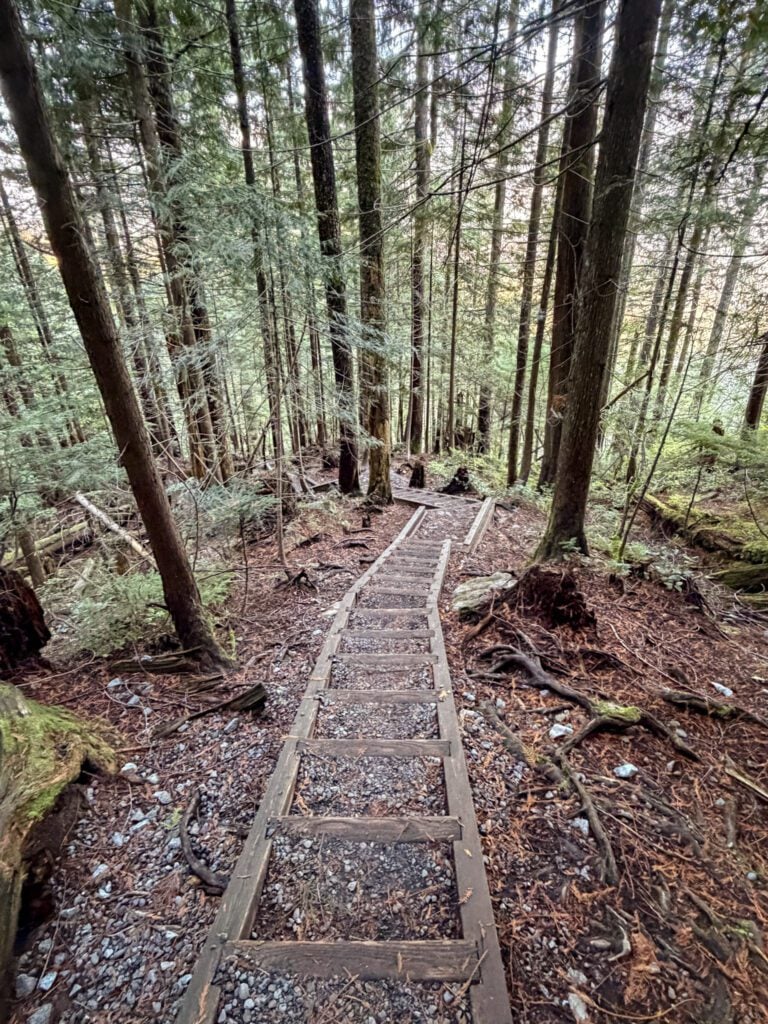
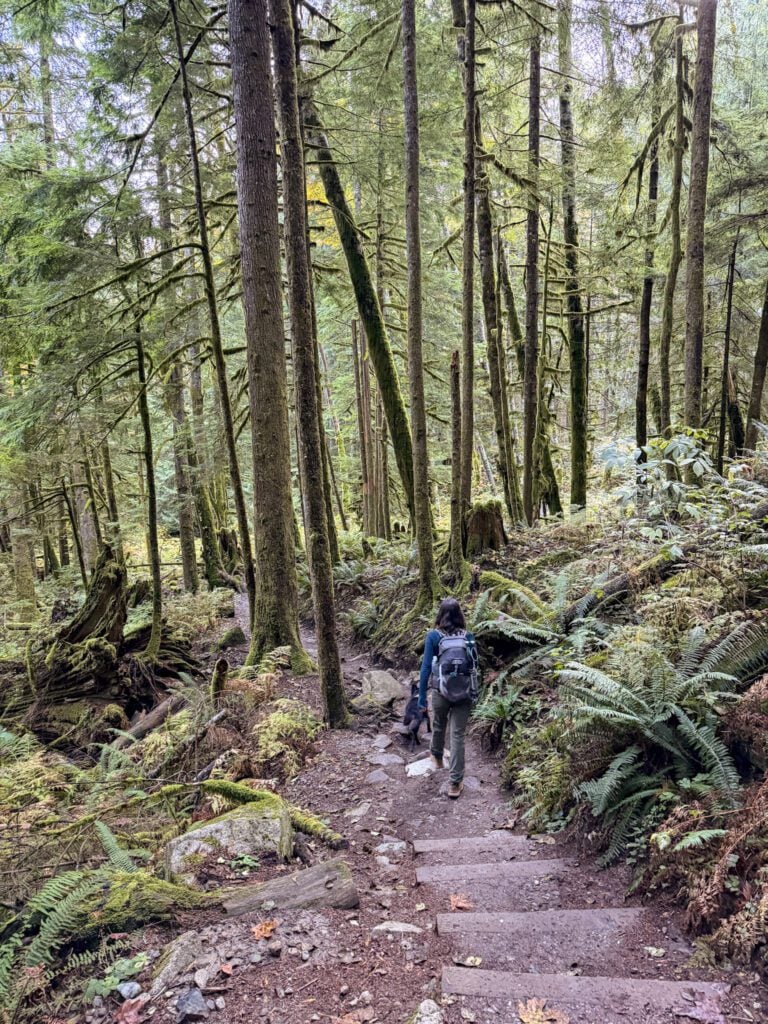
It’s the kind of slow-moving climb where you’ll be thinking you’re almost there basically from the start.
As we were descending, multiple groups asked us how close they were, and most of them had basically just started the climb.
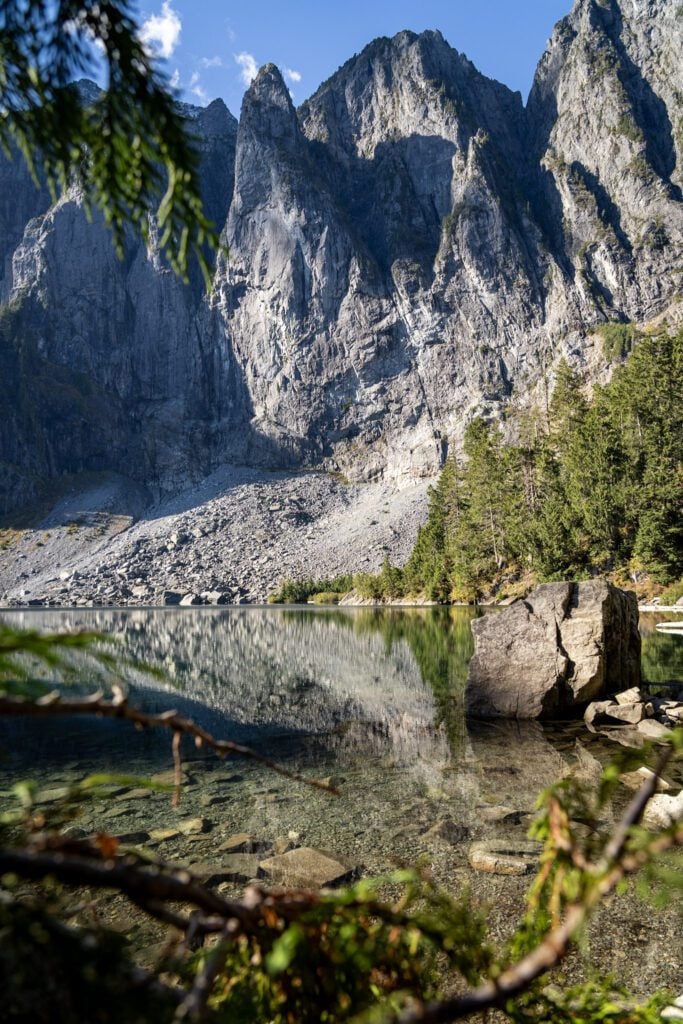
Your first taste of what’s to come arrives at about ¾ of the way into the climb, when the rocky spine that forms the basin that Lake Serene sits in comes into view.
Then you get sweeping views out over the Skykomish River and the valley beyond it.
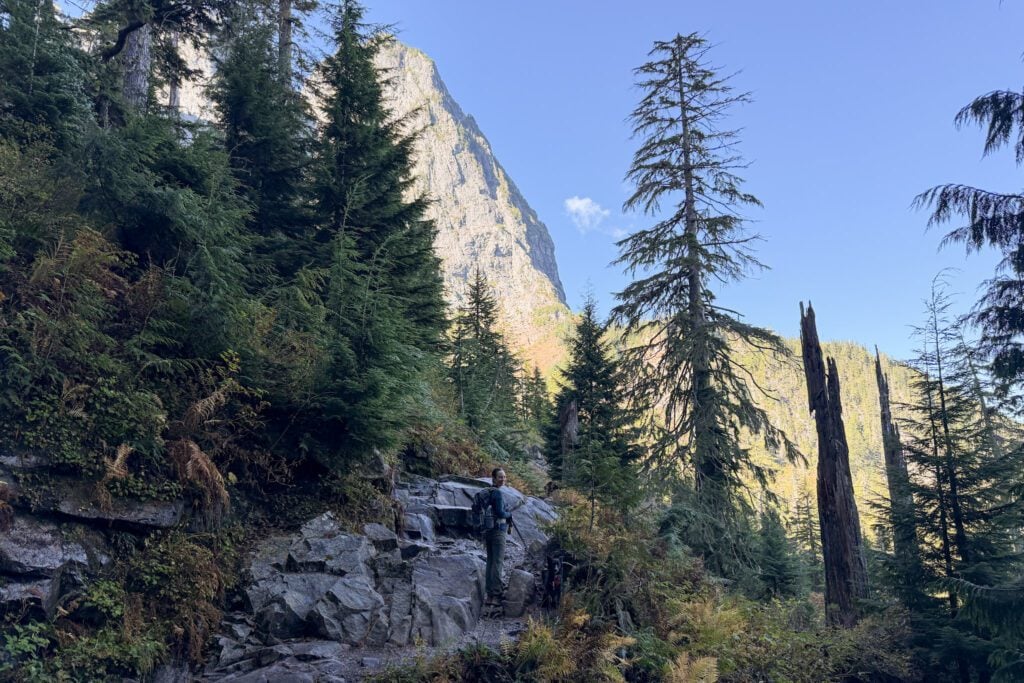
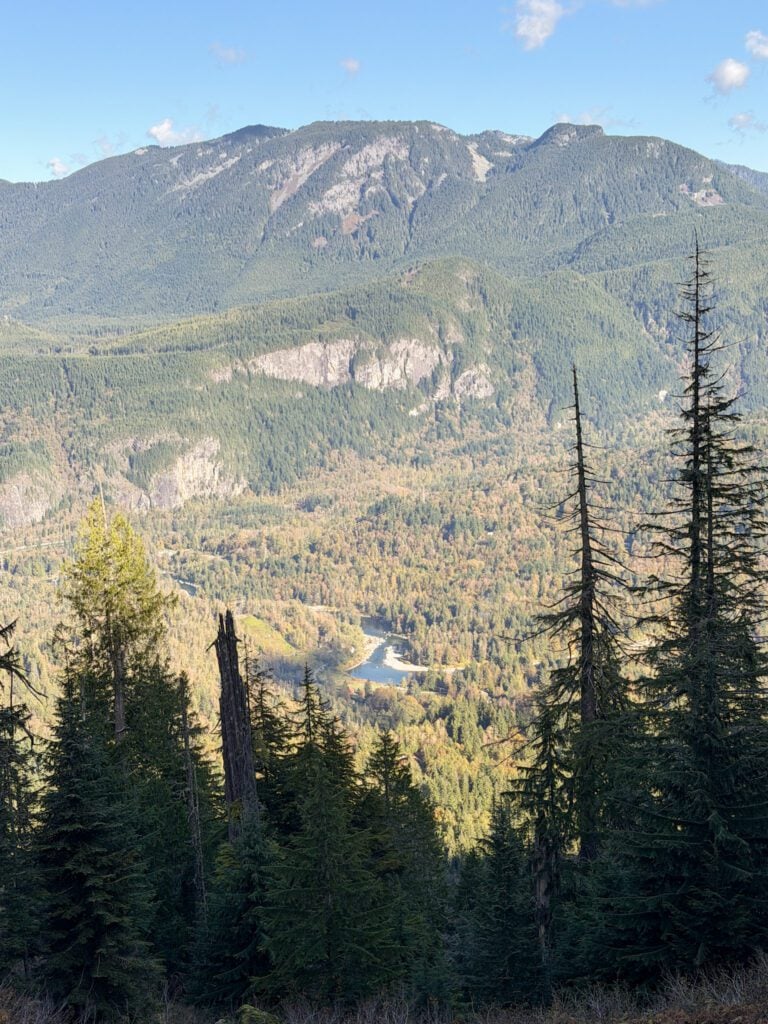
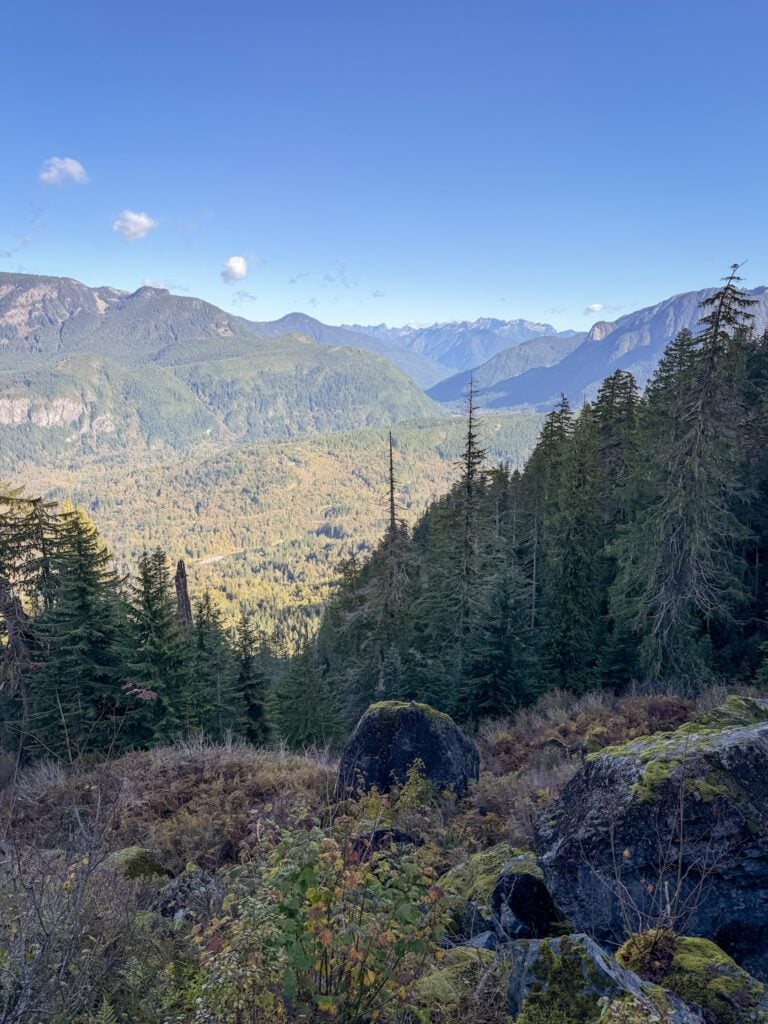
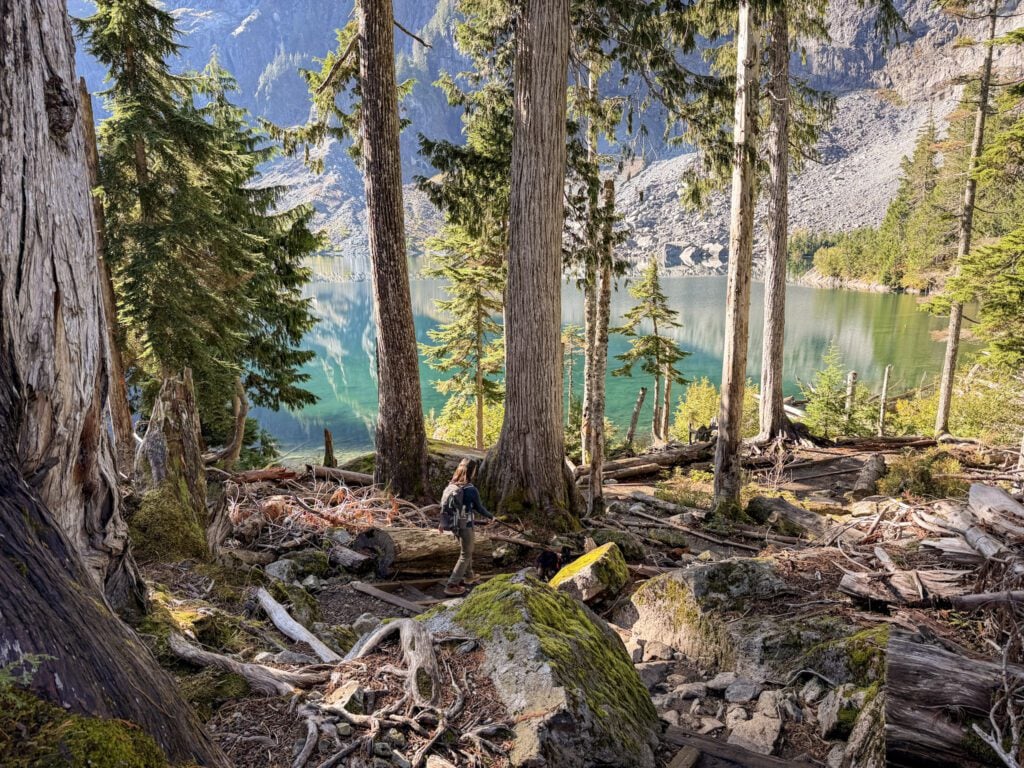
Finally, after two miles of trudging, you’ll hit the high point in the hike just above the lake and descend down into the basin and get your first glimpses of that blue-green water through the trees.
From the lakeshore, continue around the right side of the lake up to Lunch Rock, a big, relatively flat rock perfect for a break and a snack, if you have the gas.
More to Explore in Washington State
Heading to the great state of Washington? Here are some other posts you might like.
- The Best Things to Do in Seattle: A Complete Guide for First Timers
- Where to Stay in Seattle: 5 Amazing Areas to Stay
- How to Plan an Amazing Weekend in Seattle (3 Day Itinerary)
- Two Days in Seattle: The Best of Seattle in 48 Hours
- One Day in Seattle: How to See The Best of Seattle in a Day
- The 8 Best Day Trips from Seattle: A Complete Guide
- 10 Amazing Weekend Getaways from Seattle: A Complete Planning Guide
- Where to Find the Best Coffee in Seattle: 15+ Amazing Seattle Coffee Shops
- Gluten Free Seattle: A Complete Travel Guide for Celiacs
- How to Plan an Amazing Washington State Road Trip
- 12 Amazing Easy Hikes in Washington State for Beginners
- How to Plan an Amazing Olympic National Park Itinerary
- What to Do in Leavenworth, Washington: A Complete Guide
- What to Do on San Juan Island: A Complete Visitors Guide
- The Best Things to Do on Orcas Island: Complete Planning Guide
- The Best Things to Do on Vashon Island: A Complete Day Trip Guide
