
How to Plan an Amazing Mount Rainier Itinerary (2+ Days)
I will always have a special place in my heart for Mount Rainier National Park because, growing up, there was no better sign that it was going to be a great summer day than hearing the phrase “the mountain is out!”
In Seattle, that’s code for “it’s going to be warm, sunny, and there will be 16 hours of sunlight, so soak it all in!”
These days we’re down in Portland, and we’ve traded Mount Hood for Rainier in the “can you see the mountain?” department, but we regularly make trips north to explore Mount Rainier because it’s one of our favorite places on earth.
For example, on our very first trip to Rainier together, we found ourselves on a hillside blanketed by lupine, which is the exact moment and location that our dog, Lupine, is named for.
However, if you’re not familiar with the geography, the logistics for Rainier can be a little bit challenging and can lead to endless hours of driving or long lineups at the entrance station.
Don’t worry, we’ve got your back.
In this guide, we’re going to go through all the information we think you need to plan an incredible Mount Rainier itinerary, with ideas on what to do with more time at the end of the guide.
In this guide, here’s what we’re going to cover:
- A few important logistics to keep in mind as you’re planning, like the different passes you might need and seasonal considerations to know before you go
- Our favorite things to do up at Rainier and how to put it all together to form an itinerary to make the most of your time
- Ideas on what to do with more or less time around Mount Rainier
Throughout the guide, we’ll share our favorite hikes, viewpoints, waterfalls, and more based on our many trips to help you plan your Mount Rainier adventure.
Sound good to you? Let’s get into it.
Disclaimer: Some of the links in this post, like hotel links, are affiliate links, meaning at no additional cost to you, we make a little bit of money if you click through and book. That being said, we would never recommend something to you that we don’t stand behind 100%.
A Brief Geography Overview of Mount Rainier National Park
Before we can get into the itinerary itself, we need to talk about the park’s geography, which has some significant impacts on the way you’ll need to think about your trip.
At this point, the road out to Carbon River / Mowich Lake is closed indefinitely, so you don’t even need to think about how to fit in a trip to the northwest corner of the park.
It’s closed indefinitely due to a washout OUTSIDE the park that the state has no intention of working on anytime soon.
That leaves three main regions of the park that form a nice semi-circle on the southeast corner of the park.
The first region is Paradise, which is on the southern slope of Rainier and is the most popular area of the park.
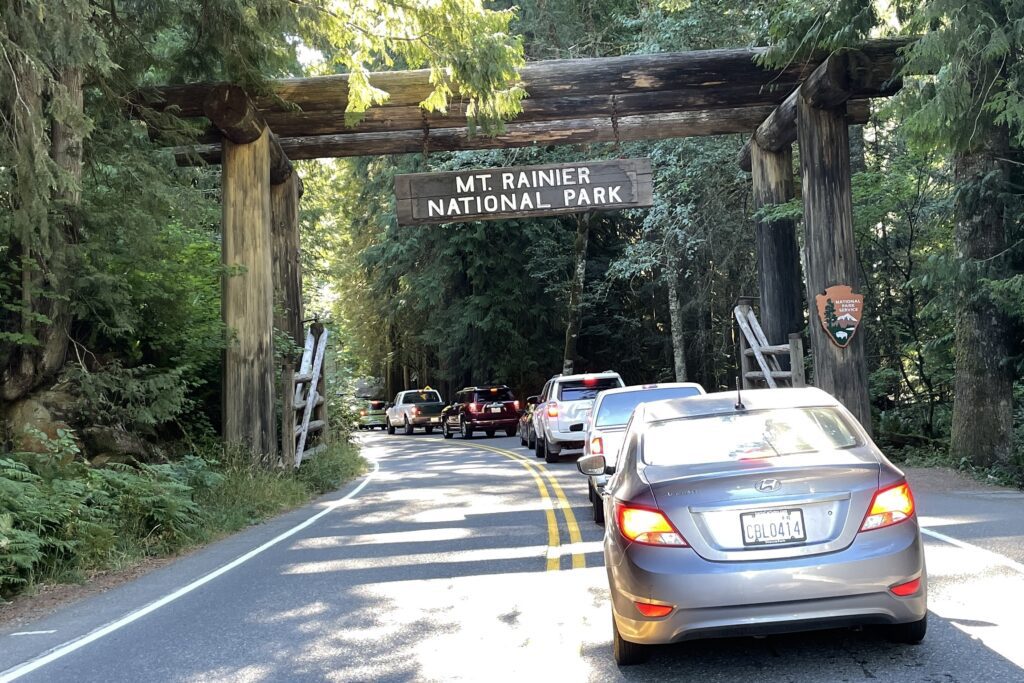
We’ve consistently seen long lines at the Nisqually entrance station, the one on the south side of the mountain (here on Google Maps), so we’d get through it early if you can.
The next region is Ohanapecosh, which is at the southeast corner tucked into an old-growth forest.
It’s roughly equidistant between Paradise and Sunrise, and there’s a big campground and a nice hike to Silver Falls, but we’d think about this more as an addition rather than a main attraction.
The third region is Sunrise, which is the highest elevation point in the park that you can drive to. It’s on the eastern flank of Rainier, and you have to drive a steep windy road to get up there.
There are a bunch of excellent hikes here that feature a surprisingly diverse range of destinations (high alpine, subalpine meadows, etc).
Here’s a map to help you visualize how those regions fit together.
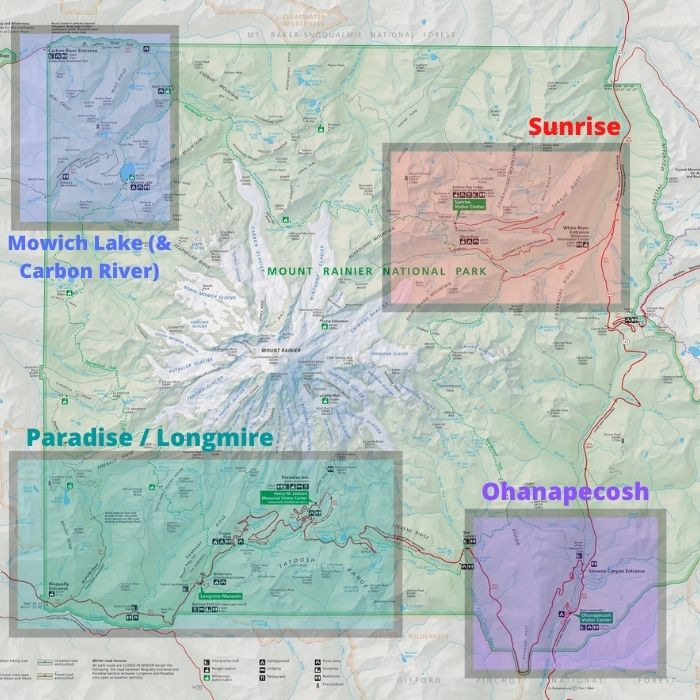
The two main regions you’ll want to focus on are Paradise and Sunrise, which have plenty to do and see to keep you busy for a few days.
We’d spend the majority of your time split between those areas, then add in a detour to Ohanapecosh and to Tipsoo Lake (at the base of the road up to Sunrise) to fill the rest of your time.
The main thing to know here is that it takes a LONG time to drive between Paradise and Sunrise.
How Many Days to Spend at Mount Rainier?
If you want to see both Paradise and Sunrise, you need a minimum of two days at Mount Rainier.
It’s simply not really feasible to do them both in the same day because it takes 90 minutes to drive from one to the other.
Two days gives you plenty of time to split them up and dedicate most of each day to exploring Paradise and Sunrise, with a trip out to Tipsoo Lake and Silver Falls filling the rest of your time.
Like we said, we think two days is the bare minimum amount of time to spend at Mount Rainier.
If you’re a big hiker like us, you’re going to want to spend more time so that you can add a couple of additional hikes.
With two days, you’re quickly going to realize that you have too many hikes on your list to cover unless you’re up for multiple big hikes a day.
We’d add an extra day for each Paradise and Sunrise (in that order, we think) if you’re into hiking, because there are PLENTY of trails to tackle in the park that go well beyond the highlights we’ll cover in the main itinerary (here’s our guide to our favorite hikes in Mount Rainier National Park, for reference).
Don’t worry, we have an entire section below the main itinerary with ideas on how to spend some extra time (including what specific hikes we’d recommend).
The Best Time to Visit Mount Rainier National Park
We want to make sure that this is front and center at the top of this guide because it’s something that often trips up visitors who are coming from outside the Pacific Northwest.
There are essentially two sub-topics within this section; when is the best time to visit Rainier for hiking, and, within that short season, what do the crowds look like.
If you’re not familiar with alpine areas in the northwest, the season for snow-free hiking at Mount Rainier (and other mountains in the Pacific Northwest) is maddeningly short.
We’re pretty far north here in the northwest, and the main sections of the park are at 5-6,000 feet above sea level IN THE PARKING LOT.
The result is snow that lingers well into summer.
If you want to spend your time hiking, the best time to visit Rainier is going to be from roughly late July to mid-October. Exact timing depends on the year and the snowpack.
For reference, we’ve hiked the famous Skyline Trail multiple times in late July, and both times there was a significant amount of snow on the trail.
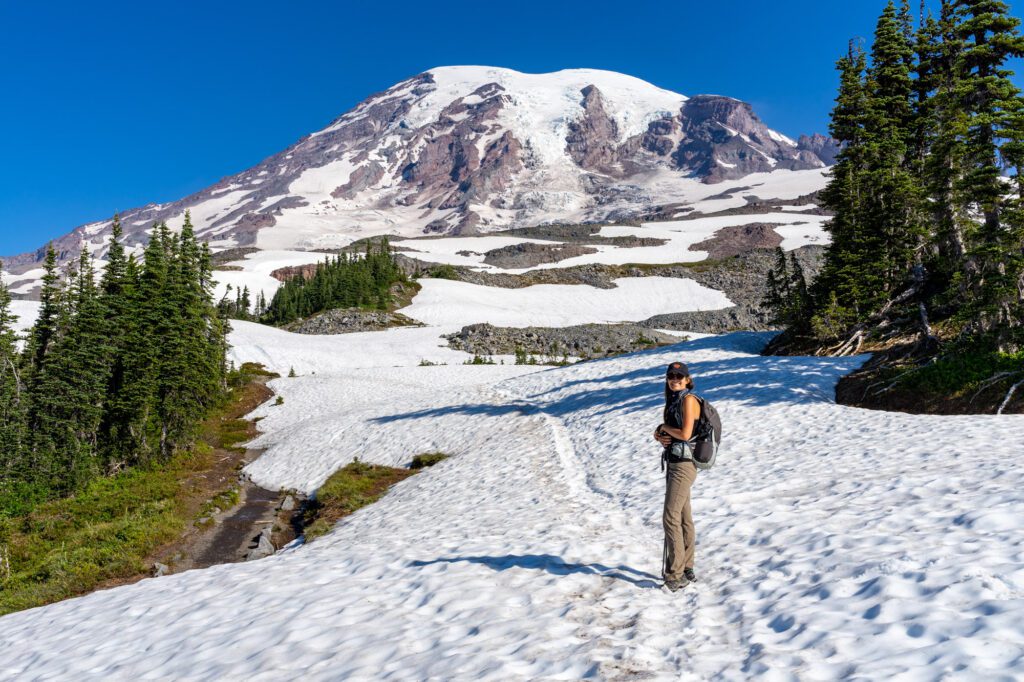
Outside of that short hiking season, you’ll need to be prepared for a snow adventure with snowshoes and/or microspikes if you want to get out on the trail.
One other thing to know is that the road up to Sunrise – the highest elevation section of the park on the mountain’s eastern flank – is closed for most of the year. It’s only open from roughly early July through early September.
You can check road status and conditions here, which you should do before you leave for your trip.
The second sub-topic within this section is crowds, which have gotten thicker and thicker every year as more people realize how close this slice of alpine paradise is to Seattle.
Generally, crowds are heaviest in July and August when the weather is consistently good, the wildflowers are blooming, and kids are out of school and families are traveling more.
At this point, you’re really not going to be able to do much to avoid crowds in the park if you’re visiting on a summer weekend (other than getting three or four miles away from the trailhead).
We’d suggest getting as early a start as humanly possible to avoid having a long lineup at the entrance stations (we’ve seen really long lines at the Nisqually entrance up to Paradise as we were heading out).
We really like Rainier in the early fall, when the weather is crisp in the morning but warm in the sun, and the crowds are marginally less intense (particularly on weekdays).
Where to Stay at Mount Rainier
You basically have two options when it comes to choosing where to stay: stay in one place for the entire trip, which means a bit more driving but you don’t have to pack up all your stuff every day, or stay in different places and make a semi-circle around Rainier.
As we already covered, the big challenge with Rainier is that it takes a long time to drive from Paradise to Sunrise, so staying in one or the other for the entire trip means a lot of driving.
For the purposes of this itinerary, we’d recommend staying in one place, and that place is the town of Packwood just outside the southeast corner of the park.
Of the towns on the borders of the park, we think Packwood has the best amenities (grocery store, hotels and vacation rentals, restaurants and coffee shops, etc), and it’s a great location that is roughly equidistant between Paradise and Sunrise.
If you’re camping, there are two campgrounds near Packwood that would be a good option.
The first is Ohanapecosh, which is inside the park and is a good location for accessing both Paradise and Sunrise (plus you can hike to Silver Falls right from the campground).
The second is La Wis Wis, which is just outside the park and is less competitive, though the facilities are also worse.
If you’re not camping, we’d either stay at the Packwood Lodge & Cabins (our pick of the hotels in Packwood), or book one of the many cabins in the woods just outside of town.
For couples (or groups of two), we like this adorable tiny home or this spacious top floor guest suite on the river.
For bigger groups, we like the look of this two bedroom cabin with a cedar sauna and this three bedroom creekfront cabin.
We have an entire separate guide to deciding where to stay at Mount Rainier, which you should read for more information that we can fit in this brief summary.
A Perfect Mount Rainier Itinerary (for First Timers)
Now that we’ve got the logistics out of the way, let’s get into the fun stuff!
We’ve structured this two day itinerary to spend a day at both Paradise and Sunrise, with a few side trips in between the big hikes.
Don’t worry, if you’re not into big hikes, we have some suggestions on shorter walks to do instead.
If you are into hiking and you have more than two days, we have suggestions on other hikes to add to your itinerary in the “with more time” section below the main itinerary.
Day 1: Paradise
On your first day, head to aptly-named Paradise to hike our favorite hike in the park, then spend the afternoon taking in the other sights (waterfalls and alpine lakes).
Hike the Skyline Trail
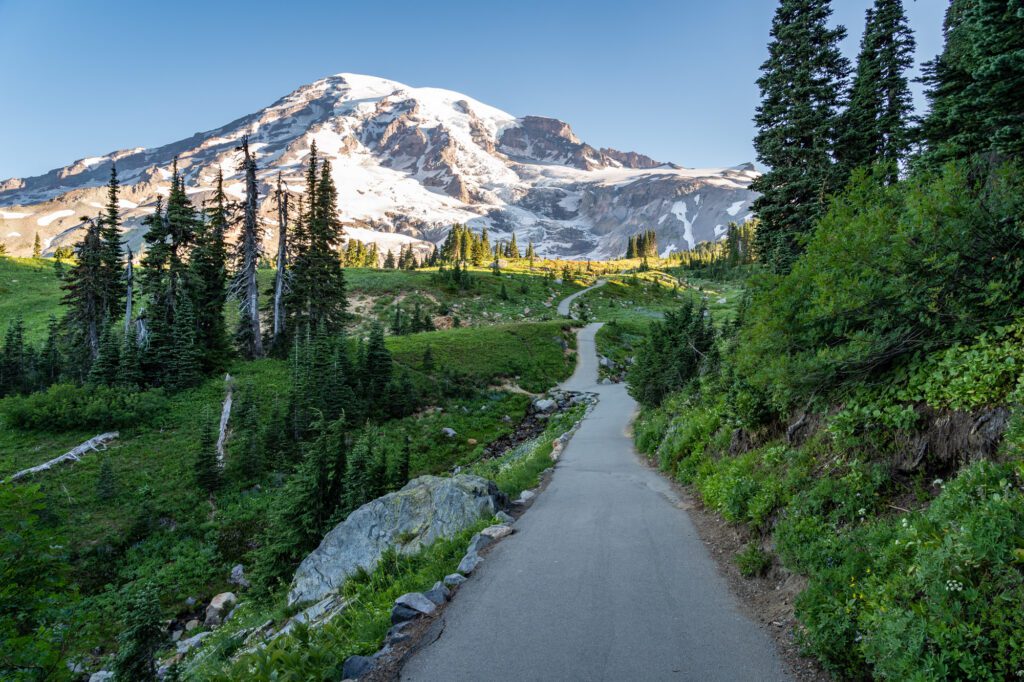
This hike is an excellent introduction to Mount Rainier, which is why we have it here front and center on the first day of your itinerary.
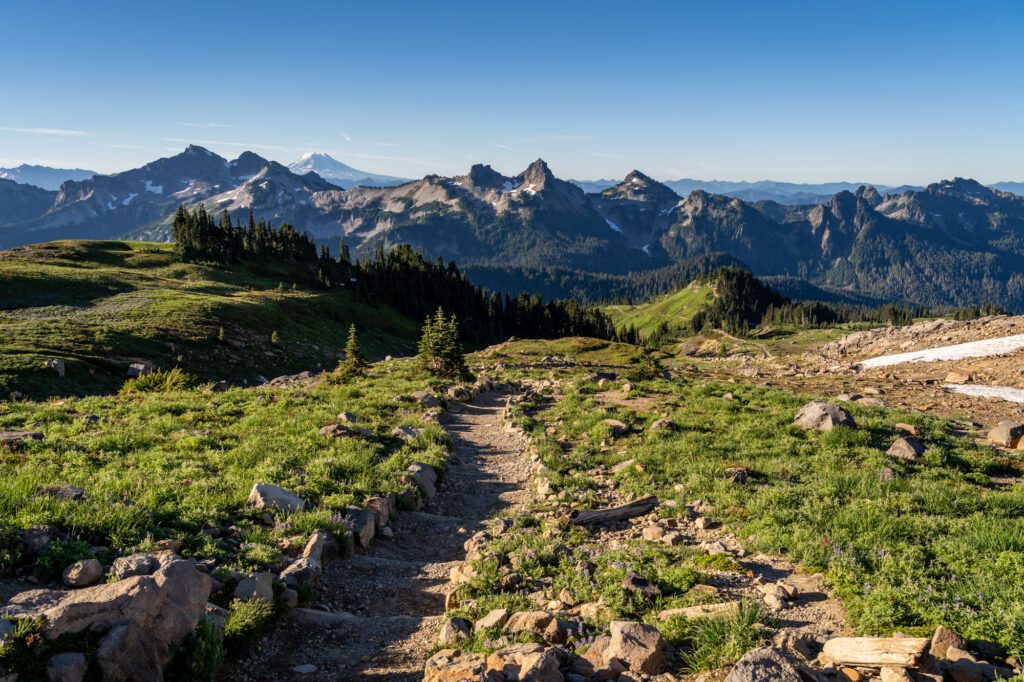
It basically has everything we want in a hike in the mountains of the Pacific Northwest: subalpine meadows with blankets of wildflowers, sweeping views featuring snowcapped peaks, and an alpine section that is rocky and barren.
Plus, up close and personal views of Rainier’s southern face from Panorama Point.
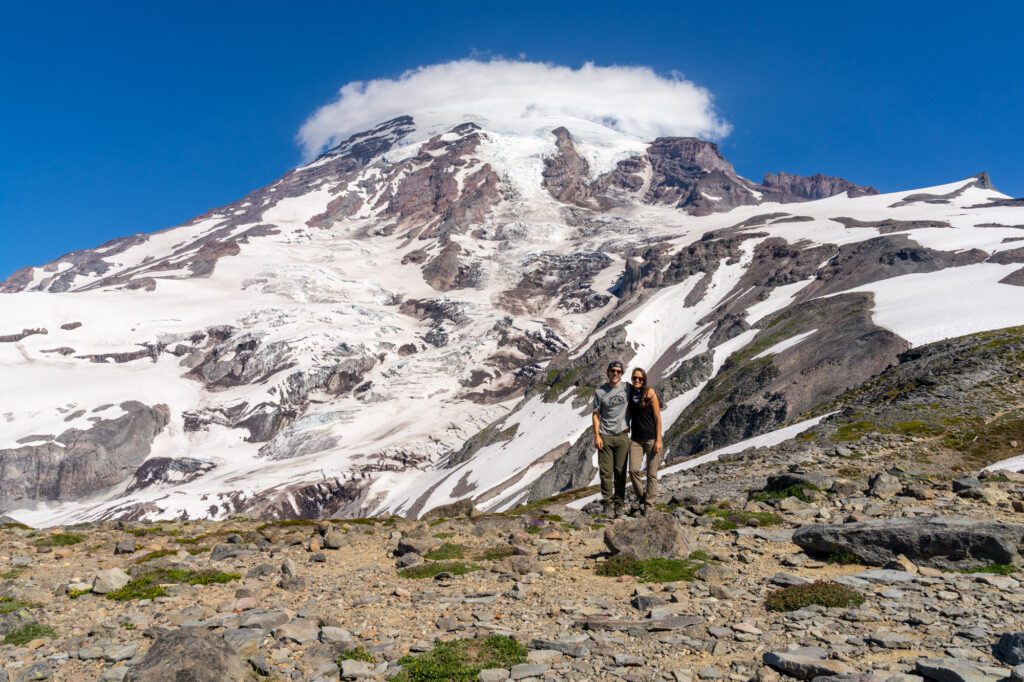
And the best part is that the hike itself isn’t that difficult in the grand scheme of hikes in the park, so the bang-for-your-buck is high.
There are a bunch of logistics to keep in mind for this hike (which we cover extensively in our Skyline Trail guide, which you should read for more information).
The three most important things to know are:
- You should do the full loop if you can to experience the alpine section on the eastern half of the loop (which is where we’ve seen mountain goats every time we’ve done this hike). Some people just go up to Panorama Point and back, which is not our recommendation.
- You should hike counterclockwise if you get an early start, and clockwise if you’re getting a later start (more on the why behind this in the guide linked above).
- You should get as early a start as you possibly can because this hike is POPULAR, and the parking lot does fill up on summer weekends.
If you do the loop like we recommend, it’s a 5.7 mile hike with 1,800 feet of elevation gain. What a lovely way to spend a morning.
Here are some pictures from our multiple hikes on this trail.
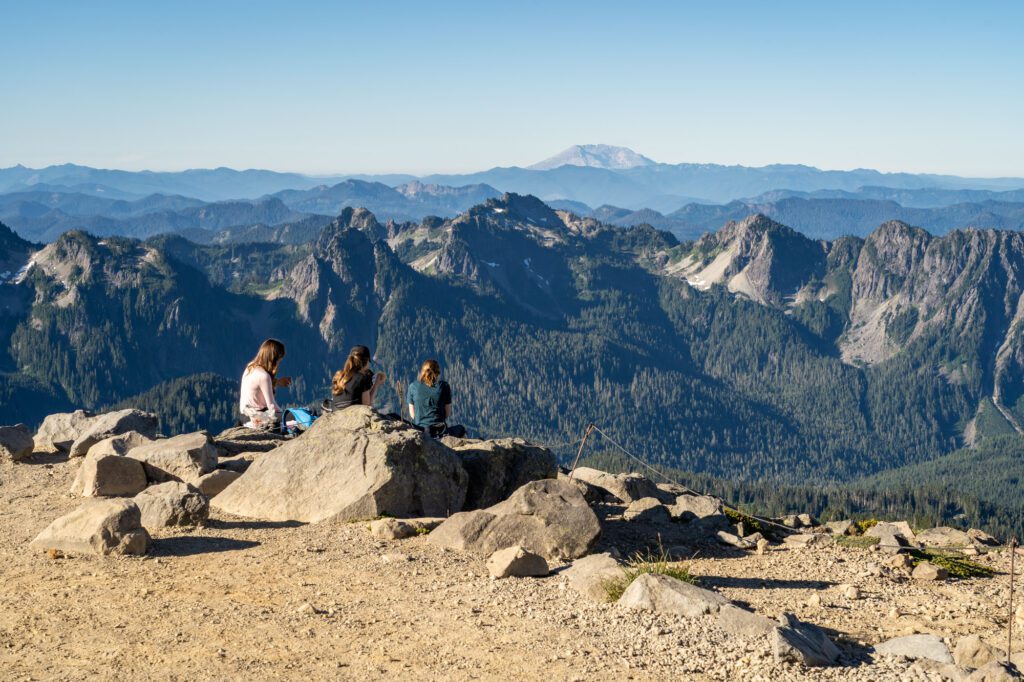
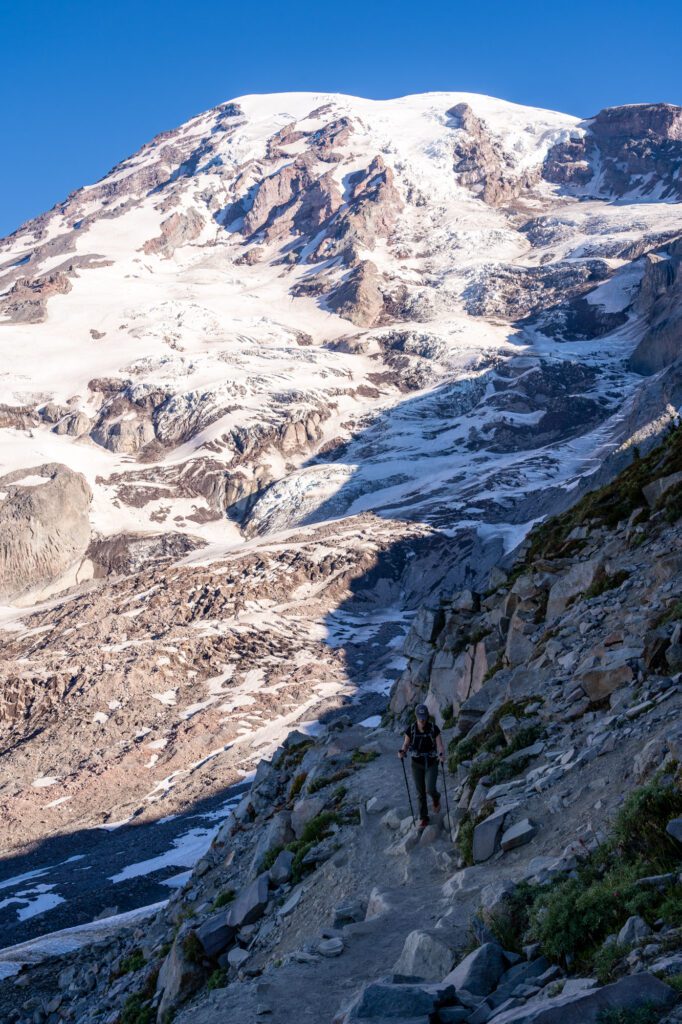
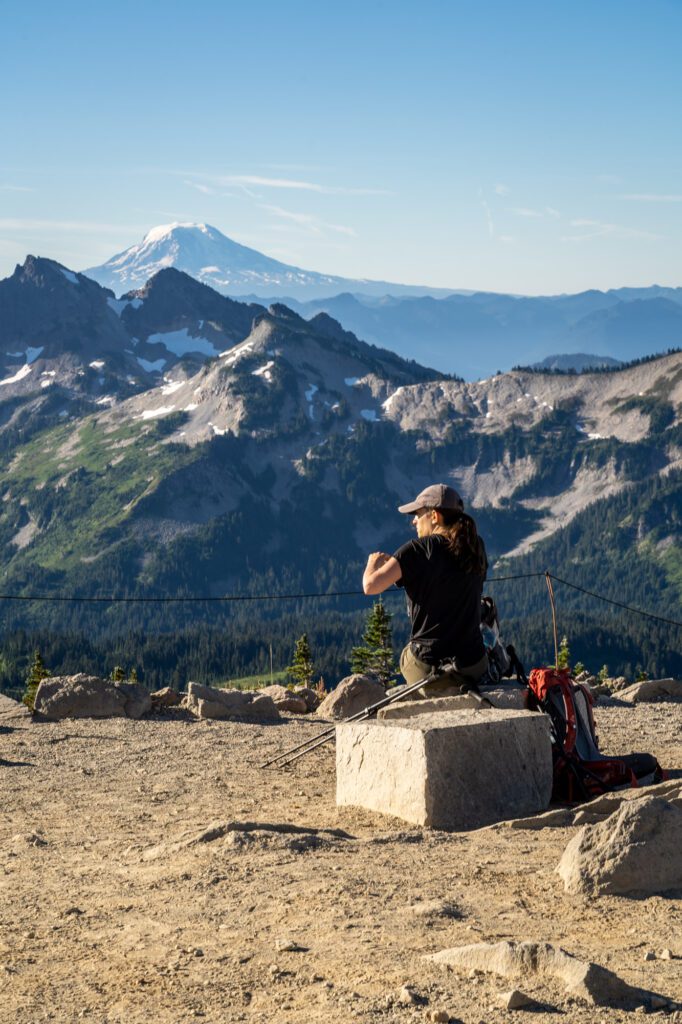
After your hike, stop in at the Paradise Inn to check out the cool architecture in the park’s historic lodge (there’s an onsite restaurant if you didn’t pack lunch, but it’s expensive and the food is “meh”, so we’d strongly recommend packing lunch).
It’s also worth stopping at the beautiful visitor center. The Henry M. Jackson Memorial Visitor Center has helpful information on the park’s ecosystems and wildlife, and is a good place to connect with a ranger and ask any questions or check on conditions.
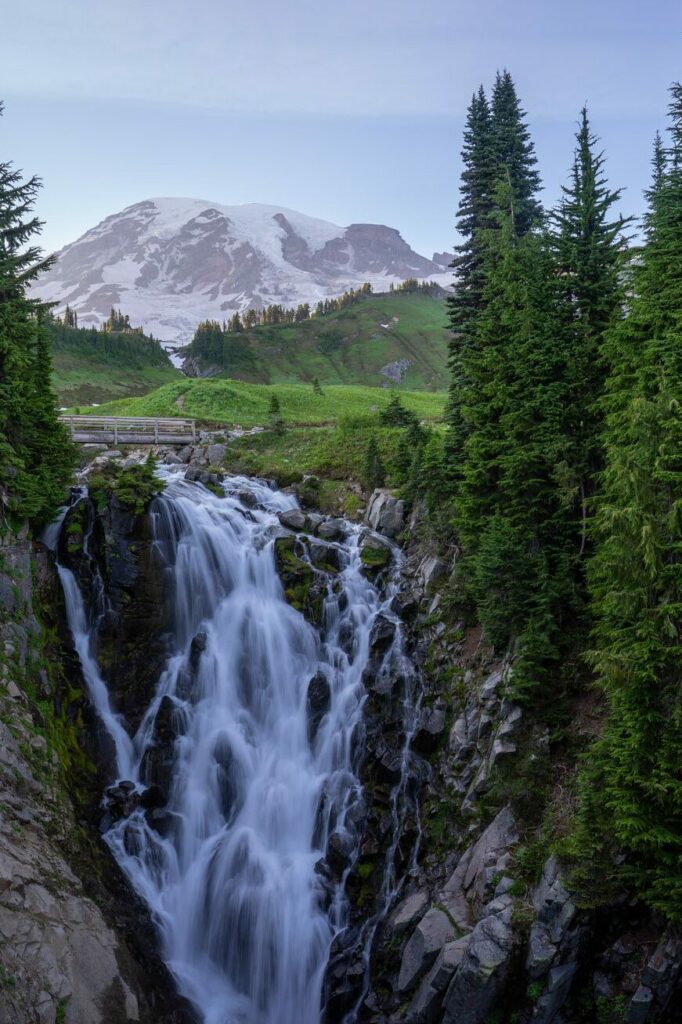
If you’re not up for that big hike, we’d do the short and paved Nisqually Vista Trail, which leaves from the visitor center and has some nice views of Rainier (and some nice wildflowers earlier in the summer), and the walk over to Myrtle Falls for a picture-perfect waterfall with Rainier looming in the distance (plus, stop by the Paradise Inn to check out the historic lodge).
You could also sub in the Bench and Snow Lakes Trail, a relatively easy hike on Stevens Canyon Road that features two beautiful lakes (the first has a perfect reflection of Rainier on a calm day).
Go Chasing Waterfalls
After lunch, spend the afternoon hitting Rainier’s other picturesque waterfalls. We say “other” because we’re assuming you’ve already seen Myrtle Falls, which is on the Skyline Trail.
There are three other nice waterfalls at Paradise, but one of them – Comet Falls – requires a three mile hike to reach, which you might not be up for after a morning on the Skyline Trail (we’ve put it down in the “with more time” section for that reason).
Unfortunately, that also happens to be our favorite of the bunch (though Myrtle Falls is beautiful), so if you have gas in the tank, we’d say it’s worth it.
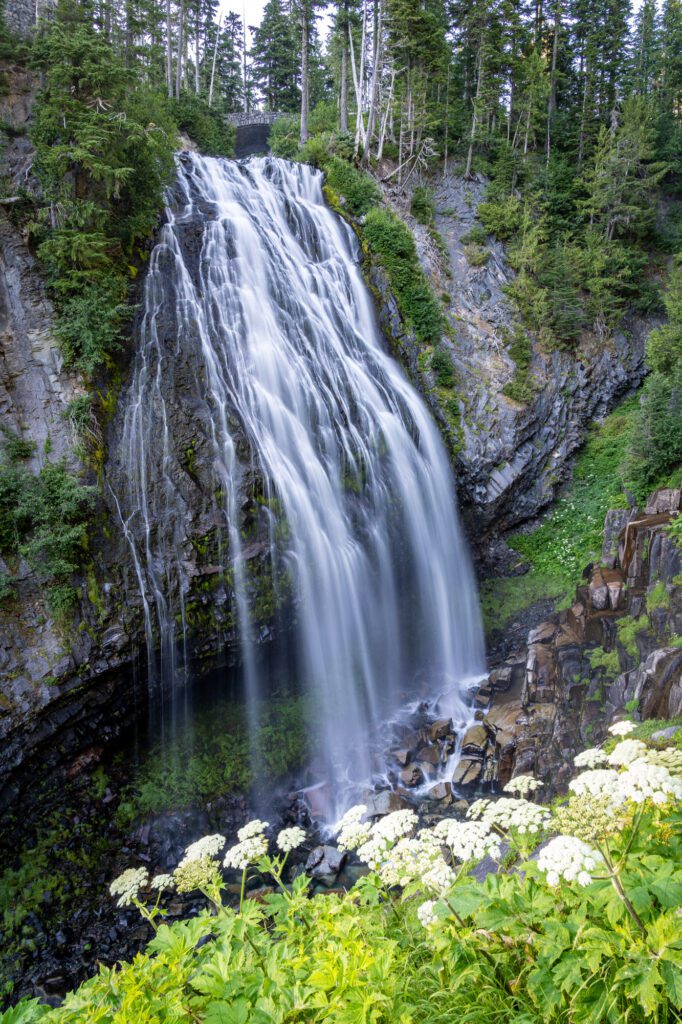
The two waterfalls that are a short walk from the parking lot, Christine and Narada, are both located further down Paradise Valley Road (the road you likely drove up to get to Paradise).
We’d head down to Christine Falls first, then make your way back up the road to Narada because the next stop of the day is back up near Paradise’s main parking lot.
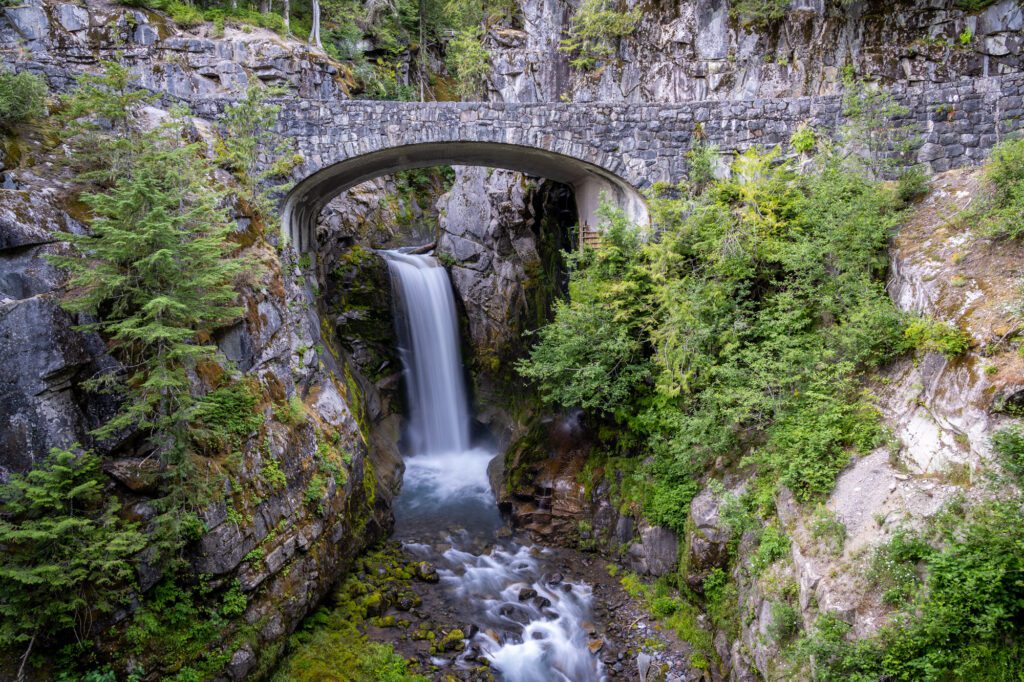
First is Christine Falls, a nice waterfall framed by a stone bridge that is right next to the parking lot (here on Google Maps).
Second is Narada Falls, which is a longer walk from the parking lot, but is taller and a little more impressive, we think (here on Google Maps).
Reflection Lakes
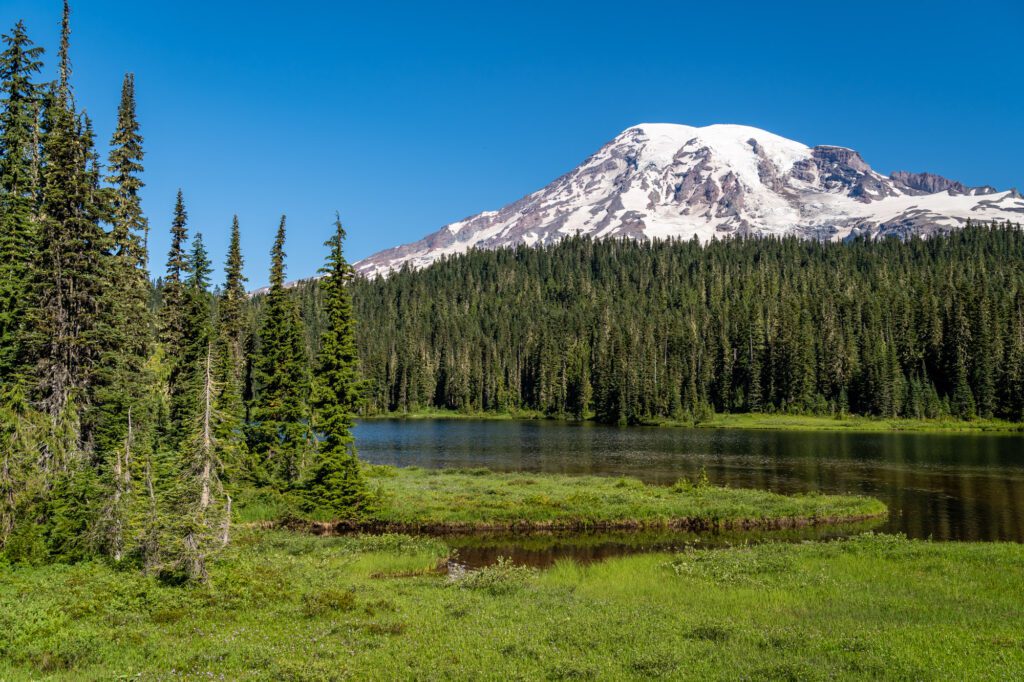
After the waterfalls, end your day at Reflection Lakes for a near-perfect reflection of Rainier’s glaciated peak in the lake’s surface…at least if it’s a calm day, which is relatively rare in our experience.
Still, it’s a lovely setting and worth stopping by regardless of calmness.
Be ready for mosquitoes to eat you alive earlier in the summer, which has been our experience nearly every time we’ve been here.
If you’re up for another hike and it’s clear, we’d consider hiking up to Pinnacle Peak around sunset for one of the best views of Rainier you’ll find in the park.
It’s steep and difficult, and some sections are along loose rocks, but the view is pretty magical (especially in that soft golden glow around sunset).
Day 2: Sunrise
On your second day, head up to the highest point that is accessible by car at Sunrise for a hike, and then head back down to Ohanapecosh for a nice waterfall to close out your itinerary.
Tipsoo Lake
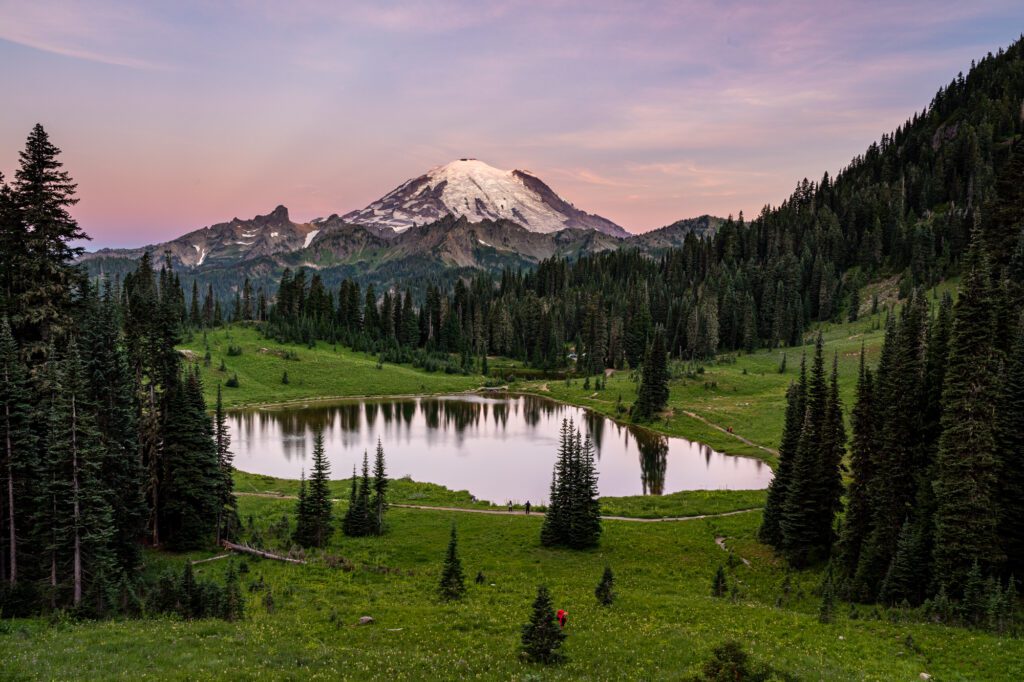
Start your day by heading to a nice viewpoint at Tipsoo Lake where you’ll have a great view out over the lake with Rainier looming in the background.
Head to the far side of the lake (the eastern side) where the road climbs above the lake and has that picture-perfect view. It’s here on Google Maps.
We’re sending you here in the morning because that’s when the light is best for photos. The sun rises over your shoulder, illuminating Rainier’s peak. In the evening, you’re looking directly at the sun, which is not nearly as nice for photos.
There’s a really nice hike here that offers a great bang-for-your-buck in terms of views and effort required – the Naches Peak Loop – that would be a great addition to your itinerary if you have an extra day.
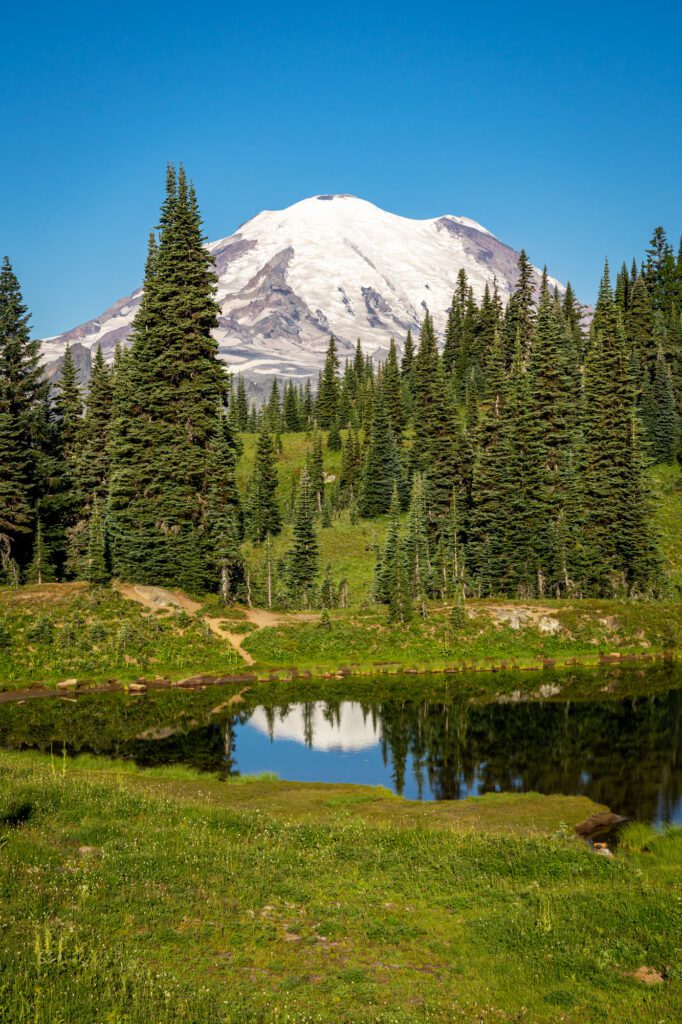
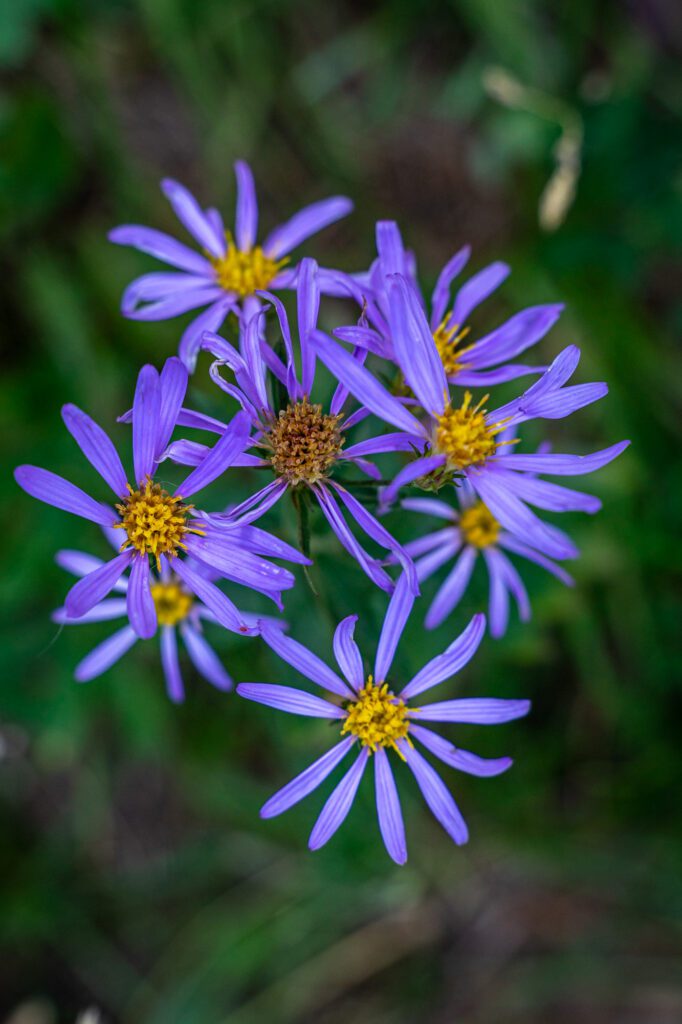
From there, make the drive up to the Sunrise Visitor Center, which is the highest point in the park that you can reach by car.
It’s a big climb on a windy road, and it does get busy in the summer.
If you want to get an earlier start on your hike, you can easily reorder these to go to Sunrise first, then head back down and do Tipsoo before you head to Ohanapecosh.
A Hike at Sunrise
We really like Sunrise because of the diversity of hikes that leave from the main parking lot.
There are three in particular that we have done and loved, and they span a nice range of highlights and difficulty levels.
All three of them leave from the parking lot and follow the same stretch of trail along Sourdough Ridge, which has some pretty magnificent views of Rainier as you traverse the ridge, and then they diverge at Frozen Lake.
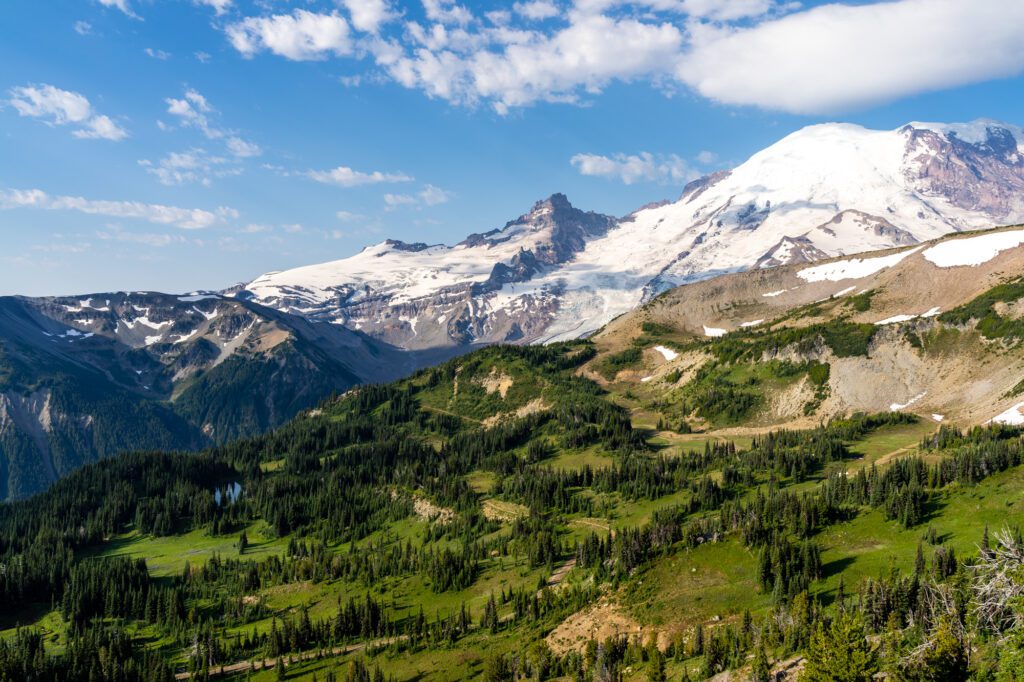
Here are those three hikes in the order we’d recommend them (though it depends on how much hiking you’re up for and what kind of landscape you’re looking for).
Burroughs Mountain (9.6 miles / 2,650 feet elevation gain): This is our pick for the best hike at Sunrise because it takes you up into a barren alpine landscape that is completely different from the lush subalpine meadows you find at the beginning of the trail.
Once you’re above the treeline, it’s rocky and rugged, which is cool to see.
There are three burroughs, which are basically a series of hills, and most trail guides have you going to the second, which is a moderate hike.
However, the best views are from the third burrough, though it adds quite a bit of climbing.
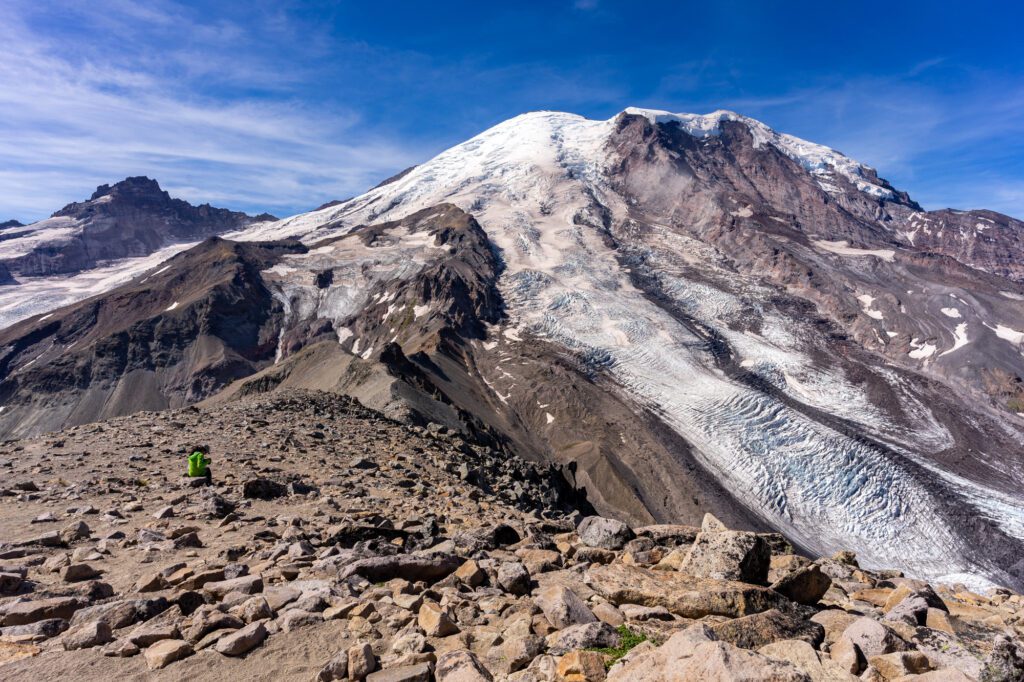
We think it’s worth it – the views of Rainier’s face are as close as you can reasonably get. Here’s our guide to hiking the Burroughs Mountain Trail.
Mount Fremont Lookout (5.8 miles / 1,100 feet elevation gain): This hike continues climbing along a ridge after the junction at Frozen Lake and brings you to an old fire lookout that looks directly at the face of Rainer across a wide valley.
The views are great from every inch of the ridge, and if you’re lucky, you might catch a marmot or two basking in the sun and taking in the view.
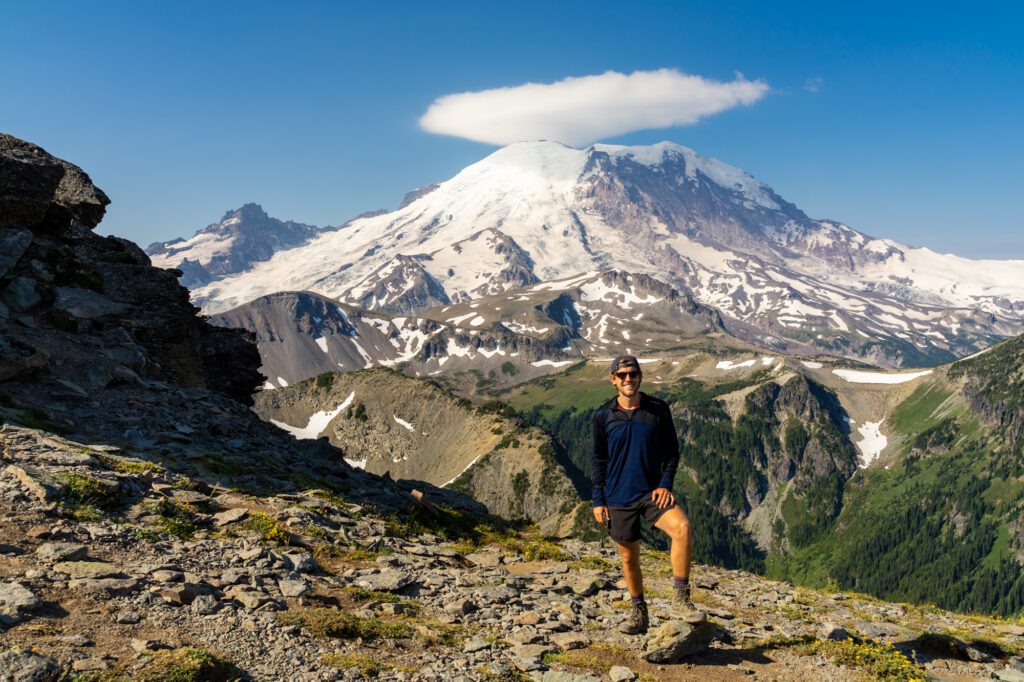
It’s a very popular hike given the view to effort ratio, particularly around sunset when people come up here in droves to watch Rainier’s face glow in the soft warm light of the setting sun.
Berkeley Park (7.7 miles / 1,700 feet elevation gain): This hike came onto our radar when we were hiking at Paradise a few years ago in late July and I asked a ranger where the best place for wildflowers was at the moment.
He answered, without hesitation, that Berkeley Park was the place to be, and so the next day we drove out there to tackle the hike.
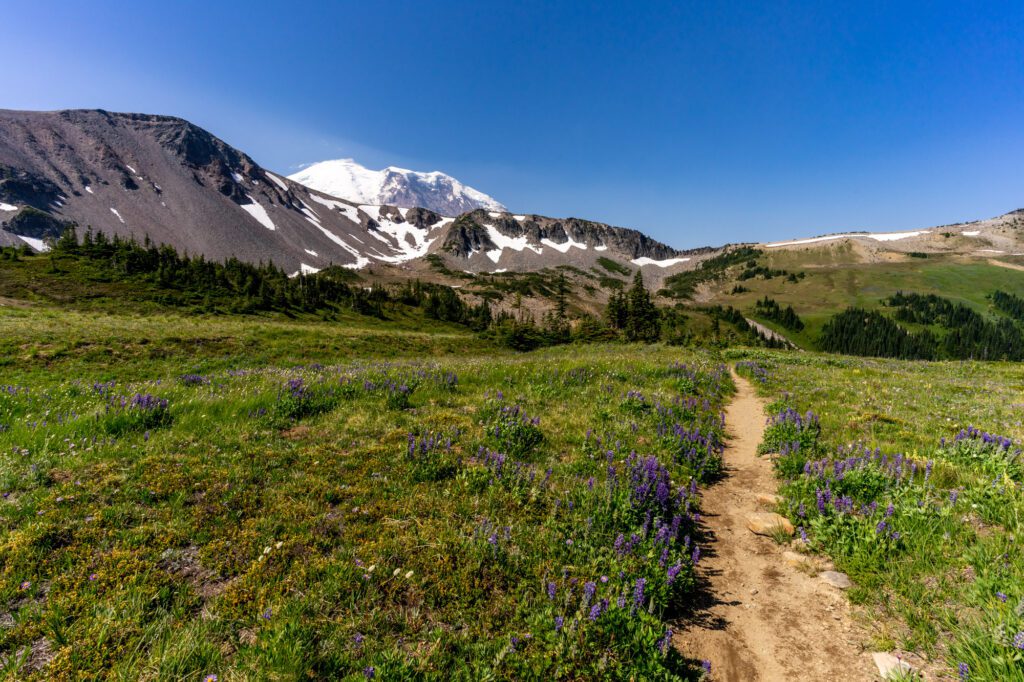
It’s hard to photograph the flowers and have them be as impressive as they were in-person, but this was by far the best wildflower display we’ve ever seen in the park.
Lupine, paintbrush, and other flowers of various colors and sizes blanketed the subalpine meadows.
Ohanapecosh & Silver Falls
Close out your second day with a stop at Ohanapecosh, which is a completely different landscape from anything you’ll find up at Paradise or Sunrise.
Instead of being in a series of subalpine meadows at the foot of Rainier (with beautiful Rainier views around every corner), you’ll find yourself deep in an old-growth forest without a single glimpse of the mountain.
The reason you’re here, assuming you aren’t camping here or in desperate need of a restroom, is to hike to Silver Falls, the last of the park’s excellent waterfalls.
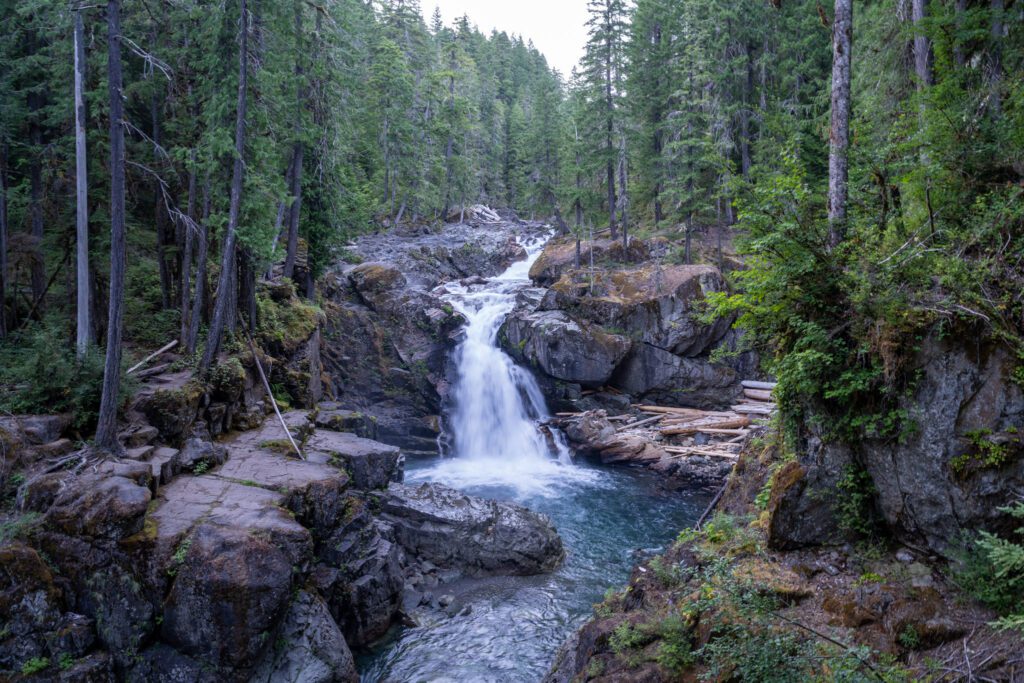
It’s an easy three mile loop that follows the Ohanapecosh River out to a lovely waterfall.
What to Do with More Time
If you find yourself with more time to spend up at Mount Rainier and you’re into hiking, we have some great news for you.
There’s basically an unlimited number of incredible hikes to do around both Paradise and Sunrise, plus a few near the town of Packwood just outside the park that are also worth considering.
Other than hiking, there’s not a whole lot else to do to fill your time once you’ve checked off the lakes and waterfalls in the main itinerary, so that’s why this section is heavily leaning towards hiking.
More Hiking at Paradise
The Skyline Trail is our favorite of the hikes at Paradise, but there are several other great hikes here that would be an excellent way to spend an extra day.
Comet Falls (3.6 miles / 1,300 feet elevation gain): As we mentioned in the itinerary above, there’s one waterfall that doesn’t really make sense if you’ve already done a big hike in the morning; Comet Falls.
However, it’s a bit unfortunate because Comet Falls is the most impressive of the bunch, it just requires a bit more hiking to get there.
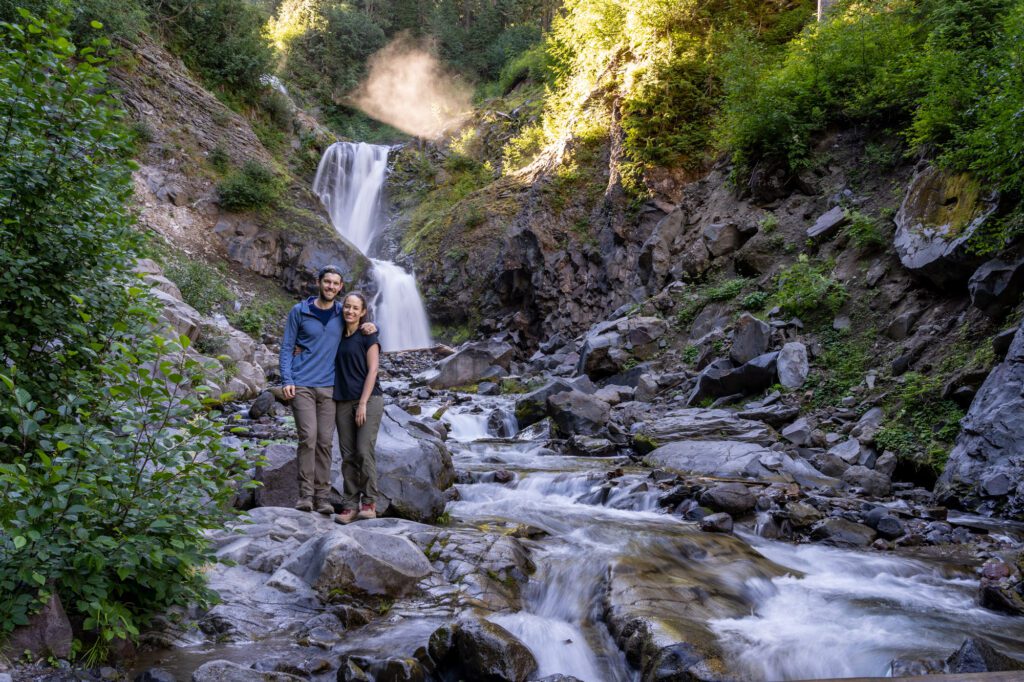
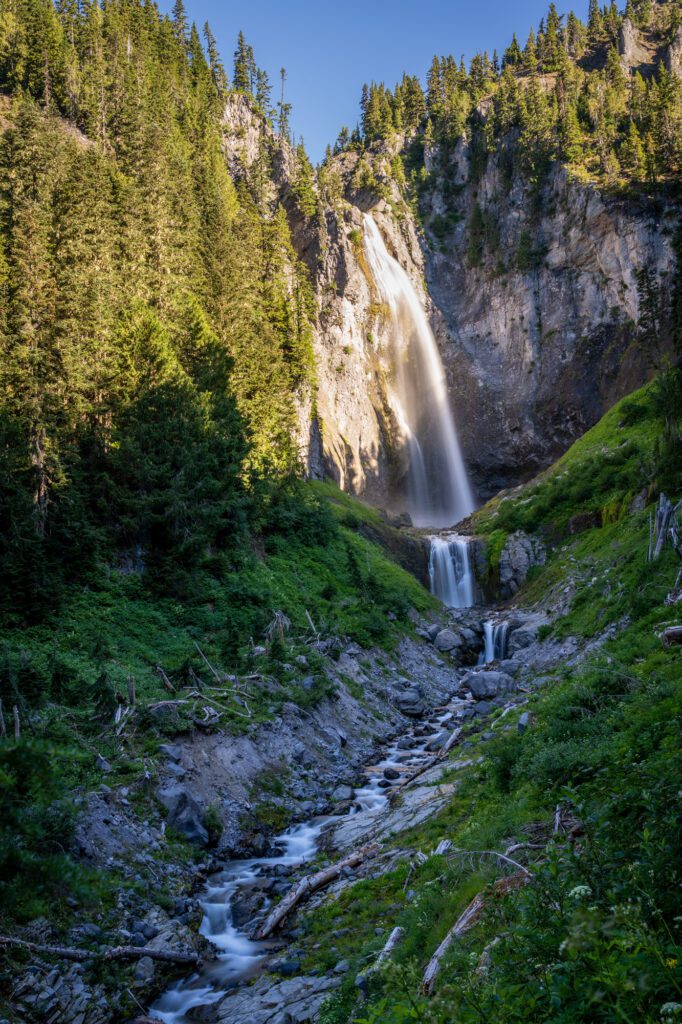
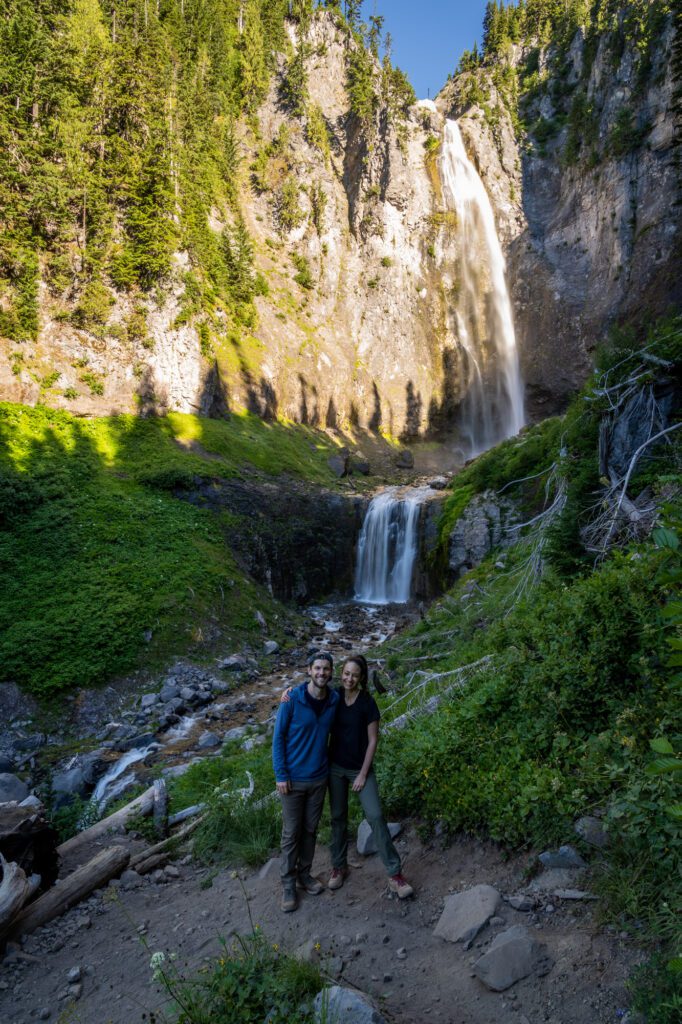
If you’ve got gas in the tank, you can continue on to the wildflower-laden meadows of Van Trump Park, which requires some climbing from the waterfall to reach, but is a beautiful slice of Paradise.
Pinnacle Peak (3 miles / 1,600 feet elevation gain): This hike is basically just straight up, straight down, but the views back towards Rainier from the saddle where the trail ends are pretty special. It leaves from across the road from Reflection Lakes, so parking can be tight midday.
Bench & Snow Lakes (2.3 miles / 469 feet elevation gain): While Reflection Lakes gets all the hype, we actually think the view and reflection is better at Bench Lake, which requires a short hike in from a trailhead off of Stevens Canyon Road a few minutes down the road.
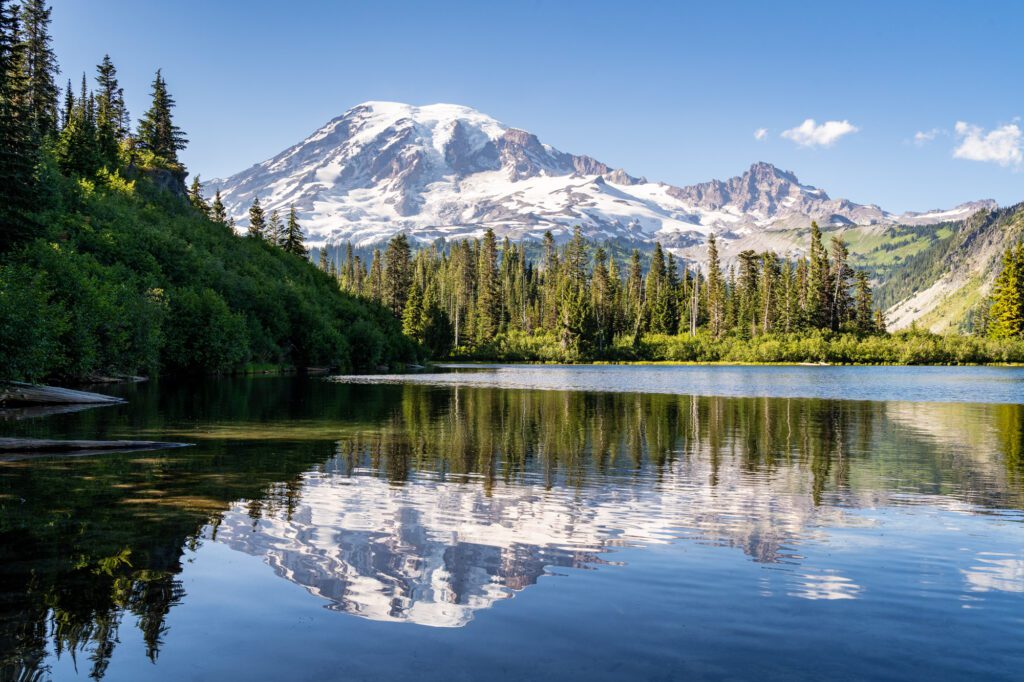
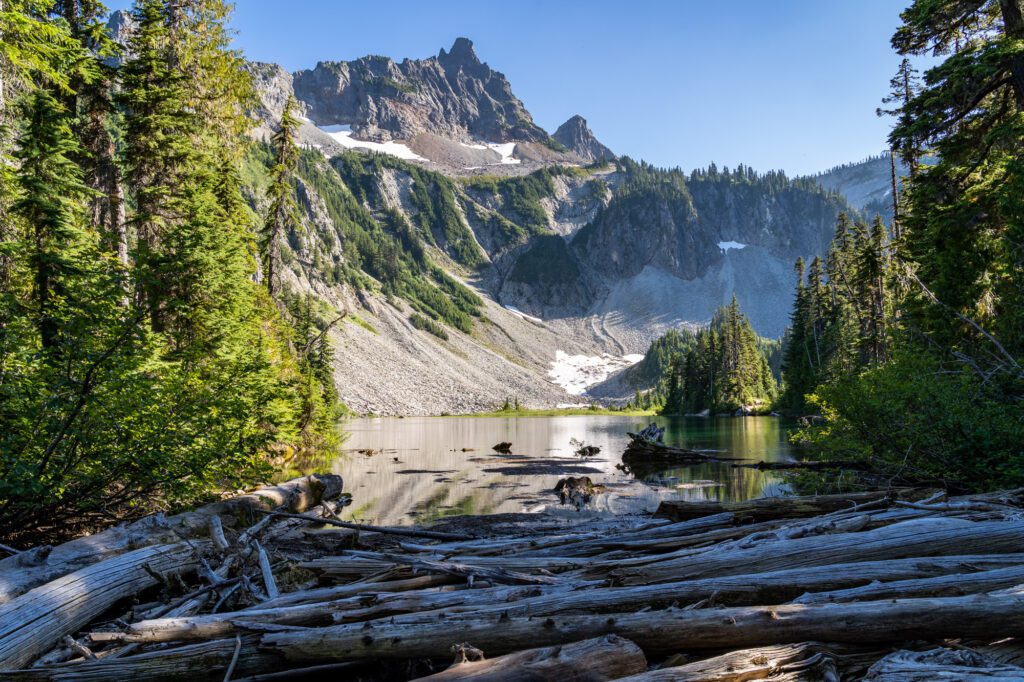
It’s a nice hike with two lakes and some great views of Rainier along the way for a relatively easy effort.
More Hiking at Sunrise
If you’re interested in more hiking at Sunrise, we already gave you the three main trails that we’d recommend.
That’s where we’d start, because those are our favorites (although the Summerland Trail to Panhandle Gap below probably fits in that category too).
There are three additional hikes that leave from trailheads closer to the entrance station at the base of the road that would also make a good addition to your itinerary.
Naches Peak (3.5 miles / 350 feet elevation gain): The best bang-for-your-buck in terms of views for the effort in the area, we think.
It’s a relatively easy climb, and from the top of the hike you have a great view of Rainier and the lake below.
Go clockwise so you’re hiking straight towards the views of Rainier at the end.
The Summerland Trail to Panhandle Gap (12 miles / 3,000 feet elevation gain): This hike starts from a trailhead at the base of Sunrise Road, just after the entrance station.
The draw of this hike is the fact that you’re hiking a stretch of the Wonderland Trail, the trail that circumnavigates Rainier.
You can shorten it by going just to Camp Summerland (~8 miles, ~2,000 feet of elevation gain), a backcountry campground in a nice subalpine meadow.
After Summerland, it continues climbing, bursts past the treeline, and you’re in alpine wonderland.
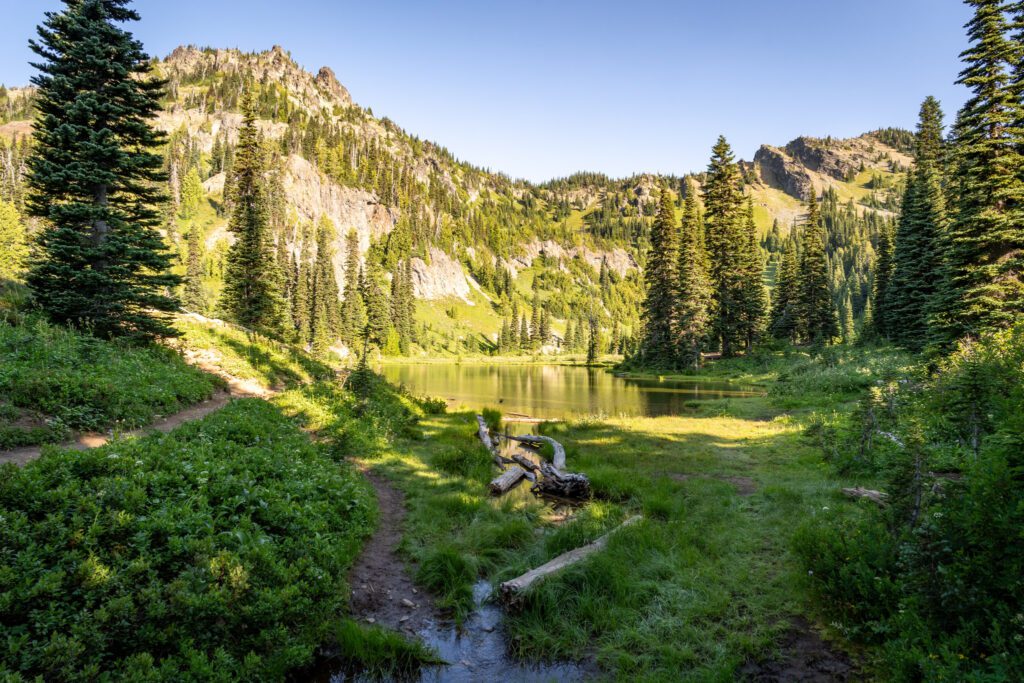
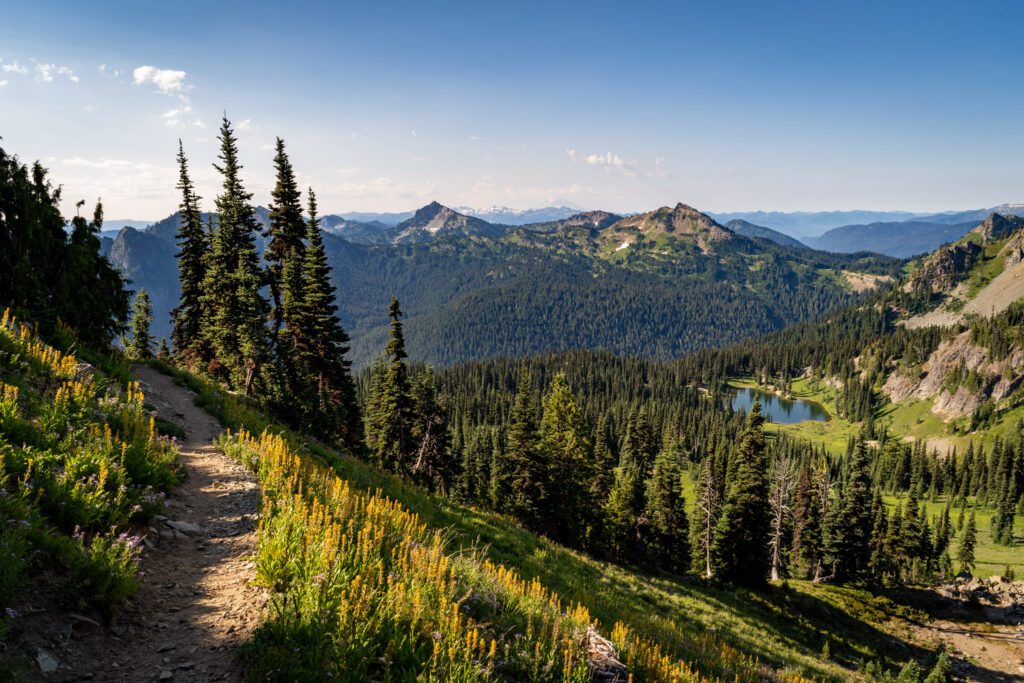
Sheep Lake and Sourdough Gap (6 miles / 1,200 feet elevation gain): This hike is TECHNICALLY outside the park (so you can bring dogs), though you do hit the park boundary at the end of the hike (you can continue further to a couple of lakes in the basin below, if you want).
You follow the PCT first to a nice lake, then hit a set of switchbacks up the hillside to a first saddle, then continue along the ridge to a second saddle, which is where you hit the park boundary (no more dogs from that point).
It’s a really nice hike, and leaves from a trailhead just up the road from Tipsoo Lake.
More Hiking near Packwood
If you’ve taken our advice and chosen to stay in Packwood, you’re right in the midst of a couple of good hikes that are outside the park (and therefore a little less busy), but are still well worth your time.
Snowgrass Flats and Goat Lake (12.5 miles / 2,700 feet elevation gain): This is THE hike to do near Packwood, though it’s at the end of a long, somewhat treacherous forest road known for two things: potholes and flat tires.
Which is why we haven’t gotten to it yet.
However, we know people who have done it, and it’s a collection of everything we love about PNW hikes in the mountains: wildflowers, sweeping views with snow capped peaks in the distance, and rocky alpine lakes.
Packwood Lake (10 miles / ~1,300 feet elevation gain): Though it’s long, this is a relatively flat hike through the forest to a really nice lake, Packwood Lake.
It’s a relatively easy (though not particularly eventful, either) hike that would make for a good beginner backpacking trip because there are a bunch of nice lakefront sites.
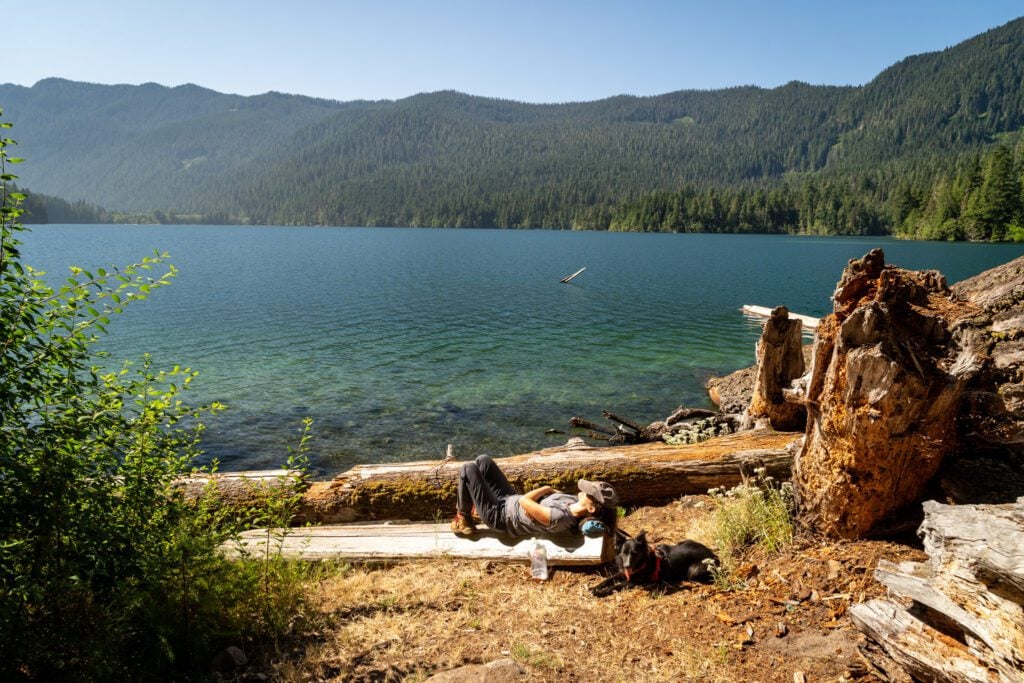
Note that the nice lakefront sites are about five miles into the hike (whereas AllTrails gives you the stats for going all the way to the opposite side of the lake).
What to Do With Less Time
If you only have a day to dedicate to Mount Rainier, the first thing we’d do is decide which area – Paradise or Sunrise – sounds like your cup of tea.
Like we mentioned early on, we don’t think it’s really feasible to do them both because you’ll end up doing a ton of driving and end up shortchanging both regions.
From there, you can basically follow the section of the main itinerary for the day you choose. Easy!
Things to Know Before You Visit Mount Rainier
Here are a few things to know before your trip up to Rainier.
Park entry fees. Like nearly all national parks in the United States, you’ll have to pay to enter.
You have a few options here, and at the most basic level it depends on how many national parks you think you’ll visit in the next 12 months.
- If the answer is three or more, buy an America the Beautiful Pass. It will cost $80 and gets you entrance to every national park in the US (and national forests and monuments, we learned recently) for a full year from the time you buy it. Buy it online at REI in advance, or in person at one of the entrance stations.
- If it’s two or less, then pay the $30 entrance fee, which covers entrance to Mount Rainier for your car for seven days from the time you buy it.
You could buy an annual pass for JUST Mount Rainier for $55, but I’m not sure who needs that. Maybe park rangers?
No dogs allowed on any hiking trails at Mount Rainier. No exceptions. This is par for the course in national parks.
They can be in campgrounds as long as you’re there with them, and they can basically go anywhere a car can go. That, crucially, means they cannot go on any hiking trails.
Do not, under any circumstances, feed the wildlife. Yes, that means you. Yes, that means the chipmunks. No, you don’t need an Instagram picture with a chipmunk eating from your hand.
The chipmunks at Mount Rainier are fearless at this point, and they will steal your food. Keep an eye on your pack!
Pack lunch and snacks. There are only a few places to eat inside the park, and they’re fairly mediocre and expensive.
You could head outside the park to Packwood or one of the other bordering communities, but that’s a long drive (an hour or more).
Any hike with a lake will have mosquitoes in the summer. Come prepared with long sleeves and bug repellant.
Planning a Trip to Mount Rainier? We’d Love to Help!
You won’t want to miss our detailed guides to visiting Mount Rainier that are all based on our own personal experience exploring the park.
- All of Our Favorite Things to Do in Mount Rainier National Park
- A Perfect Mount Rainier Itinerary for First Timers (2+ Days)
- How to Plan an Unforgettable Day Trip to Mount Rainier From Seattle
- Where to Stay near Mount Rainier National Park: A Complete Guide
- The Best Hikes in Mount Rainier National Park: A Helpful Hiking Guide
- Hiking the Skyline Trail: Is This the Best Hike in the Entire State?
- Hiking the Jaw-Dropping Burroughs Mountain Trail at Mount Rainier
- Hiking to Towering Comet Falls in Mount Rainier National Park
- The Naches Peak Loop: The Best Bang-for-your-Buck in Washington
