Hiking the Wilcox Pass Trail: A Complete Trail Guide
The Wilcox Pass Trail is probably our favorite stop on the Icefields Parkway, and is our pick for the best hike on the drive between Banff and Jasper (not including the hikes at Lake Louise).
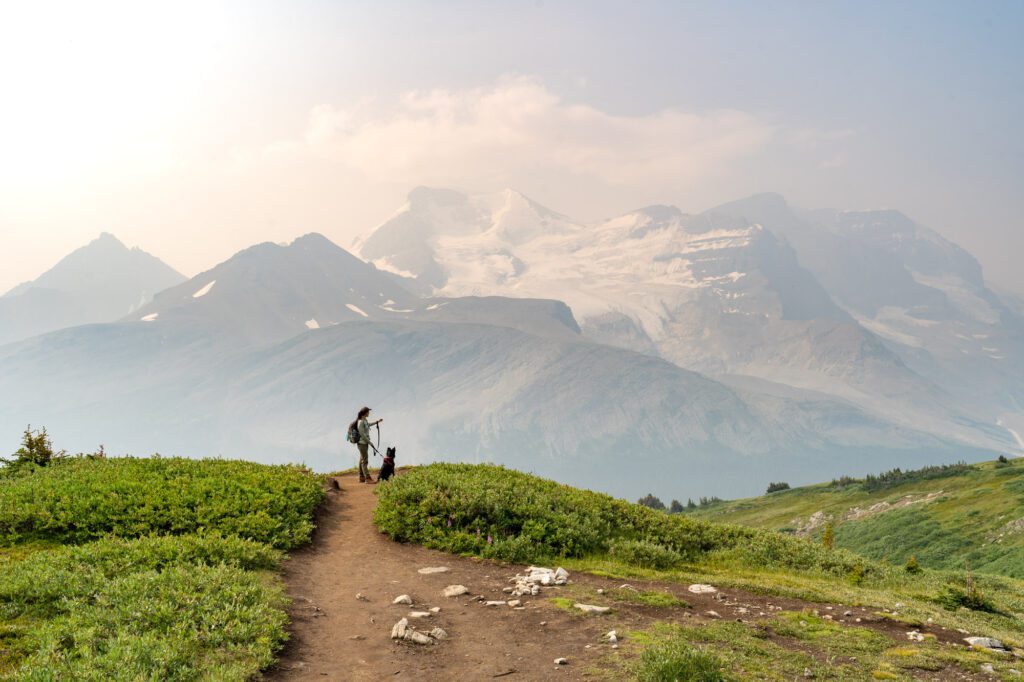
The reason? You spend most of the hike above the treeline (which means excellent alpine meadows and views), you get one of the best views of the Athabasca Glacier and the surrounding peaks that you can reach on your own feet, and it’s far enough from both Banff and Jasper that it’s less of a zoo than some of those hikes.
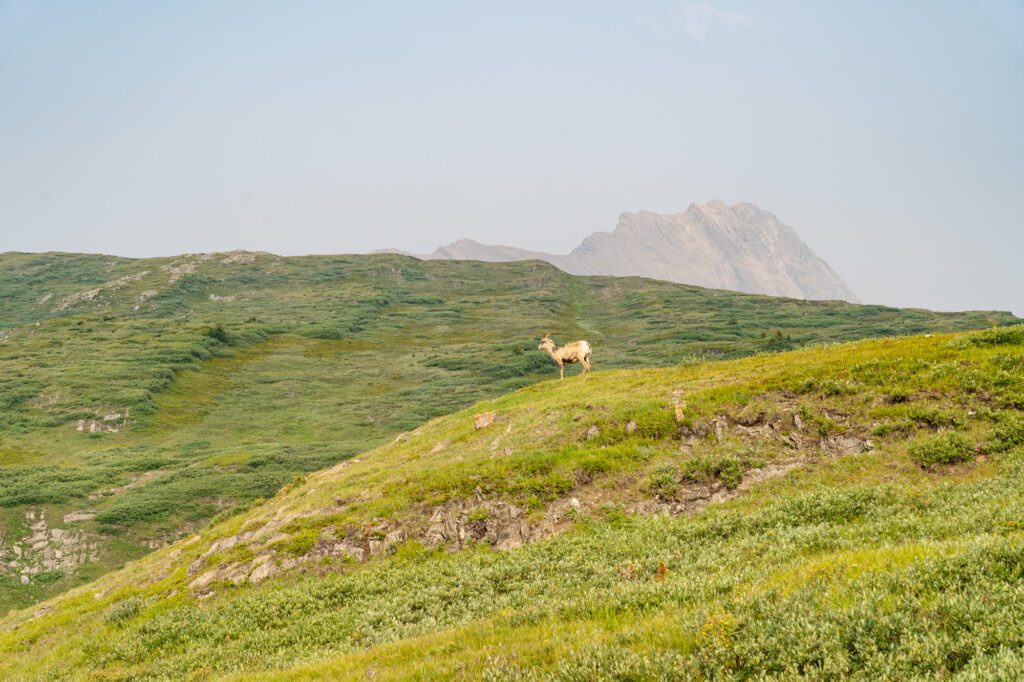
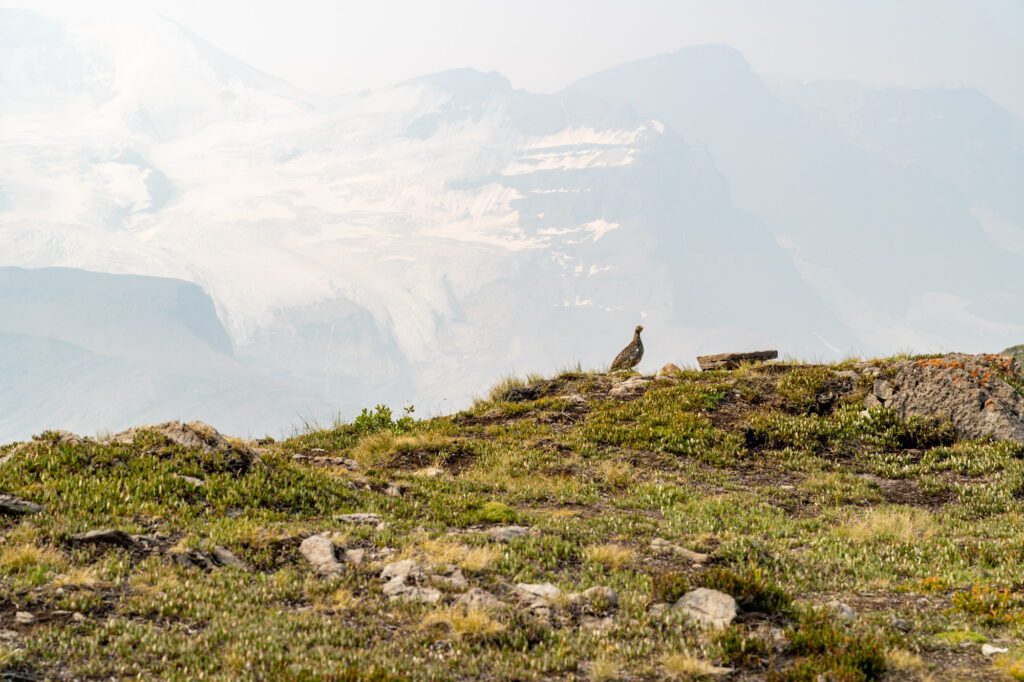
Speaking of zoos, this is also a great place to see wildlife. On our hike to Wilcox Pass, we saw several groups of Bighorn Sheep, a family of mountain goats stampeding down the hillside, a family of grouse (we think that’s what they were, anyway), and plenty of marmots (Alysha’s favorite).
In this guide, we’re going to cover everything you need to know to get out and hike to Wilcox Pass yourself.
We’ll start with the logistics – where to park, and other things you need to know for a smooth trip – and then go into a trail report based on our own experiences hiking the trail.
Our intention is to set you up for hiking success by the end of the guide so you can get out on the trail safely and confidently, prepared for the trail and knowing what to expect.
Sound good to you? Let’s get into it.
Disclaimer: Some of the links in this post, like hotel links, are affiliate links, meaning at no additional cost to you, we make a little bit of money if you click through and book. That being said, we would never recommend something to you that we don’t stand behind 100%.
Hiking the Wilcox Pass Trail: Trail Details
- Length: 5.8 miles
- Elevation Gain: 1,700 ft.
- Season: July – October
- Trail Type: Out and Back
- Difficulty: Moderate
- Dog Friendly? Yes, on a leash
- Pass Required: Parks Canada Admission OR Parks Canada Discovery Pass
- Trailhead Location
The Route for Wilcox Pass
While there are technically a couple of ways to get up to Wilcox Pass, there’s only one route up that really makes any sense at all, and that’s the one that starts from the trailhead off of the Icefields Parkway, just inside the border of Jasper National Park.
You could also technically access it by hiking from the Tangle Falls pullout further north on the parkway, but that is a much longer hike, and we’re not really sure why you’d do it that way.
The first thing to know is that, while we say “the Wilcox Pass Trail,” what we really mean here is the “Wilcox Pass viewpoint,” which is a little bit past the signage for Wilcox Pass.
This is important, because the best views of the hike are from this viewpoint, which looks out over the multiple glaciers and peaks lining the Icefields Parkway, which is also visible far below you.
It’s a straight shot, with some climbing, from the trailhead to the Wilcox Pass junction, and from there it’s a short, rocky climb to the final viewpoint.
How Difficult is This Hike?
Overall, we’d put this hike in the moderate category, but leaning towards the difficult side of the “moderate” spectrum.
There are a few steep, rocky stretches of trail – particularly on the final push to the viewpoint – but nothing sustained. It’s also not particularly long.
Remember, though, that the trailhead sits at more than 6,500 feet above sea level, so if you’re a sea level dweller like us, it will likely feel harder than it should because of that elevation.
Getting to the Wilcox Pass Trailhead
The Wilcox Pass Trailhead is right off of the Icefields Parkway just before you get to the Columbia Icefields Discovery Center.
Technically, that means it’s in Jasper National Park (rather than Banff National Park), but it’s basically right on the border between the two.
It’s more or less at the halfway point on the drive from Banff to Jasper, sitting 75 miles north of the junction where you hop on the Icefields Parkway if you’re coming from Banff or Lake Louise, and 66 miles south of Jasper.
Parking at the Trailhead
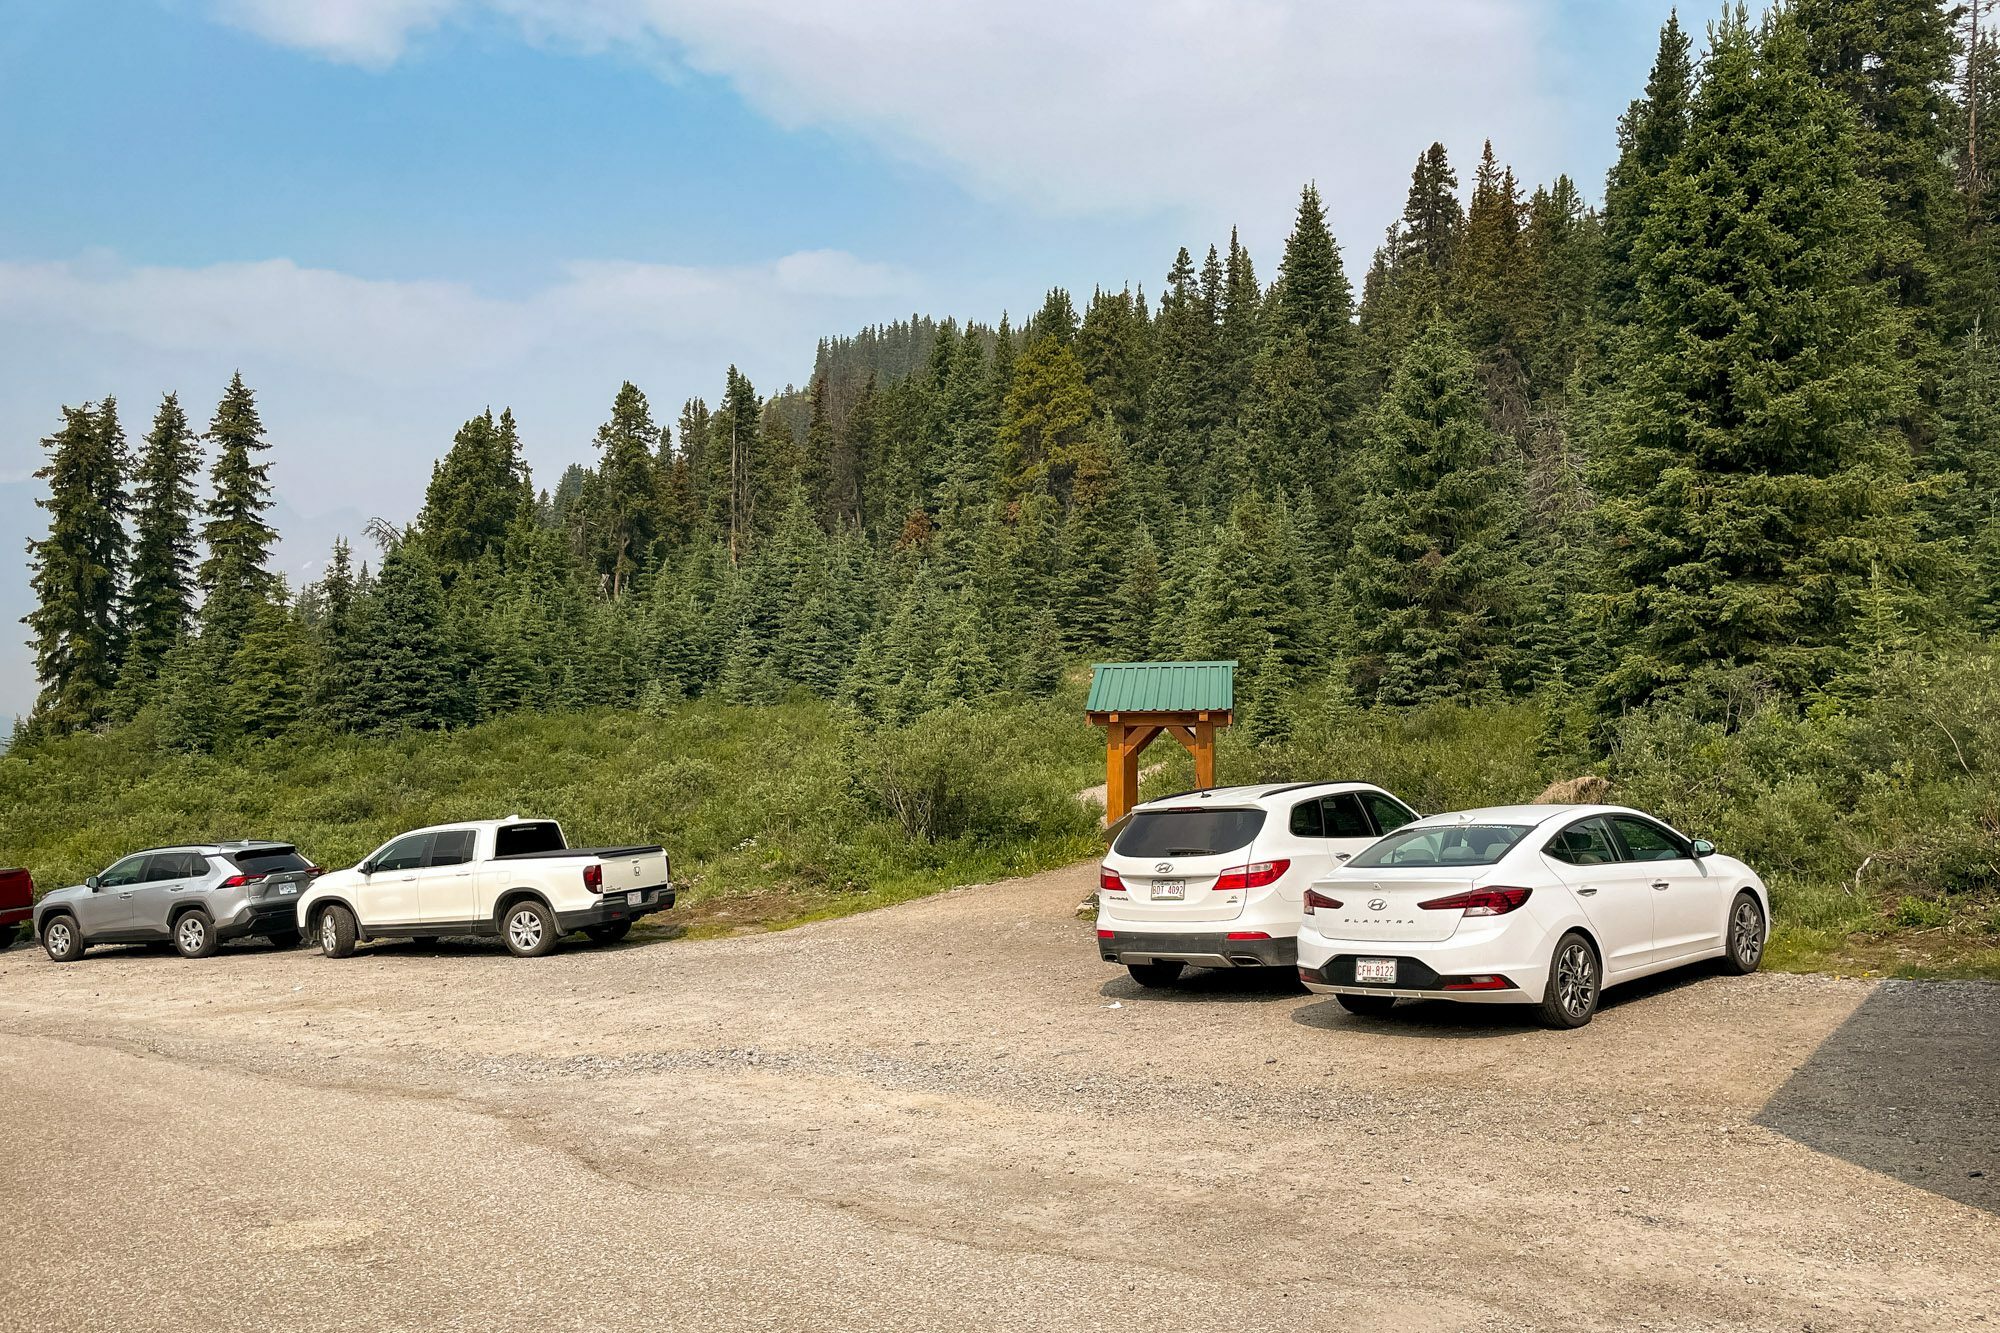
The parking lot at the trailhead is fairly small given the popularity of the trail.
We got here at 7:30am or so and there were already a couple of groups out on the trail before us.
There is room for around 10-15 cars in the parking lot itself, and then a bit of parking along the road in.
Parking for larger vehicles, like RVs, might be difficult here, especially if you show up after most of the spots are taken.
How do we know that? Well, we saw an RV trying to turn around and back straight into a truck behind it before driving off without leaving a note or anything.
Yes, they knew they did it, because they got out to look.
There is also a pit toilet at the trailhead.
It’s pretty far from wherever you’re coming from (Banff or Jasper), so you’ll want to get an early start on the drive if you can.
The best way to do it is probably to camp at Wilcox Creek Campground, which is right next to the trailhead.
All sites there are first come, first served – more information here.
The Best Time to Hike to Wilcox Pass
Like most Banff hikes, the best time to hike to Wilcox Pass is going to be summer and early fall, roughly July through mid-October (though the beginning and end depend heavily on the year).
Outside of those seasons, you’re going to find snow, avalanche danger, and sketchy roads, and we wouldn’t recommend hiking here.
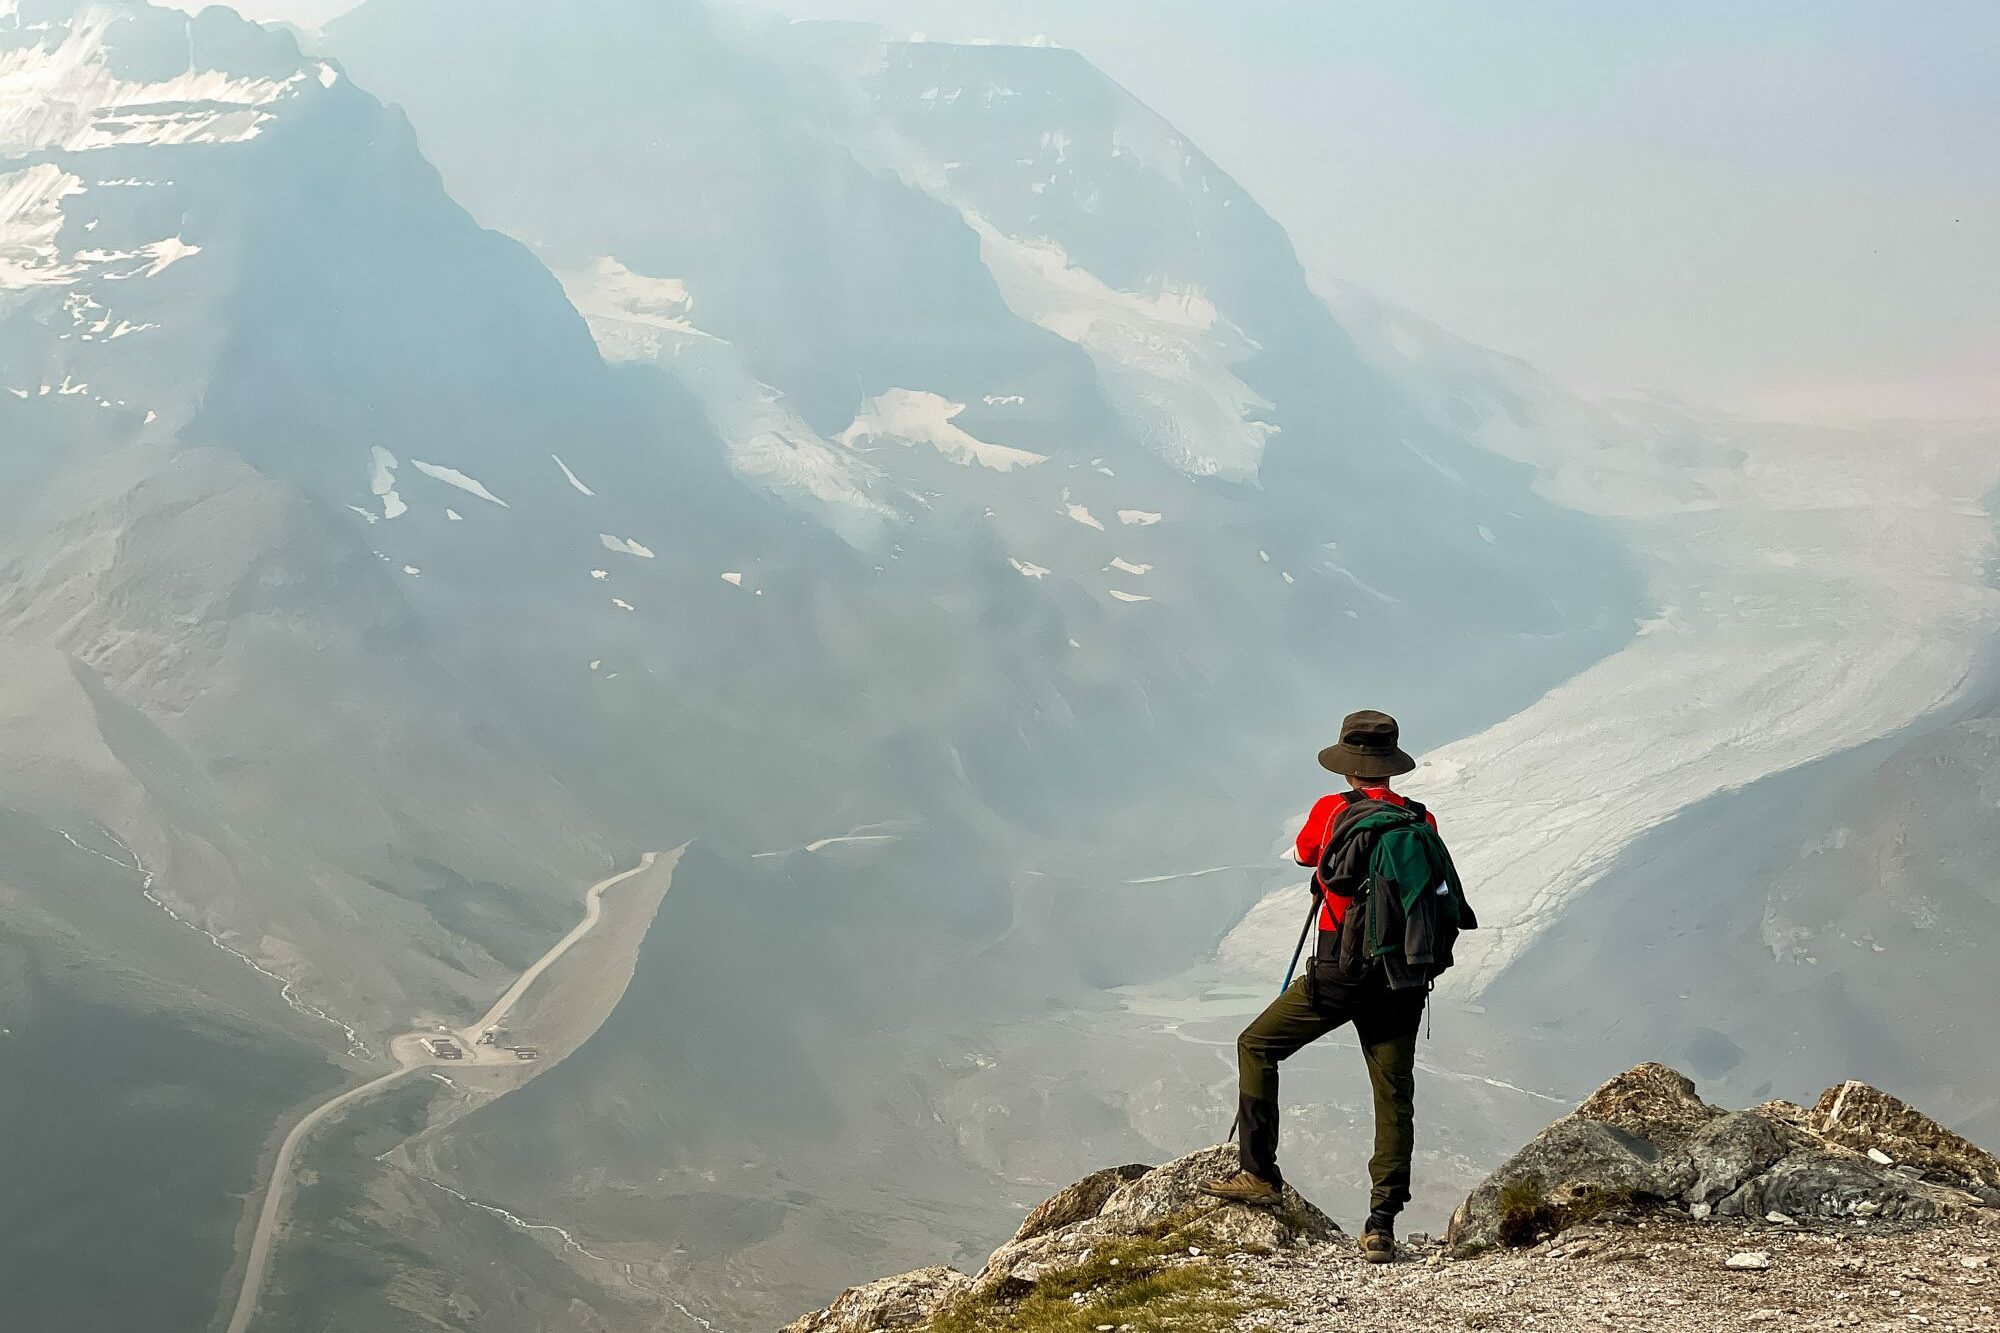
However, there is an alternate consideration here for summer and fall, and that’s smoke from nearby wildfires, which will continue to be an issue for the foreseeable future.
We first visited Banff in mid-September, and experienced smoke so thick that we really couldn’t see anything when we drove the Icefields Parkway for the first time. About half of our days were smoky.
So, we thought, we’ll visit in the early summer (first part of July), before fire season really gets going.
Well, we had more or less the same conditions, with smoke from Canadian wildfires rolling in for our entire time in Jasper.
We hiked Wilcox Pass in the early morning, with smoke obscuring the views somewhat, and were bummed to realize that later in the day (you can check conditions via the Icefields Skywalk webcam), the winds had shifted and blown most of the smoke out.
Turns out, fire season is basically six months of the year now, and it’s going to be a crapshoot in terms of weather when you’re up in the Rockies.
We like using IQAir to check air quality and forecasts, though it will likely change day to day.
The Wilcox Pass Trail: A Complete Trail Guide
Now that we’ve covered most of the information we think you need to know before you get out on the trail, let’s talk about what to expect on the trail itself!
The hike to Wilcox Pass is a pretty straightforward affair, but we’re going to break it into three distinct sections to make it more digestible, and so that you’ll be able to keep track of where you are on the hike when you’re on the trail.
Those three sections are:
- The Initial Ascent to the Red Chairs
- Climbing to Wilcox Pass Through the Meadows
- The Final Push From the Pass to the Viewpoint
Quick Note: the difference in the total elevation gain above in the “Trail Details” section, and the sum of the three numbers below (1,700 vs. 1,450) is almost entirely due to the up and down nature of the trail between the pass and the viewpoint, which you’ll have to tackle on your way back down.
The Forested Ascent to the Red Chairs
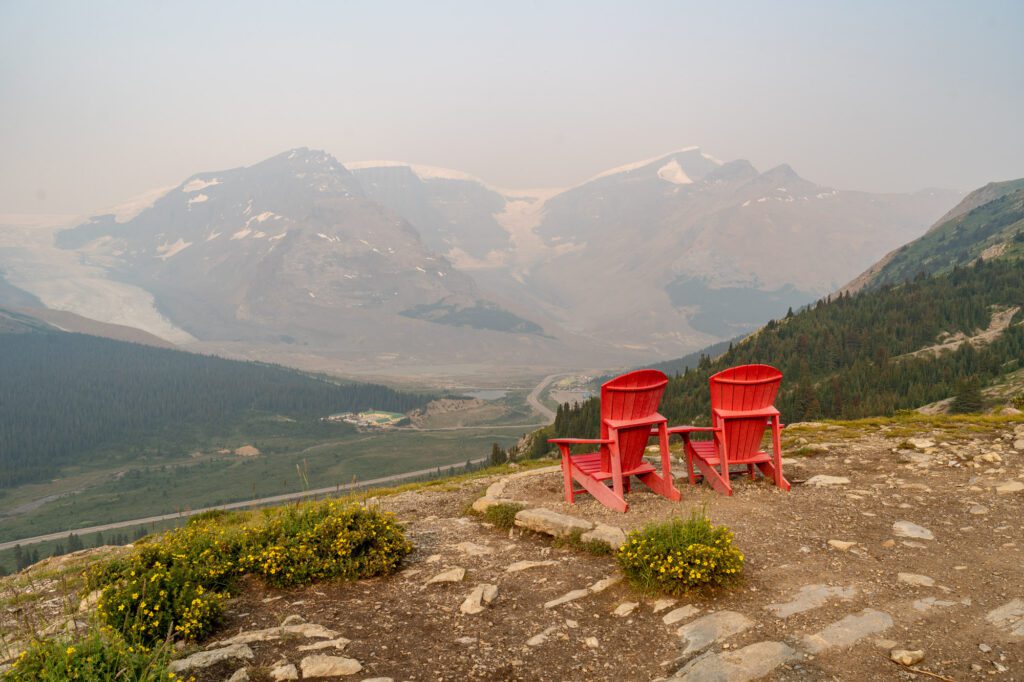
Length: 1 mile // Elevation Gained: 450 feet
From the trailhead, the hike immediately enters the forest and starts climbing.
This first section starts from the trailhead and ends at the red Parks Canada chairs, which look out over the Icefields Parkway and the glaciers beyond (don’t worry, the views get even better as you climb).
Compared to other hikes nearby, like Helen Lake or Healy Pass (which, to be clear, we love), the forested section of this hike is pretty quick, getting you up into the alpine section significantly faster than either of those two other hikes.
Which is part of the reason this is our favorite hike on the drive along the Icefields Parkway.
There’s a nice boardwalk for a short section about halfway into the climb, which was maintained surprisingly well when we were there, and almost immediately after that you get your first viewpoint out over the valley, with the glaciers looming in the distance.

After another semi-forested stretch, you emerge out onto the hillside with some great views, and shortly thereafter you’ll find yourself at those red chairs.
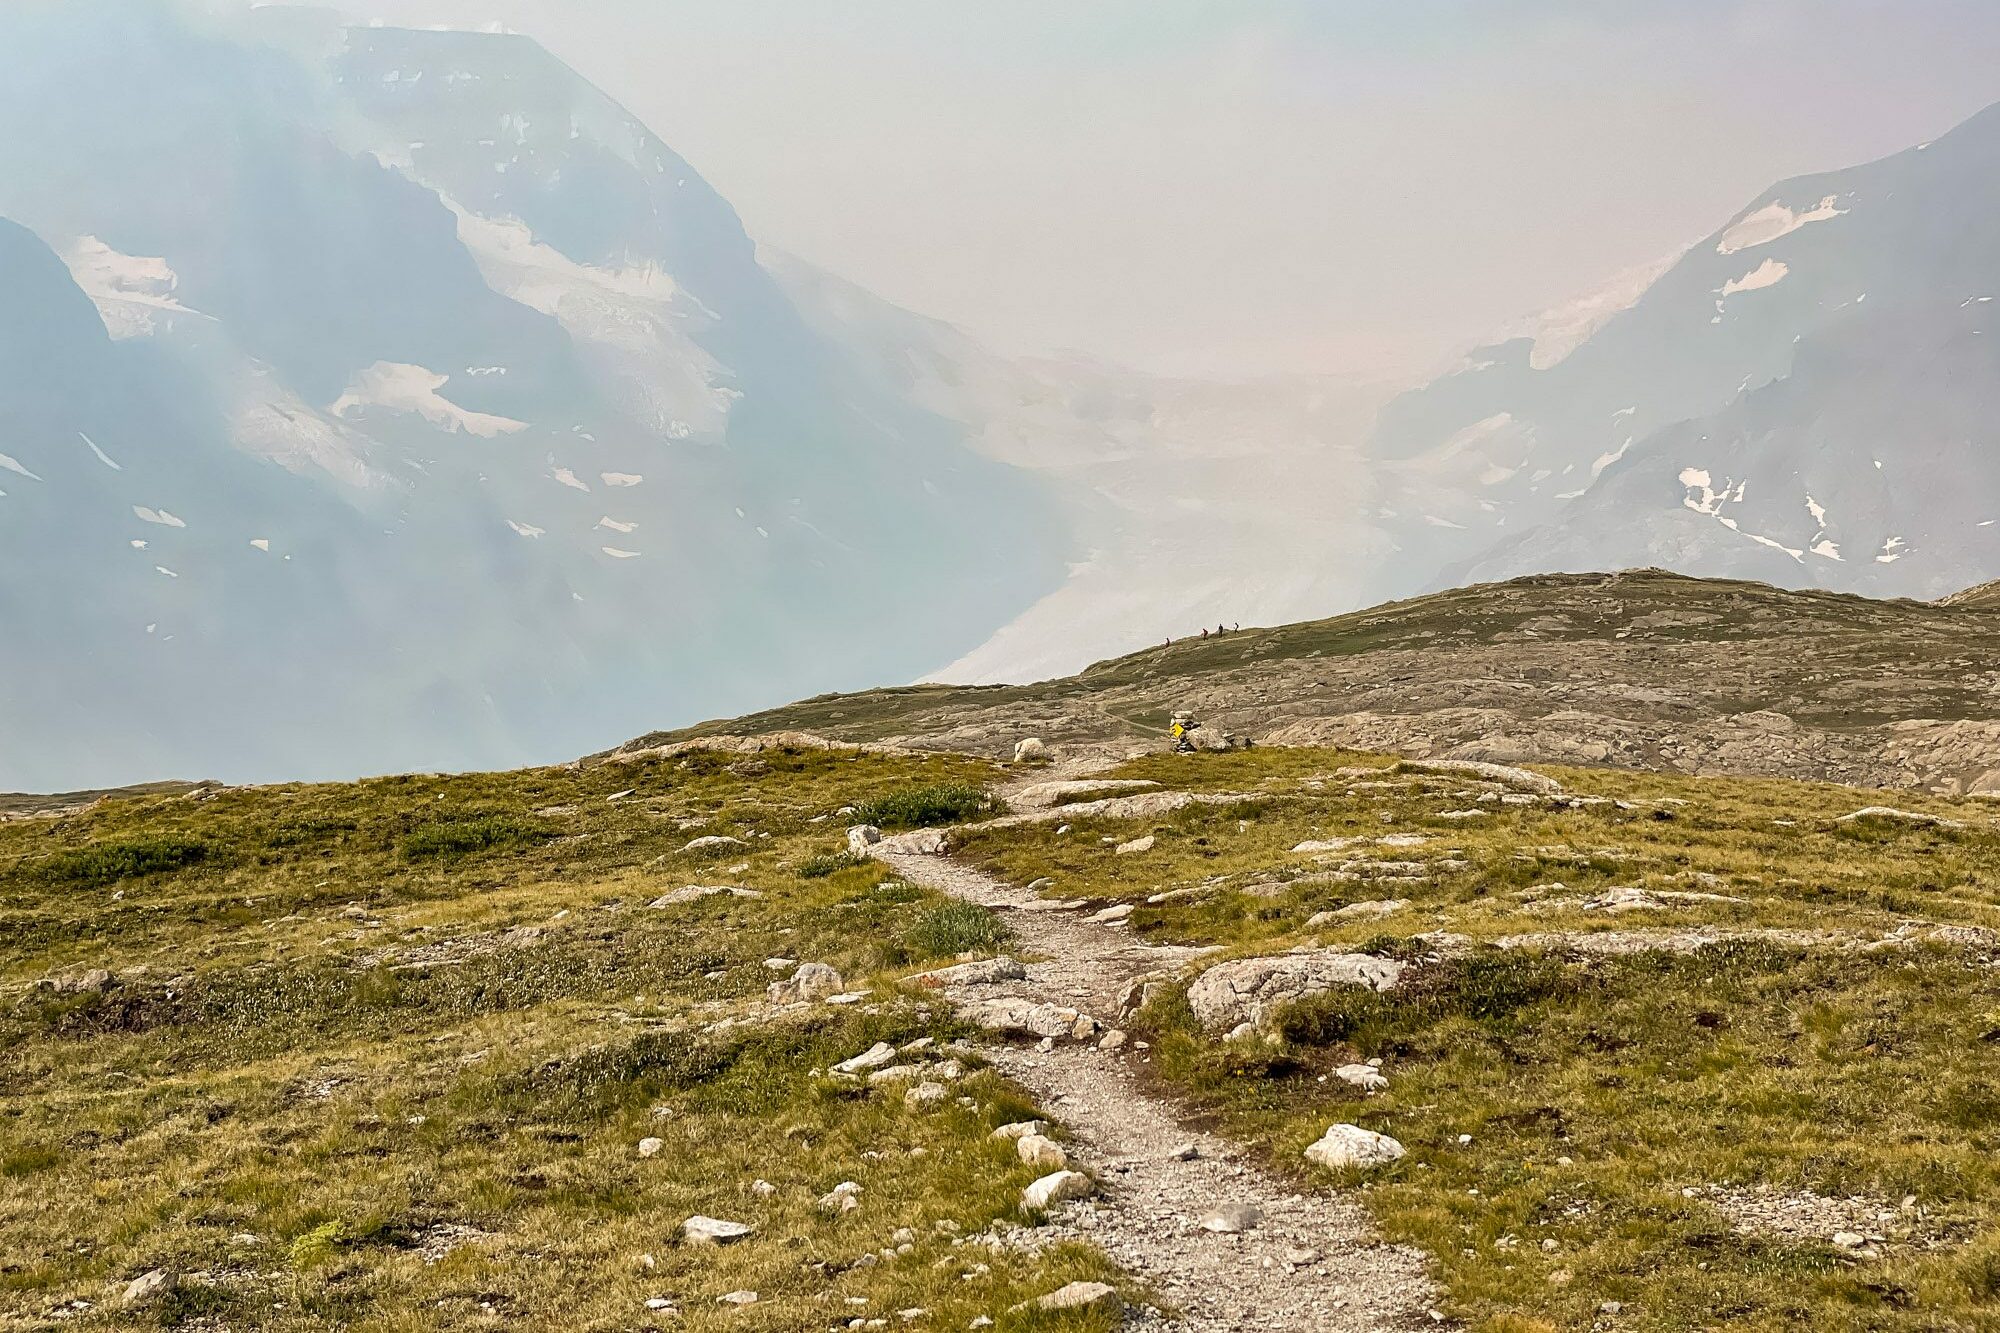
Climbing Through the Meadows
Length: 1.1 miles // Elevation Gained: 550 feet
The second stretch of trail here represents the climb from those red chairs through the meadows to Wilcox Pass itself.
Which, as we covered above, is not actually where you’ll find the iconic view here – that’s another three quarters of a mile or so up the trail to your left as you arrive at the pass.
That being said, the views from this section are nothing to sneeze at, especially once you make it up to the ridge and can look back the way you came.

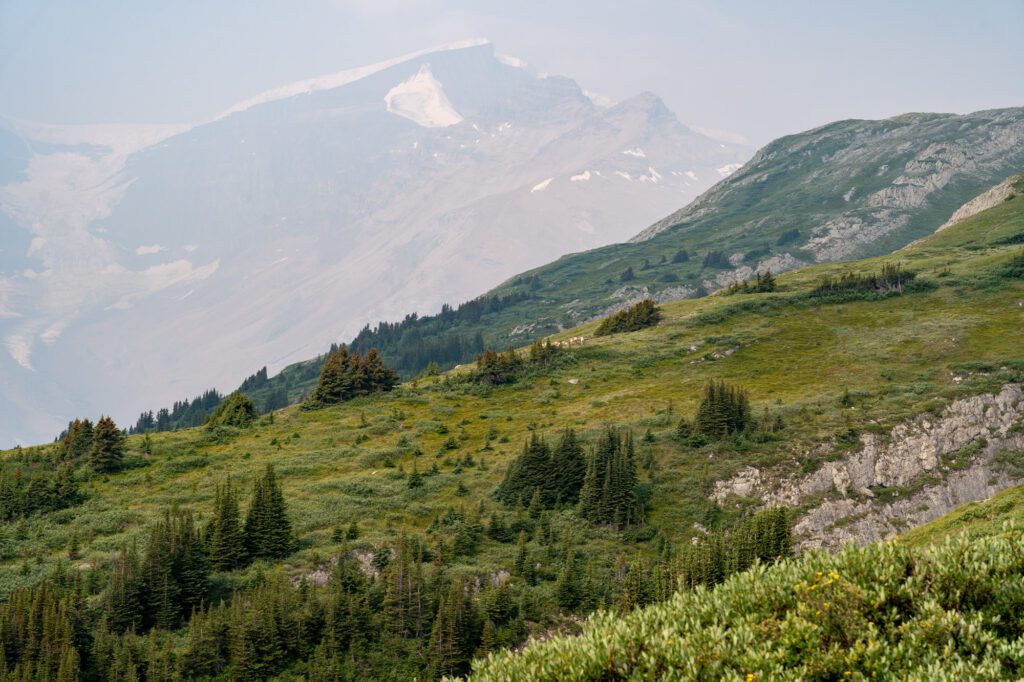
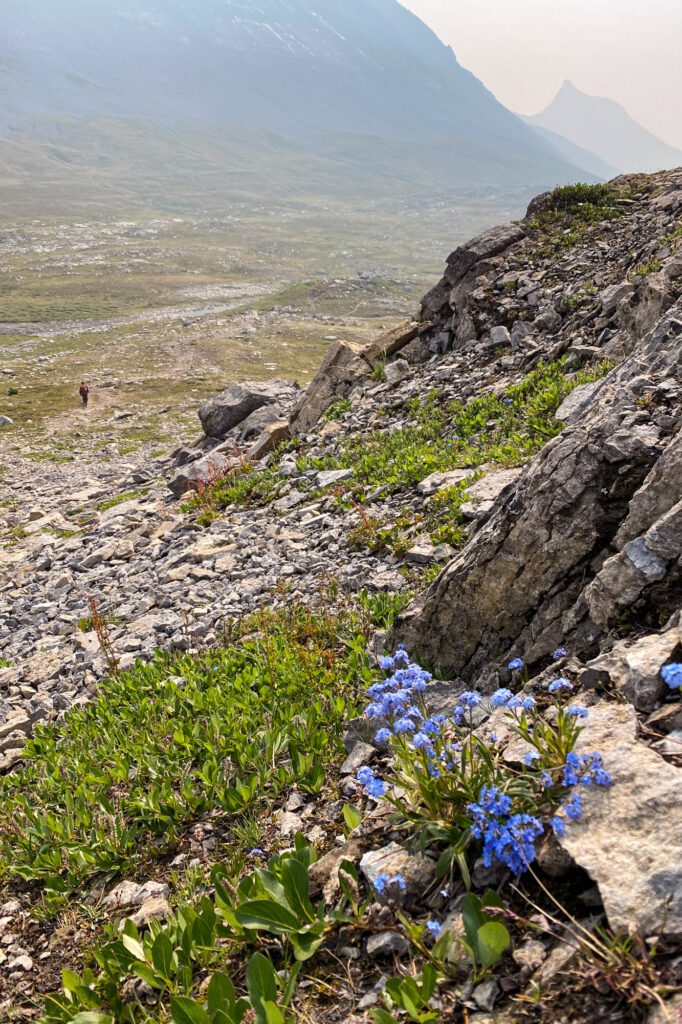
The first half of this part of the trail is the hardest part of the first two sections. It is steep at times.
It’s rocky. But once you get through that and you find yourself atop the ridge, it’s a largely flat stroll to the sign for Wilcox Pass, with excellent views in every direction.
One thing to know about this section: this is where we saw nearly all of the wildlife that we encountered, including a family of mountain goats who came stampeding down the hillside (still not sure what they were running from) and a couple of groups of bighorn sheep meandering and chomping on grass.
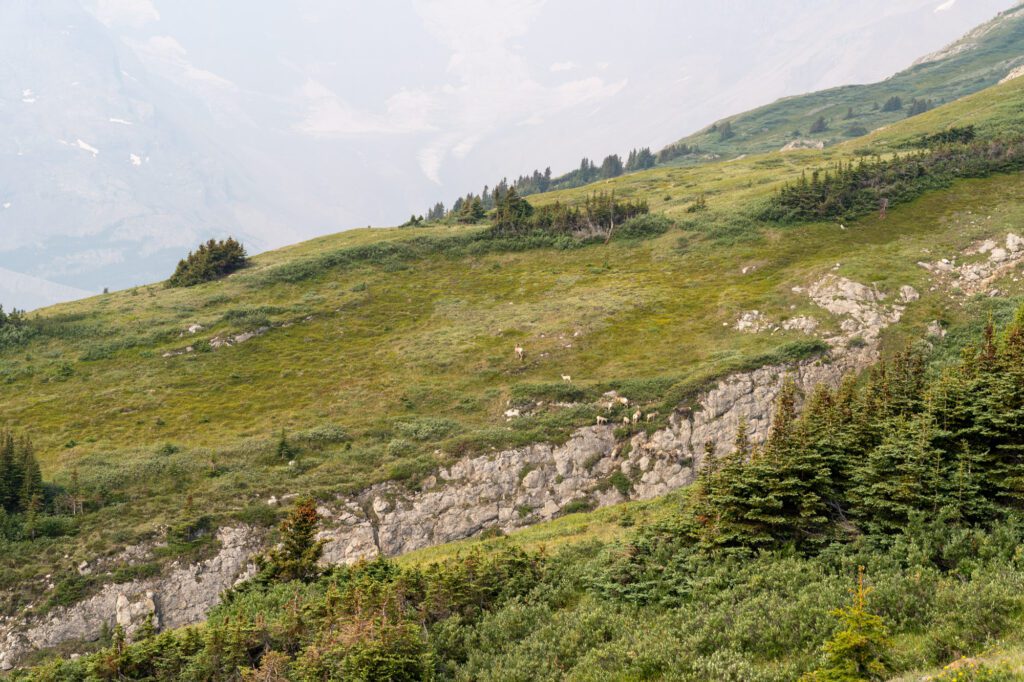
Keep your eyes peeled!
The Final Push from the Pass to the Viewpoint

Length: 0.8 miles // Elevation Gained: 450 feet
This final stretch of trail is basically a set of mini-hills with steep, rocky ascents (and descents).
You’ll first climb up, then down into a valley, and then back up again to reach the final viewpoint. That last climb is the longest and steepest, and is probably the most difficult part of the entire trail.
However, the views that await at the end of the hike are well worth the effort.
On your right, Wilcox Peak looms above you (there’s a scramble trail to get up to the saddle up there, if you’re feeling particularly spry and adventurous).

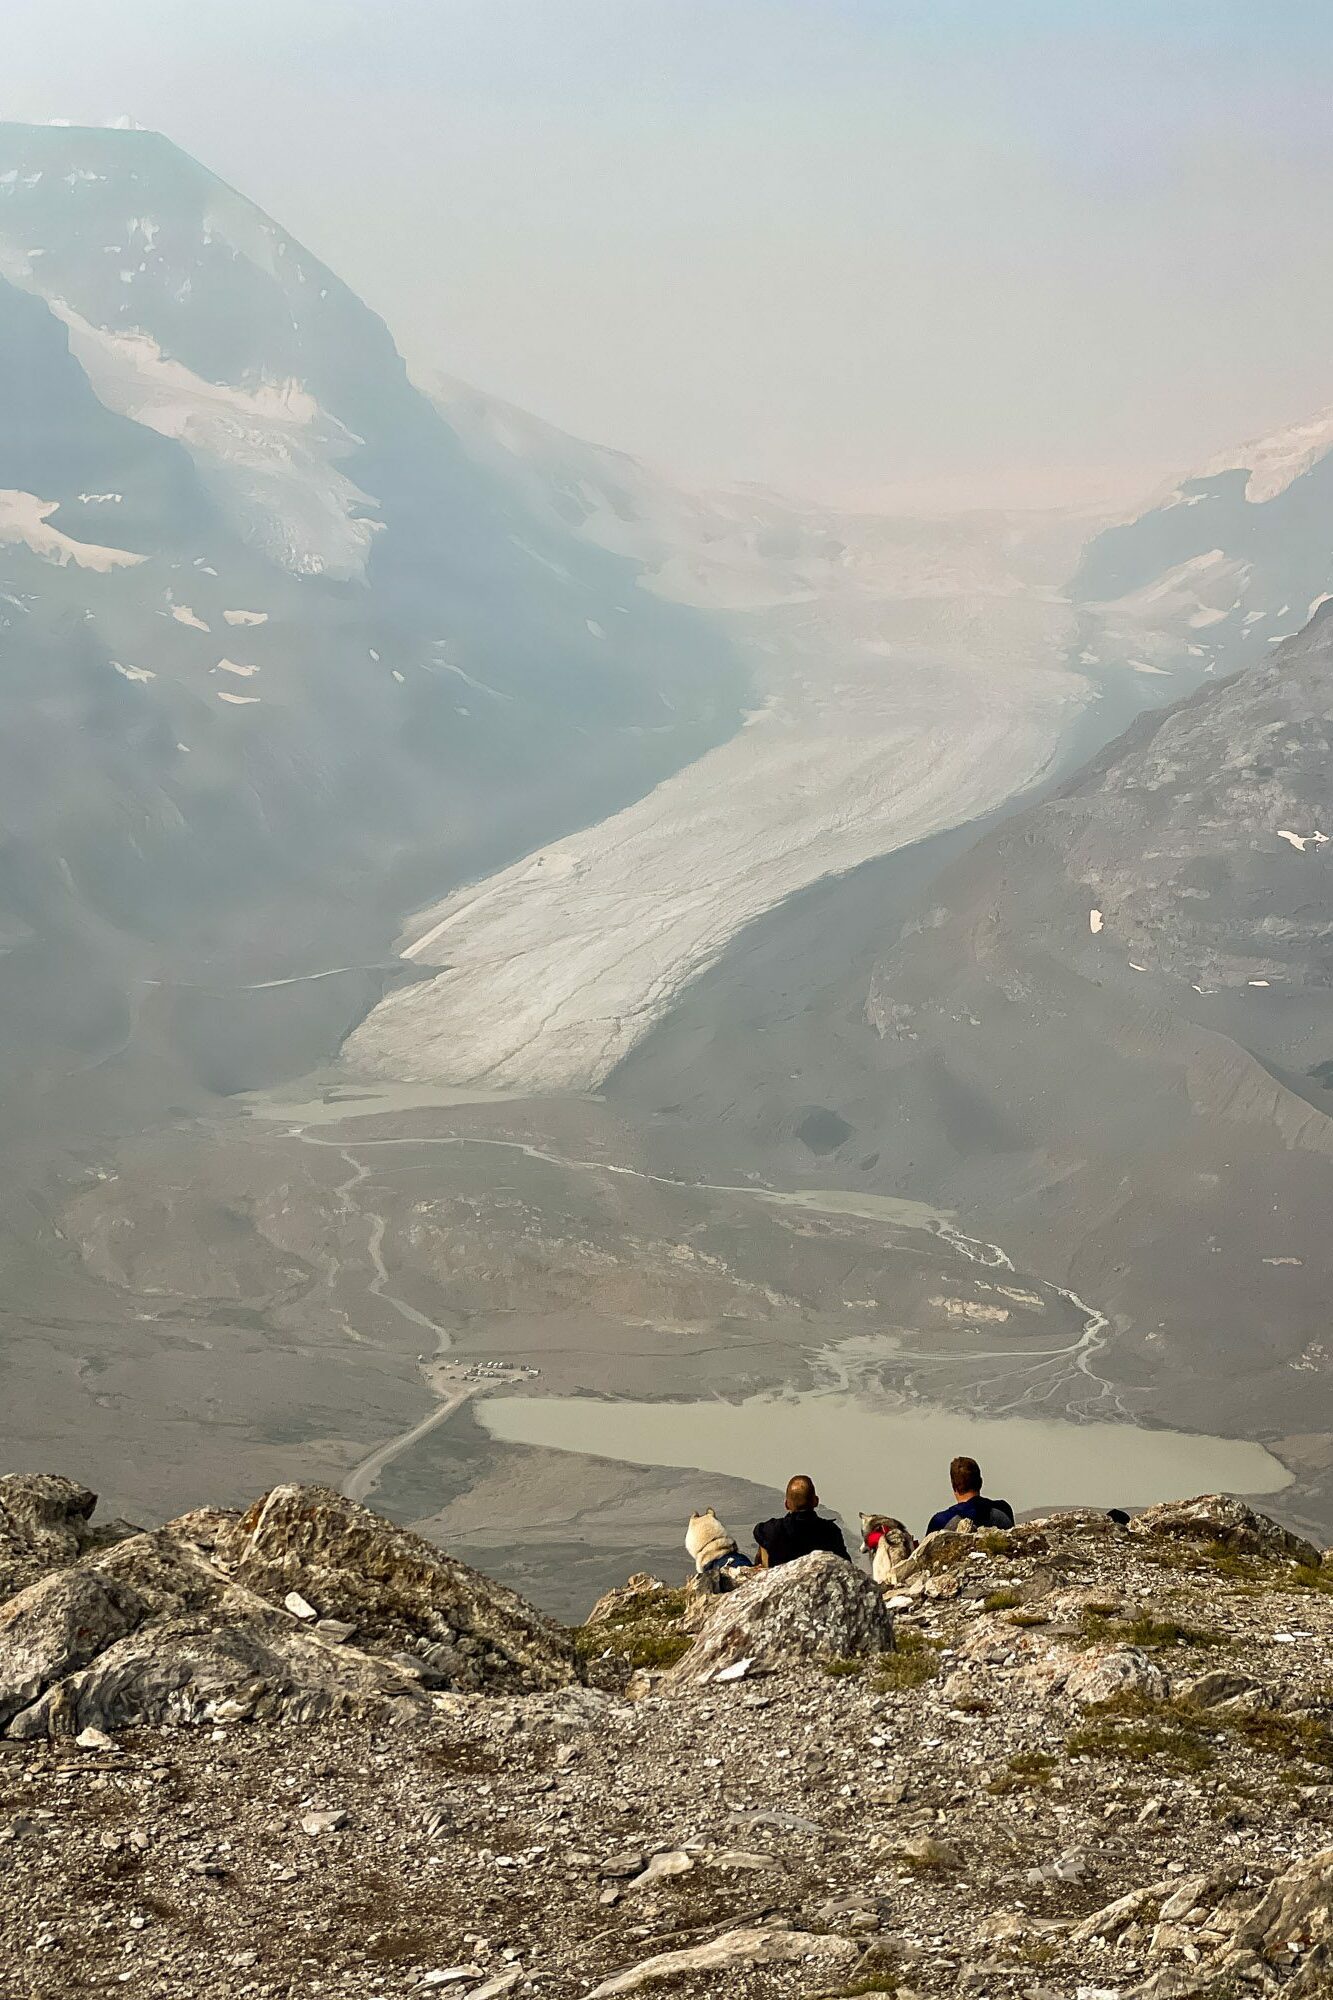
And straight ahead, the main attraction.
You’ll have one of the best views of the Athabasca Glacier you can get with your own two feet, along with the peaks looming over it on either side (Mount Athabasca and Snow Dome).
You’re also perched right above the Columbia Icefields Discovery Center, though that’s not nearly as interesting as all the glacier/mountain action across the valley.
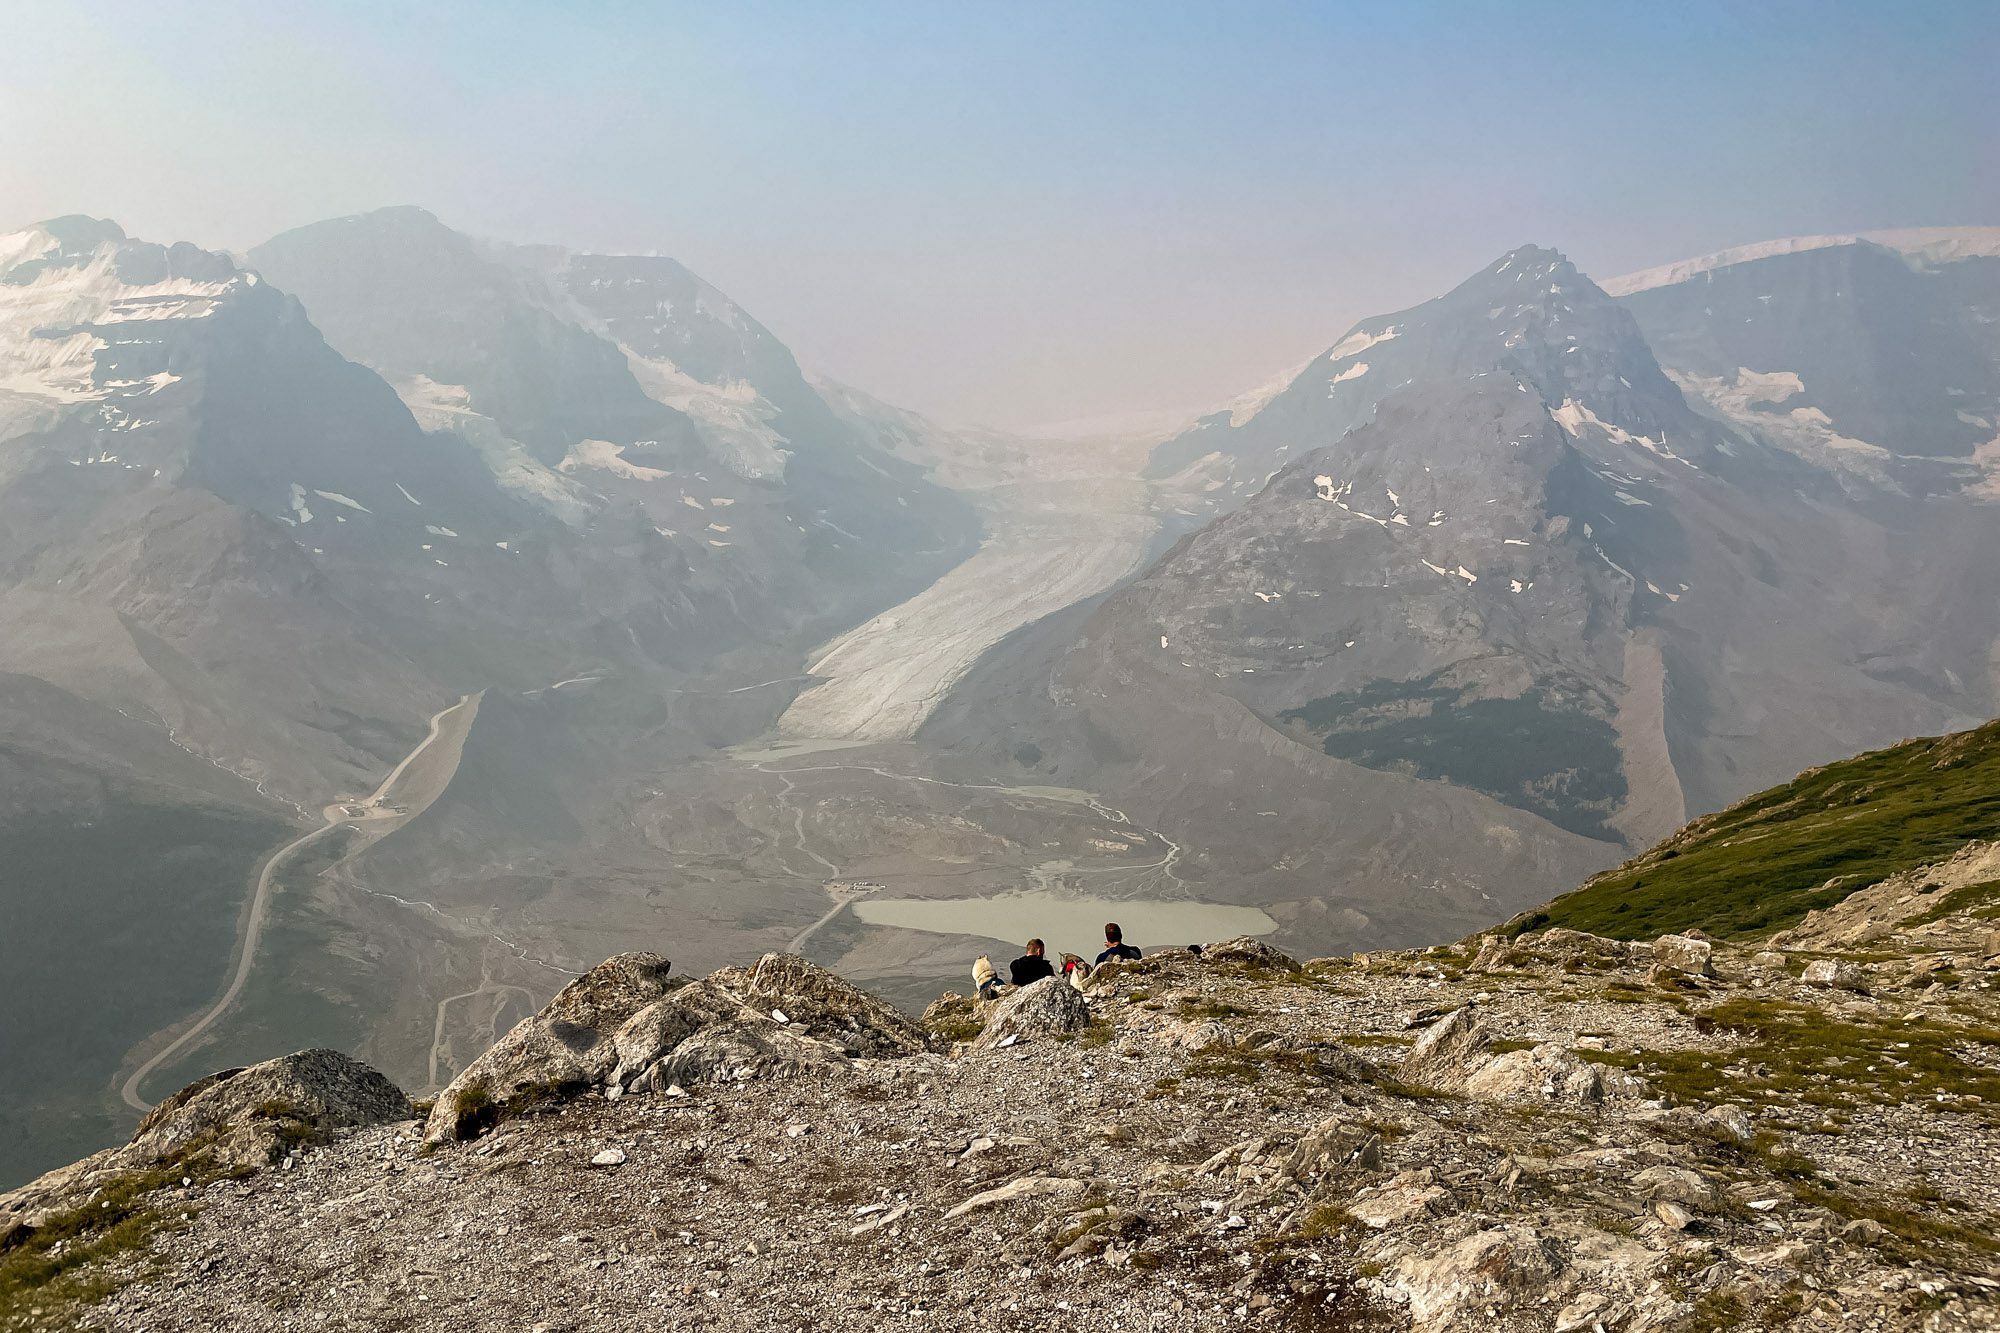
This is a perfect place to grab a snack, some water, and a well-earned rest with one of the best views in the park.
On the way back, you’ll follow the trail the way you came.
You will have some short climbs to do to get back down to the turnoff at Wilcox Pass, but from there it’s basically downhill all the way back to the parking lot.
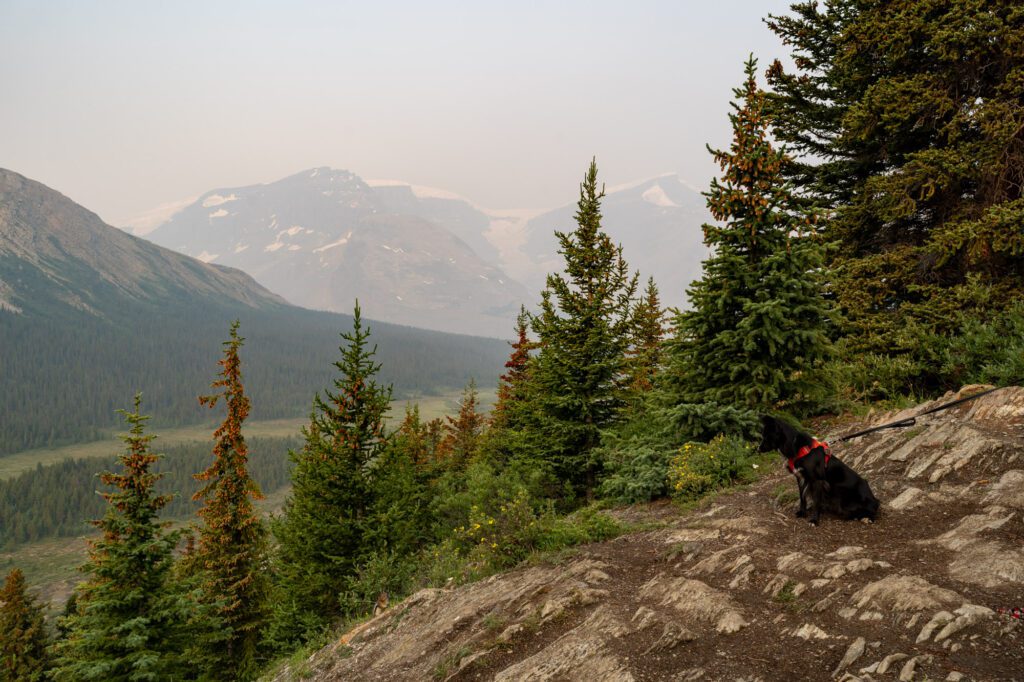
Are Dogs Allowed on the Wilcox Pass Trail?
Yes, dogs are allowed on the trail up to Wilcox Pass, and we hiked it with our dog, Lupine.
However, it’s definitely worth noting here that it is important to follow park rules that require dogs to be kept on a leash at all times when you’re in the park.
Particularly on this trail, where there are multiple types of wildlife that call the alpine meadows home.
On this trail, we saw bighorn sheep, a family of mountain goats, marmots, and grouse-looking birds.
Dogs who are off leash can disturb the wildlife (which is the opposite of what we want), and can create situations of conflict because they’re more likely to surprise the wildlife.
So please, keep your dog on a leash at all times when you’re out on the trail, and pick up after your dog (we have Ruffwear saddlebags for Lupine mostly so she can carry her own poop, snacks, and water bowl).
Things to Know Before You Go
Here are a few things to keep in mind before you go.
You need a Parks Canada Pass while you’re in the park. You have two options – buy a pass for the number of days you need it for, or buy a Discovery Pass, which gives you access to all national parks in Canada for a full year.
At a high level, the math on the Discovery Pass works out if you’re spending 7 days or more in the parks, though there are some permutations around family passes that might make the math change in your particular instance.
You can buy both versions at the park entrance stations, or online in advance.
You’re hiking at elevation. Remember that you’re at elevation in the Rockies (the parking lot here is at 6,500 feet above sea level, and you’ll get up to about 8,000 feet by the end of the hike), so if you’re coming from sea level, the hike is going to feel a little harder than you’re used to.
This is why we recommend starting with an easier hike first to get acclimated, and tackling the more difficult hikes later in your trip.
You can read more in our Canadian Rockies itinerary (which includes Banff, Jasper, and Yoho).
You’re in bear country. Both black and Grizzly bears live in the Rockies, and we saw both (though never up close on a hiking trail, thankfully).
Our biggest tip is to make plenty of noise on the trail – Matt is known for freestyle singing as we hike – so that you avoid any surprise encounters.
You’ll also want to have bear spray, which you can get in town if you’re flying in (you can’t bring bear spray on a plane).
Other wildlife also call this place home. You’re more likely to see other types of wildlife other than bears on this trail.
We saw bighorn sheep, a family of mountain goats (including babies!), plenty of marmots, and a family of grouse (at least that’s what we think they were) on this hike.
Remember to give them plenty of space (if they’re on the trail, stop and let them meander past with plenty of room) because, despite not being natural predators, they’re still wild animals.
Keep dogs on a leash to minimize surprises and avoid disturbing them as much as possible.
Expect afternoon thunderstorms in the summer. As if you needed another reason to get an early start, we got thunderstorms nearly every single day sometime between noon and 4pm. If you do a hike above the treeline, you’ll want to be on your way down by the time they roll in.
Trail closures are fairly common in the Canadian Rockies. Mostly because of bear activity or weather. Check here for current conditions.