
Hiking in Olympic National Park (for First Timers)
Want to hike to a basin full of some of the most gorgeous alpine lakes in the Pacific Northwest?
What about a beach hike out to a point where you can search for wildlife in tide pools and admire the towering sea stacks that seem to be exploding out of the ocean?
There aren’t very many places in the world where you can do both of those things…in the same day.
And that’s what we love about Olympic National Park – it has three unique and distinct ecosystems (probably more, but that’s how we think about it) within its boundaries.
You’ve got the higher elevation parts of the park with alpine landscapes, the rugged Pacific Coast, and some of the largest temperate rainforests in the world. All in one place!
Believe it or not, Matt grew up in the Seattle area and somehow NEVER ONCE made it to Olympic National Park until he was 30.
We’ve made it a summer tradition to spend some time out on the Olympic Peninsula over the past few years, and we’ve gotten to know every corner of the park.
Over that time, we’ve fallen head over heels in love with the Olympic Peninsula.
At the western edge of Washington State, temperate rainforests and mountain peaks meet sandy beaches, forming one of the most diverse areas on the West Coast, if not the entire country. The park is one-of-a-kind.
In this guide to the best hikes in Olympic National Park, we’ll take you through the best hiking trails to explore the different worlds that live within the park, whether you want an easy waterfall hike or a grueling thigh-burner that will leave you limping for a week (but with a worthy payout at the top).
Sound good to you? Let’s get into it.
Disclaimer: Some of the links in this post, like hotel links, are affiliate links, meaning at no additional cost to you, we make a little bit of money if you click through and book. That being said, we would never recommend something to you that we don’t stand behind 100%.
A Quick Olympic National Park Geography Overview
Before we can really talk about the different hikes in the park, we need to take a second to talk about the park’s geography, because it does matter for planning your trip.
Olympic National Park is huge and sprawls across 1,400 square miles in the northwest corner of the United States.
Unlike most national parks, which are basically a single chunk of land with fixed borders, Olympic National Park is a fragmented series of chunks interspersed between various towns and tribal lands.
The park forms a big semi-circle following Highway 101, which runs through the park.
It starts in Port Angeles at the northeastern corner, runs west to the coast, and then turns south, following the Pacific Coast down to Kalaloch Beach and the Quinault Rainforest.
For reference, it takes more than three hours to drive from Hurricane Ridge, the northeastern corner of the park, down to Lake Quinault on the southwestern edge.
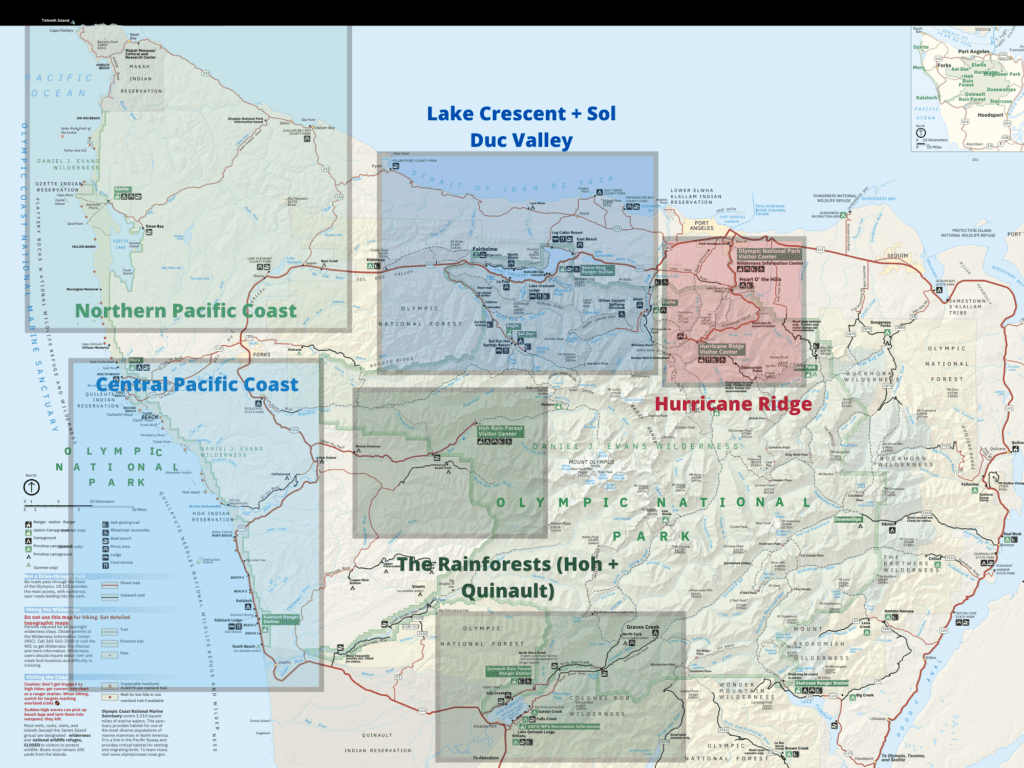
For the purposes of this guide, we’re going to divide the park into five zones: Hurricane Ridge, Lake Crescent, the Northern Pacific Coast, the Central Pacific Coast, and the rainforests.
That’s how the guide is organized below, giving you our favorite trails in each section of the park.
Within each section, we’re arranging the hikes in the order in which we’d prioritize them with limited time (though sometimes it depends on how much hiking you want to do) .
To maximize your time and avoid spending your entire trip in the car, it makes sense to break up your trip into two chunks, grouping the Pacific Coast and rainforests together, and Lake Crescent and Hurricane Ridge together.
17 Magnificent Hikes in Olympic National Park
Now that we’ve covered the geography of the park, we’re ready to tackle all of our favorite hikes.
Which we’re ordering by location, starting with the northeast corner (Hurricane Ridge) and working our way counterclockwise around the park, ending with the hikes in the Hoh and Quinault Rainforests.
Hikes at Hurricane Ridge
Hurricane Ridge is the alpine section of the park, sitting at 5,200 feet above sea level.
The area around Port Angeles is at sea level, roughly, which means a steep 18 mile drive to get up to the parking lot at Hurricane Ridge.
If you’re not stoked about driving that, there’s a handy shuttle from Port Angeles that runs up to Hurricane Ridge that is “almost never” full (I asked a ranger how many people use the shuttle).
It stops at the Lake Angeles Trailhead (aka the Entrance Station) and the main parking lot. More information here.
However, you should know that it DOES NOT stop at the Hurricane Hill trailhead, which means you’d have to walk an extra 1.5 miles each way to get there.
This is a section where which hike you choose kind of depends on your appetite for mileage, and what you want to see along the way.
Hurricane Hill
- Length: 3.5 miles
- Elevation Gain: 803 feet
- Trail Type: Out and Back
- Difficulty: Easy / Moderate
- Pass Required? National Park Pass
- Dog-Friendly? No
- Trailhead Location: Hurricane Hill Trailhead
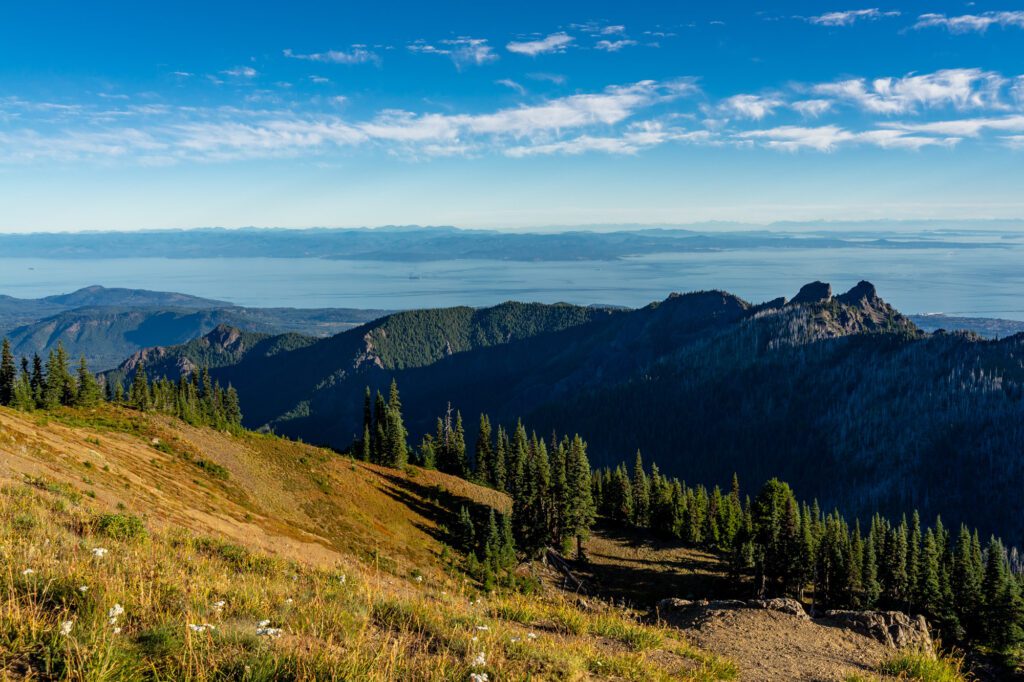
Hurricane Hill is one of the most popular trails in the Hurricane Ridge section of the park, and is the best bang-for-your-buck in the park as far as sweeping views go.
This relatively flat, mostly paved trail is accessible for most fitness levels, making it a half-day adventure for everyone in the family.
But don’t let that accessibility fool you – the views from the top of Hurricane Hill on a clear day will blow your socks off.
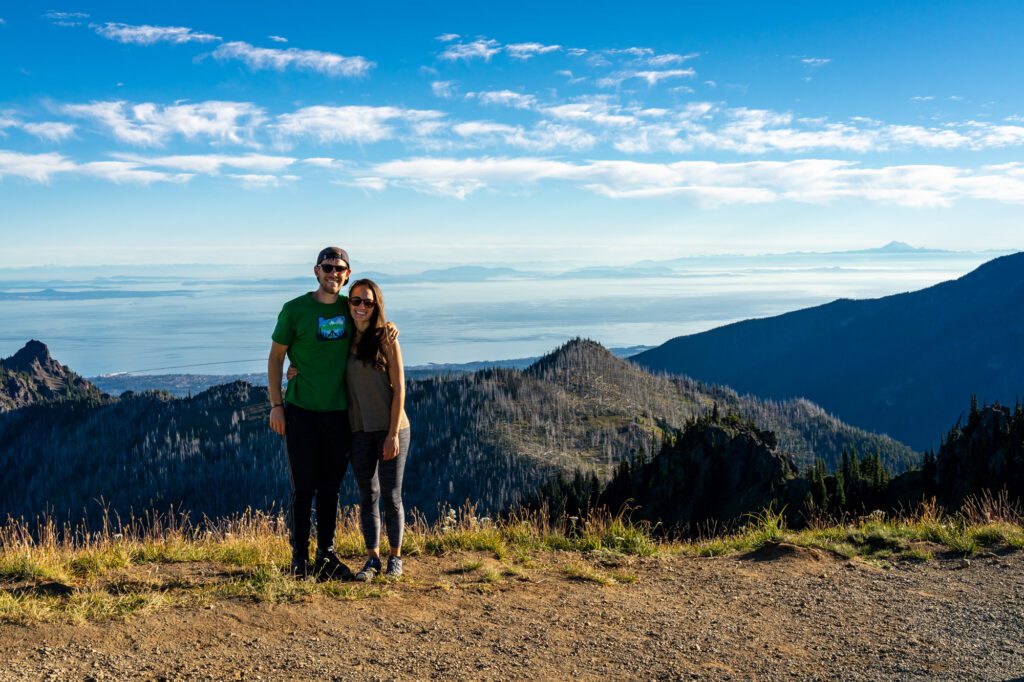
We could see Vancouver Island, Mount Baker, the Olympic Range, and even Vancouver’s skyline wayyyy in the distance.
It’s magical if you can catch it on a clear day without smoke or haze (or clouds or fog).
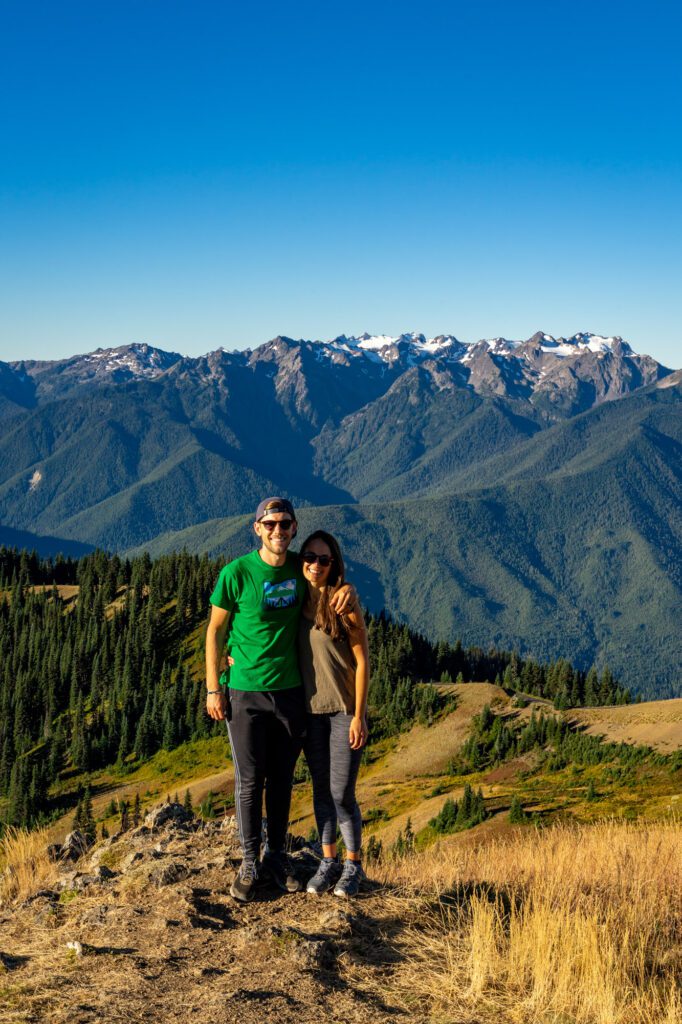

The hike departs from a large parking area, just about 1.5 miles from the site of the former Hurricane Ridge Visitors Center, which has bathrooms and a temporary ranger station.
The trek starts out gently through open pine forests along a wide path with clear views of the Bailey Range.
The trail eventually gains a gradual incline and you’ll need to tackle three switchbacks before reaching the summit atop Hurricane Hill.
From up top, admire the peaks and peer into towns below, as well as the Strait of Juan de Fuca and Vancouver Island across the water. Be prepared for strong winds blowing through.
Just below the summit of Hurricane Hill, there is a second interpretive sign with information regarding the surrounding area that’s worth a read.
Klahhane Ridge via Sunrise Ridge
- Length: 8.3 miles
- Elevation Gain: 2,600 feet
- Trail Type: Out and Back
- Difficulty: Moderate / Hard
- Pass Required? National Park Pass
- Dog-Friendly? No
- Trailhead Location: Hurricane Ridge Loop Trailhead
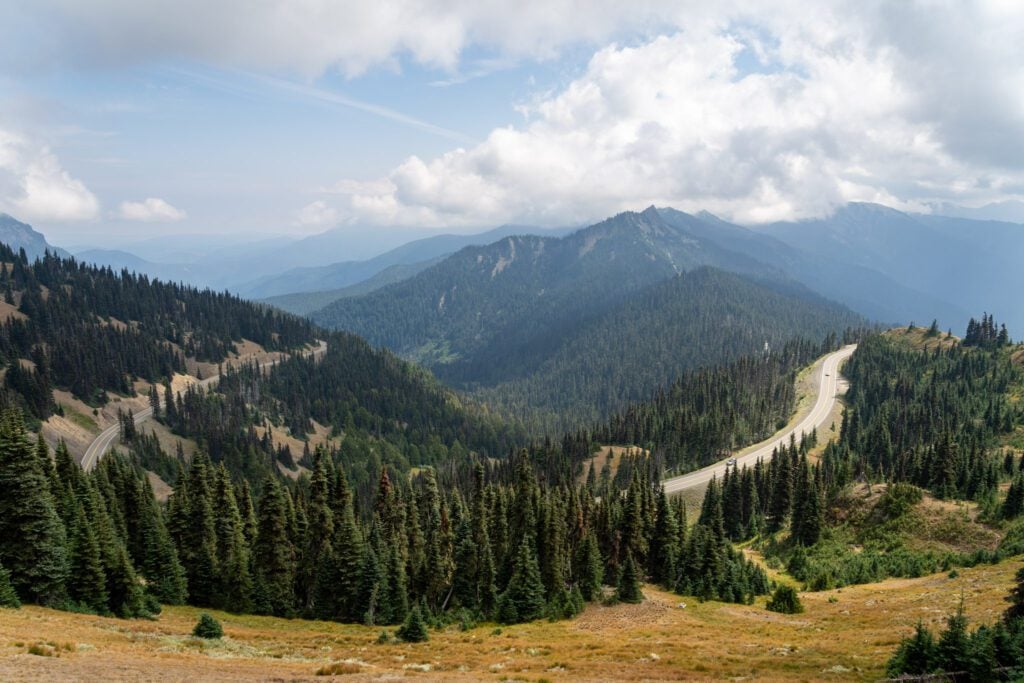
If you’re looking for a longer hike to get a taste of the alpine section of the park, this hike is the best option around Hurricane Ridge.
This hike can be done at least three different ways:
- As an out-and-back hike from the main parking lot at Hurricane Ridge, which is our top recommendation.
- As an out-and-back from the Switchback Trailhead (here on Google Maps) just below the main lot at Hurricane Ridge.
- As a one-way hike from the main parking lot at Hurricane Ridge to either the Switchback or Lake Angeles Trailhead, using the park shuttle to make it a one-way hike.
It’s worth noting here that you can only do the last option during the summer when the Hurricane Ridge Shuttle is operating (more information here).
If you’re going to do it this way, we’d park at the lower trailhead you choose and take the shuttle up to the top, then hike down.
You can’t do it in the opposite direction (why would you want to? It’s straight uphill) because the shuttle doesn’t stop at the Switchback Trailhead on the way down.
For the purposes of this guide, we’re going to cover the first version – the hike from the main lot at Hurricane Ridge to Klahhane Ridge and back.
We’d recommend this longer version of the hike because many of the best views are from the trail as it follows Sunrise ridge before it meets up with the Switchback Trail for the main climb.
You’ll start from the main lot at Hurricane Ridge, which sits at around 5,200 feet above sea level (so the altitude will make this hike feel a little more difficult), and traverse Sunrise Ridge on your way up to Klahhane Ridge.
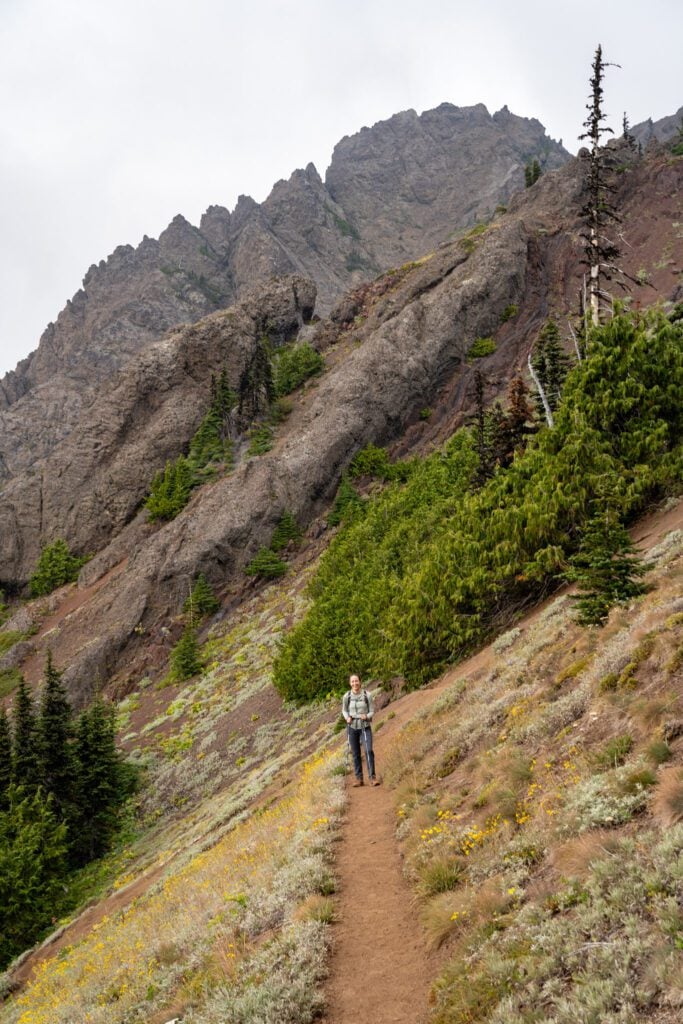
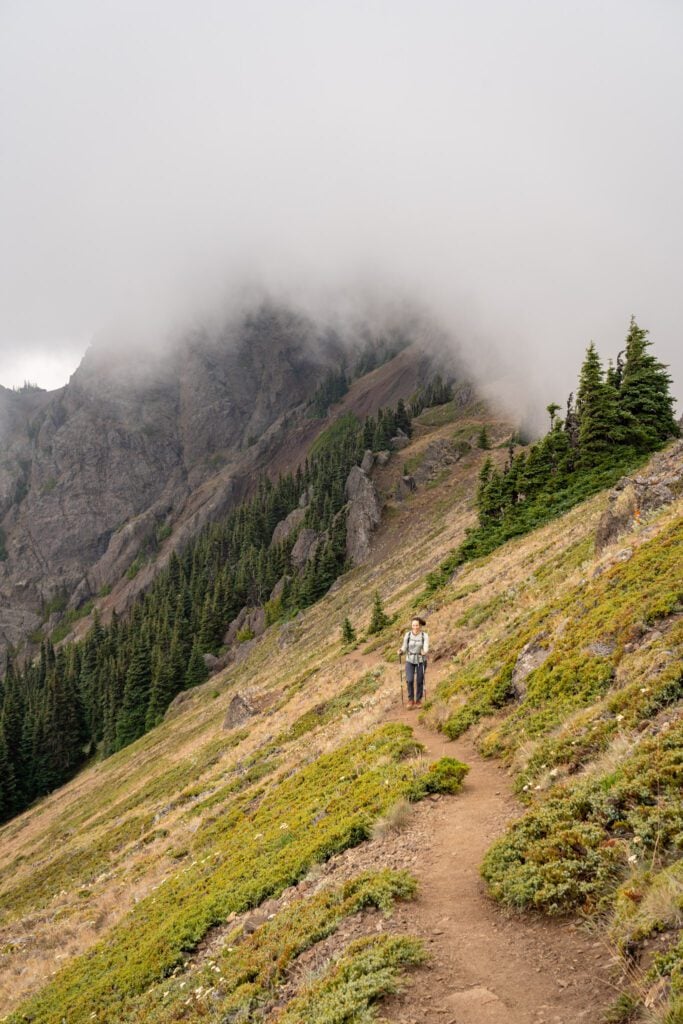
The final push to the saddle is a tough climb, climbing 800 feet in a mile via a set of neverending switchbacks.
The difficulty is compounded by the fact that it’s south-facing, so it’s fully exposed to the sun for most of the day.
First thing’s first: AllTrails undercounted the distance of this hike by about a full mile (according to my Garmin), so you’ll want to be prepared for a long day on the trail with plenty of snacks, water, and adequate footwear and layers.
There is very little shade along this trail, especially when you hit those steep switchbacks, so it has the potential to be hot.
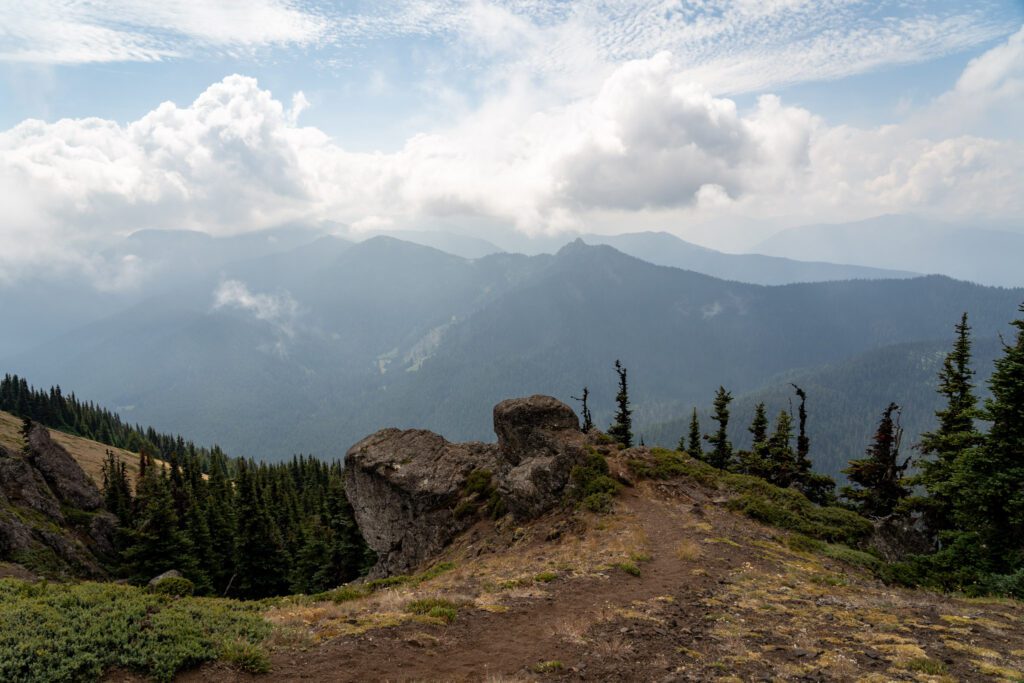
The views from the top (and throughout the whole journey, really) are pretty spectacular. From the top of Klahhane Ridge, you can see clear out to Port Angeles, the Strait of Juan de Fuca, and if you’re lucky, the southern end of Vancouver Island (which is Canada).
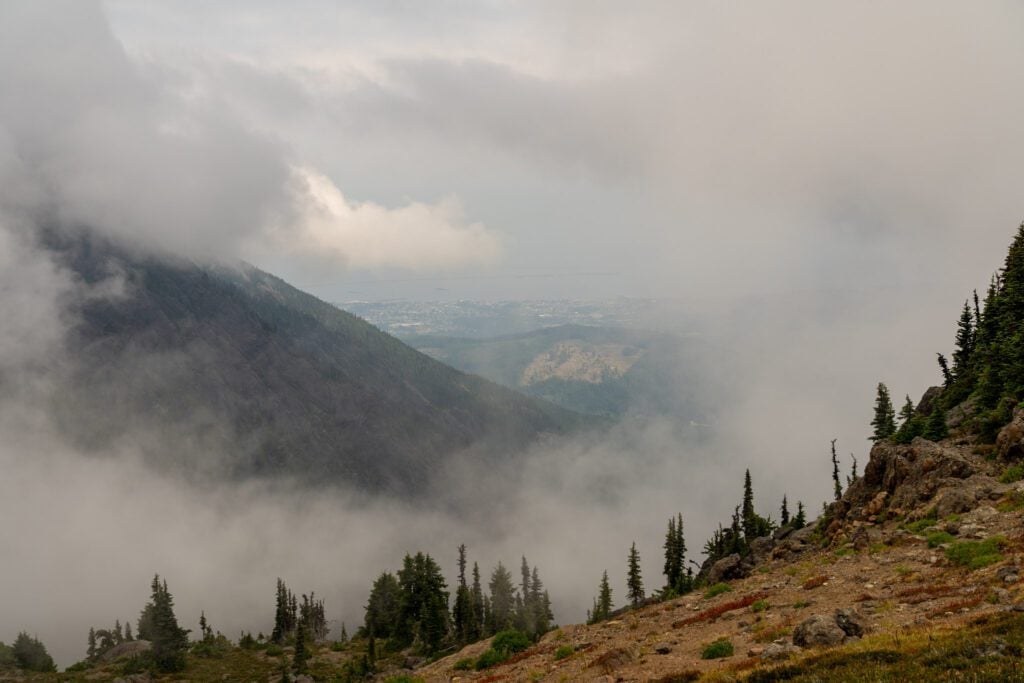
We were not so lucky with the day we ended up doing this hike, as you can see from the pictures. It was a little foggy, and we sat at the saddle hoping for the fog to dissipate (it never really did).
As a result, we didn’t really get that sweeping view out to Port Angeles (though it did clear enough to make out the coastline for a brief minute or two), and we never saw the snowy peaks of the Olympics until we were back at the parking lot.
On the other hand, it was nice and cool on our hike, which was very pleasant! Life, like hiking, is all about tradeoffs.
Read More: Everything You Need to Know to Hike the Klahhane Ridge Trail
Lake Angeles
- Length: 7.5 miles
- Elevation Gain: 2,500 feet
- Trail Type: Out and Back
- Difficulty: Hard
- Pass Required? National Park Pass
- Dog-Friendly? No
- Trailhead Location: Lake Angeles Trailhead
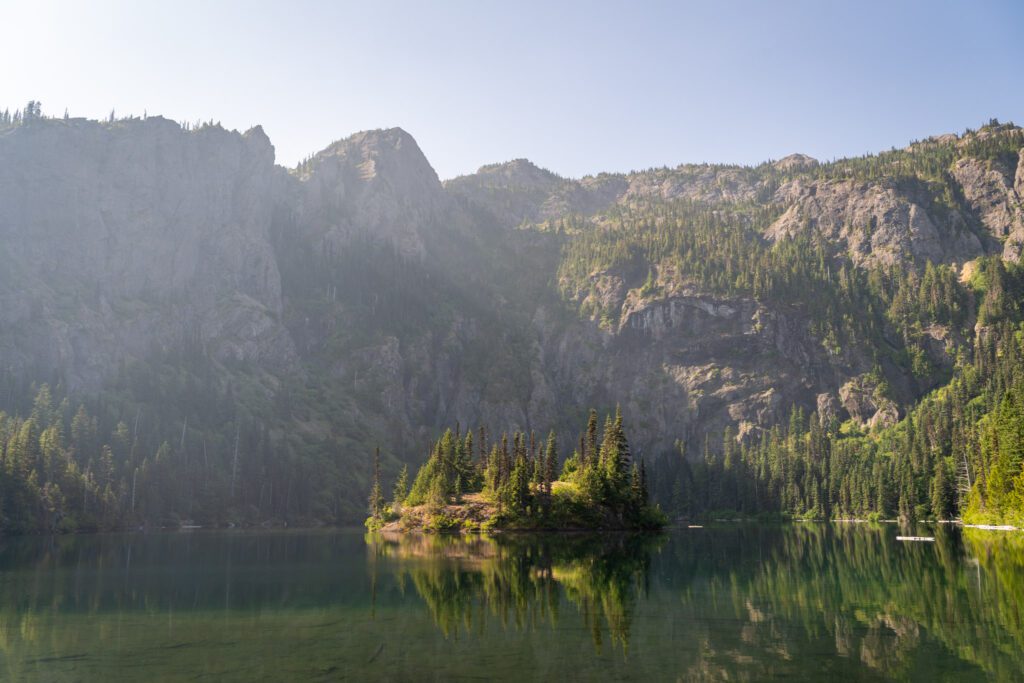
If you’re looking for one of the most beautiful alpine lakes in the park that’s accessible without a multi-night backpacking trip or driving a narrow dirt road with lots of exposure, we’d point you towards Lake Angeles, which leaves from a parking lot a few hundred feet from the Hurricane Ridge Entrance Station.
We aren’t going to sugarcoat it. This hike is an unrelenting climb from start to finish (“oh, we’re already climbing”). No flat warm up section, no sections of flat sprinkled throughout to catch your breath. Just three and a half miles of climbing.
That being said, the climb is worth it, we think.
I really liked the fact that, as we climbed, the ecosystem changed completely over the course of three and a half miles of hiking.
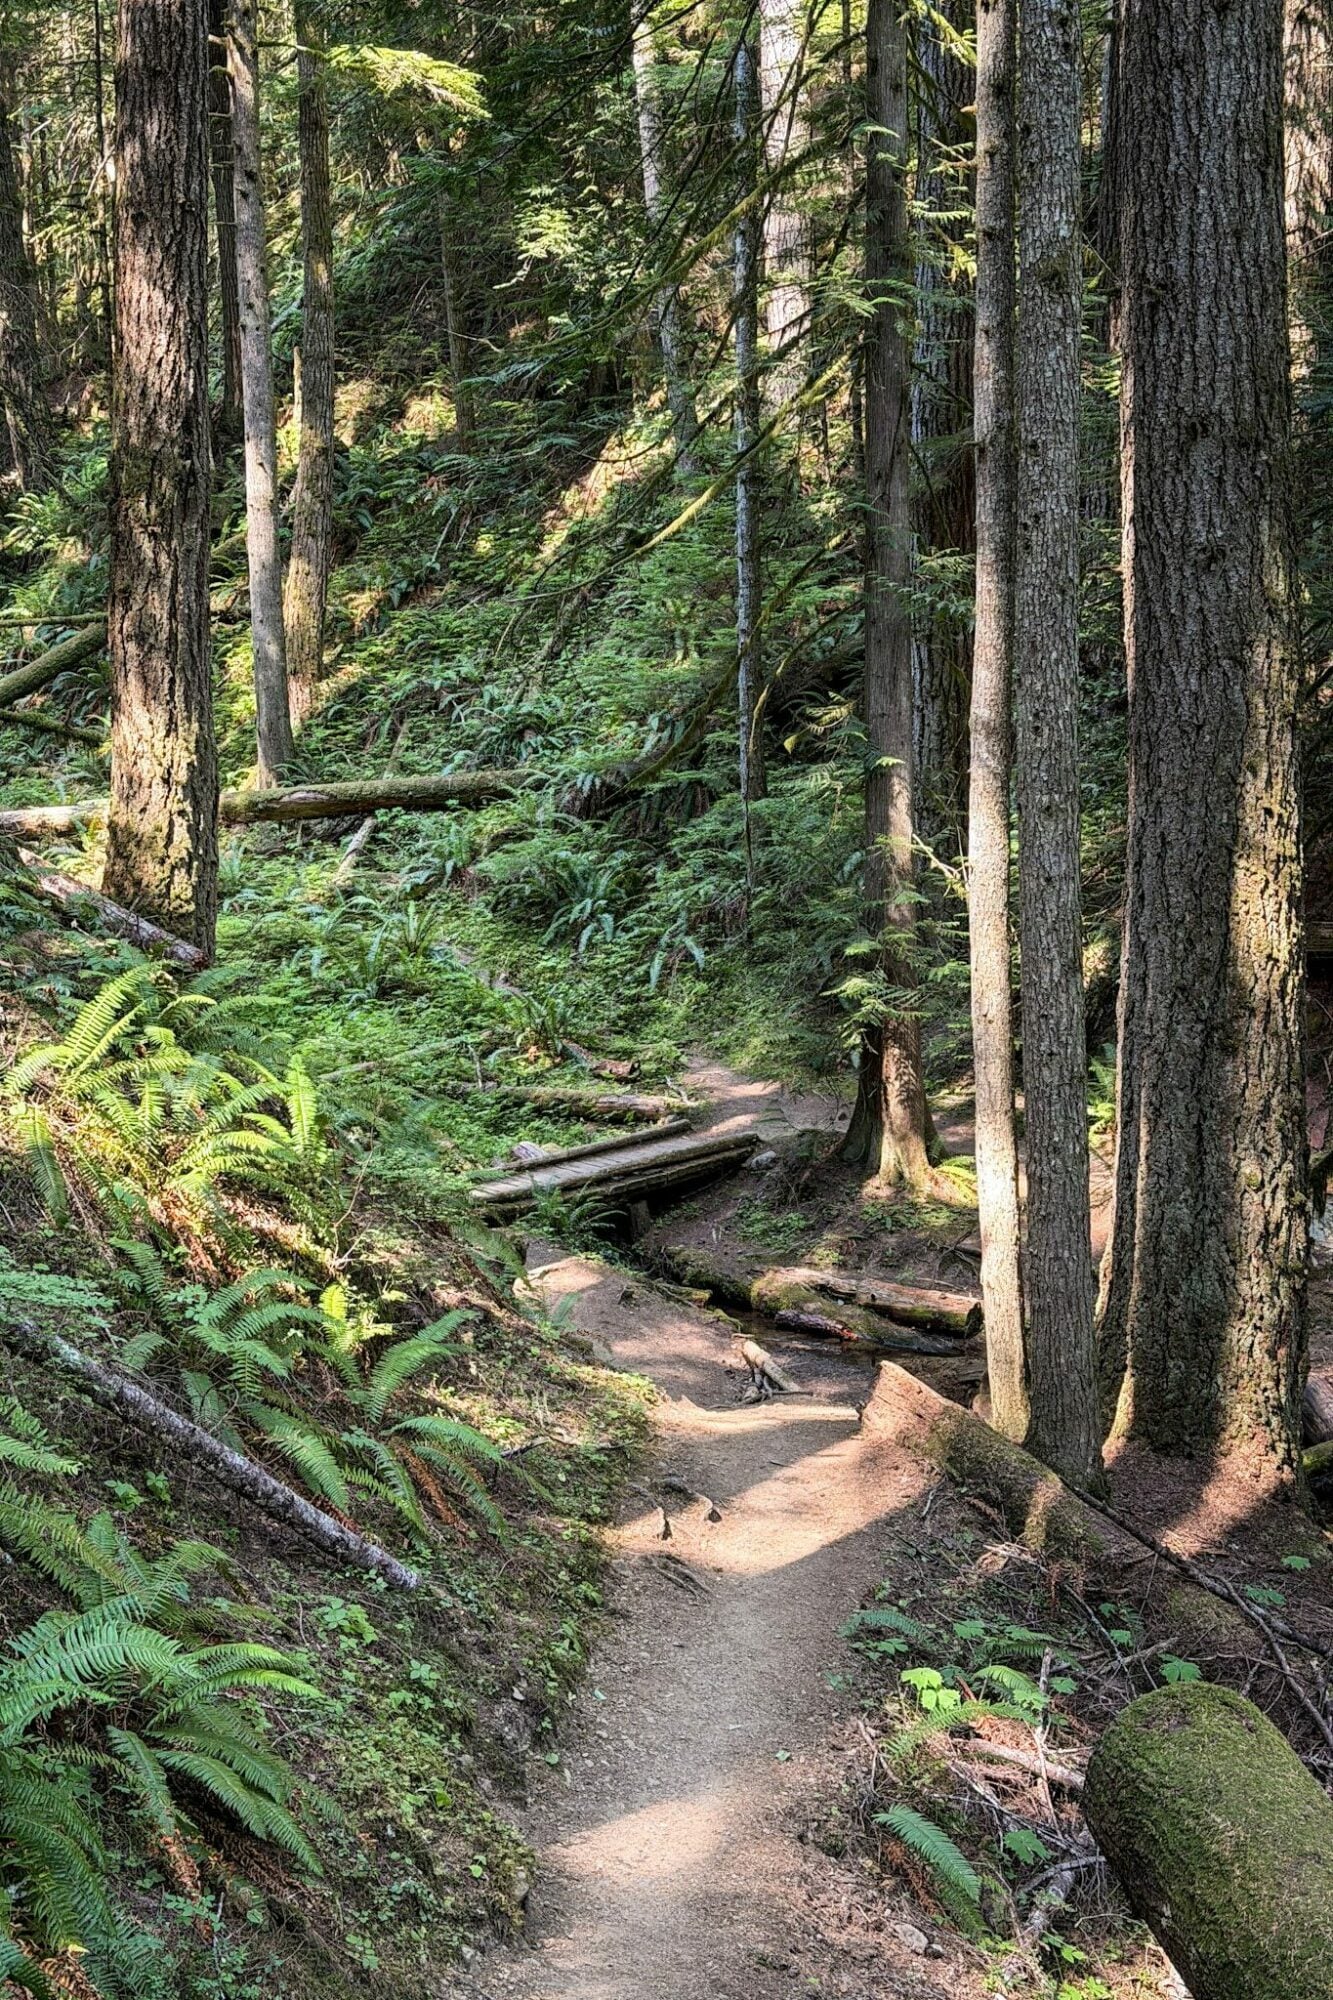
You start immersed in a wet rainforest, with ferns, lots of water flowing, and moss-covered trees, and when you get a mile or so in, you’ll look up and notice that it’s dusty, dry, and the trees are more pine-y.
I tend to spend most of my time during an intense climb looking at my feet, so it was jarring to look up and realize that I had stepped into a completely new forest than the one I started in.
Finally, you’ll end up on the south shore of Lake Angeles.
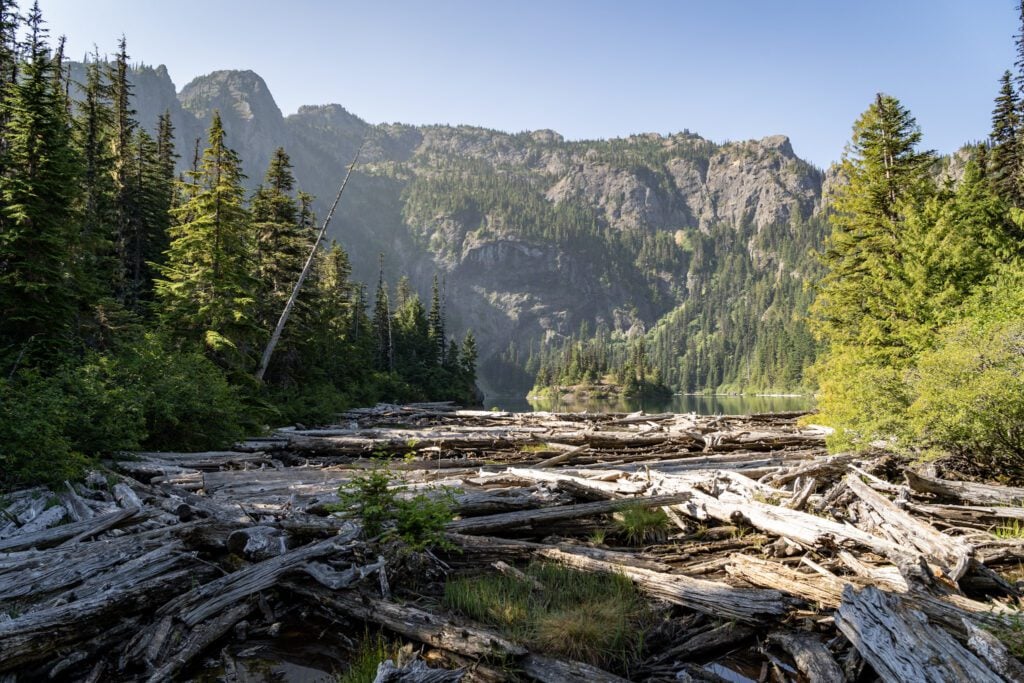
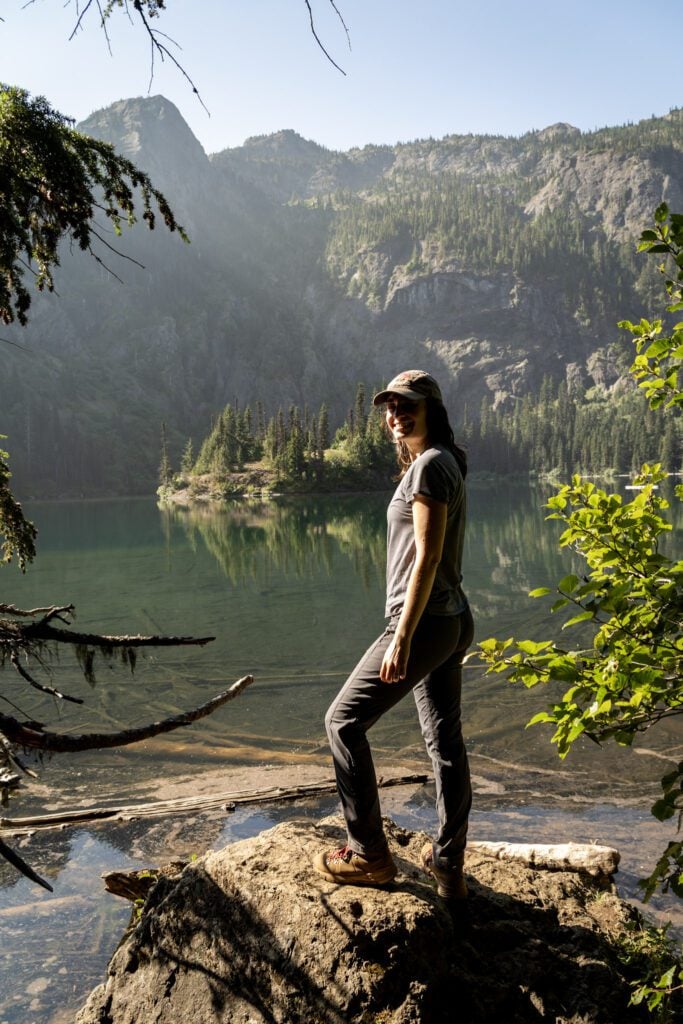
There are two spur trails here that branch off to either shore of the lake, and we thought the best views were from the trail on the right side of the lake, which had some pretty nice views of the island backed by the rocky ridgeline.
There are no bathrooms at the trailhead, so stop by the visitor center in Port Angeles on your way in.
As we mentioned above, you could do a really nice hike that starts at the Hurricane Ridge parking lot, climbs Sunrise Ridge and Klahhane Ridge, and then descends down past Lake Angeles to end at the parking lot linked above.
It’s a long hike, but once you’re at the top of Klahhane Ridge, it’s almost entirely downhill (though it is ~5-6k feet of descent, which is not easy in its own way).
To do this, we’d park at the Lake Angeles Trailhead, catch the Hurricane Ridge shuttle up to the main parking lot, and then hike back down.
You can only do it in the summer, because that’s the only time the shuttle runs.
Read More: A Complete Guide to Hiking to Lake Angeles in Olympic National Park
Badger Valley to Grand Lake Loop
- Length: 8.6 miles
- Elevation Gain: 2,700 feet
- Trail Type: Loop
- Difficulty: Hard
- Pass Required? National Park Pass
- Dog-Friendly? No
- Trailhead Location: Obstruction Point Trailhead
This is the one hike in the park that is a “must-do” on our list, but that we haven’t gotten around to doing yet.
The reason we haven’t done it is the fact that it’s at the end of an 8 mile narrow gravel road with exposure and steep drop-offs, Obstruction Point Road, and that’s not really our definition of fun (and in earlier visits, we didn’t have a vehicle we were confident could make the drive).
That being said, we have talked to people who have driven it who say it’s well-maintained and passable for most vehicles (AWD or 4WD would be useful for the steeper hill sections), and as long as you take it slow around the blind corners, you’ll be fine.
From the trailhead at the end of Obstruction Point Road, you’ll embark on a loop that takes you down to a series of lakes (Grand Lake is the main one), with sections above the treeline in an alpine tundra, and sections meandering through subalpine meadows.
We read a lot of trip reports preparing to do this hike ourselves (though we eventually decided not to drive the road out there), and had decided on a clockwise route that goes down the steep Badger Valley Trail and back up the Grand Valley Trail, which is marginally less intense.
Either direction you go, you’re starting at a higher elevation and dropping down into the valley, which means you have a slog of a climb to do on the way out (objectively the worst kind of hike, we think).
Overall, a beautiful expression of Olympic’s alpine beauty in one manageable day hike. And because of the road, fewer people make it out here than the other hikes near Hurricane Ridge.
Hikes around Lake Crescent
Here are our favorite trails in the area around Lake Crescent, including the Sol Duc Valley.
Marymere Falls
- Length: 1.8 miles
- Elevation Gain: 500 feet
- Trail Type: Out and Back
- Difficulty: Easy
- Pass Required? National Park Pass
- Dog-Friendly? No
- Trailhead Location: Storm King Ranger Station
We’ve done this hike several times now, and I always walk away impressed at how pleasant it is.
If you’re looking for a nice, easy, family-friendly stroll to one of the Olympic Peninsula’s best waterfalls, this is a great option.
You’ll leave from the parking lot at Lake Crescent, near the Storm King Ranger Station, and cross under Highway 101 via a surprisingly quiet passageway built into the road.
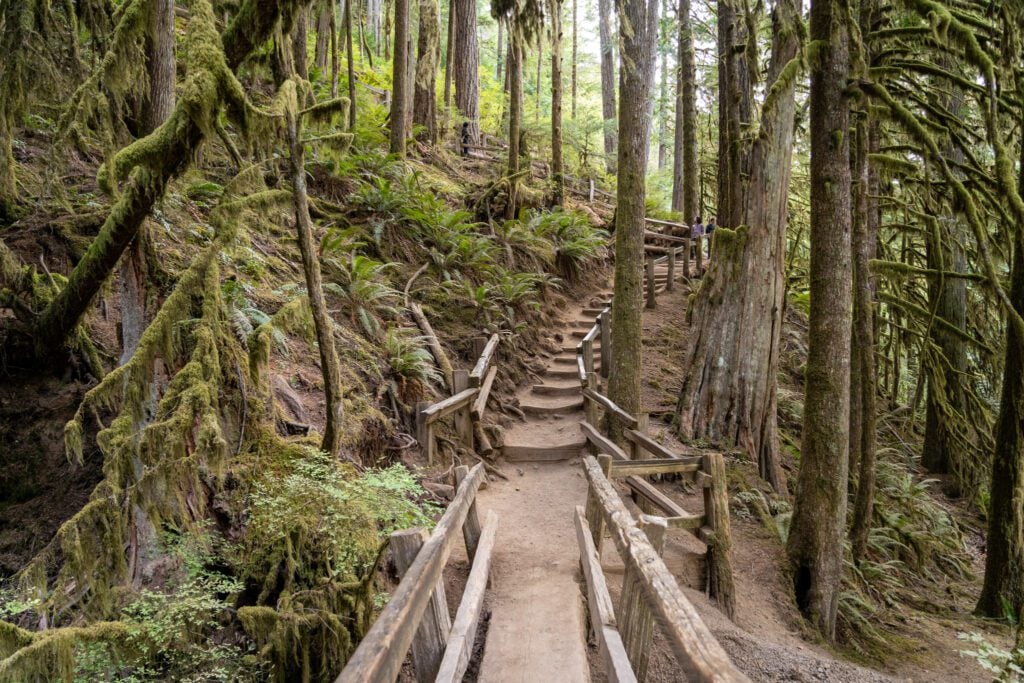
On the other side of the highway, you’ll emerge into an old-growth forest full of mossy trees, ferny undergrowth (so many sword ferns!), and more shades of green than you imagined existed.
It’s not the most spectacular forest in the park, but for the effort, it’s pretty nice!
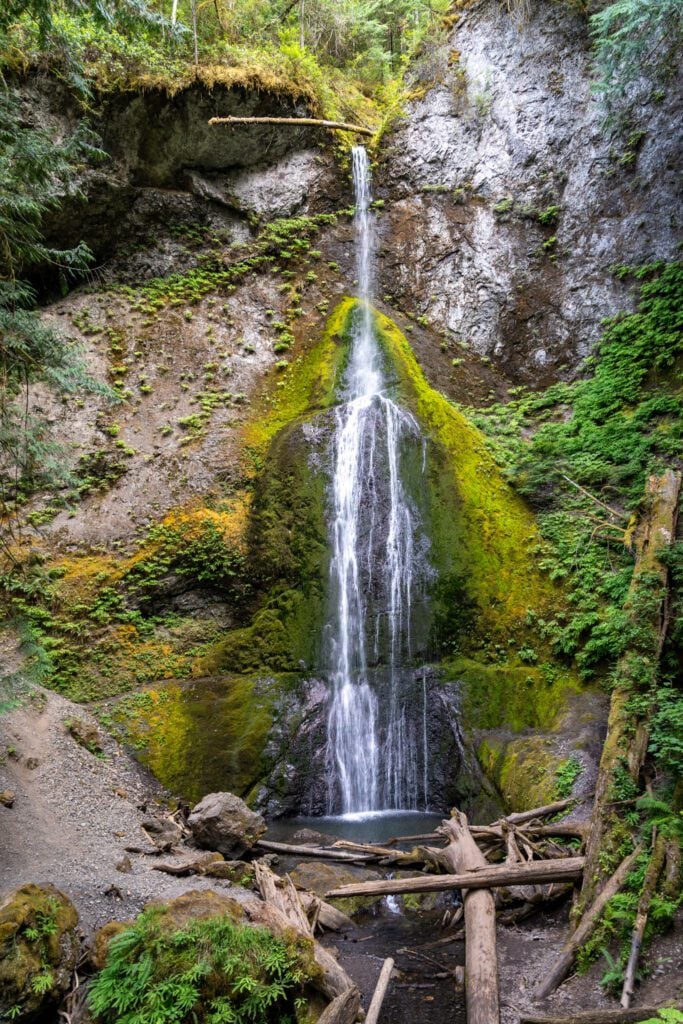
It’s a mostly flat walk out to the creek, where you’ll cross over a wooden footbridge and find yourself at the base of a gully, traversing another footbridge surrounded by a babbling creek, mossy trees, and tropical-looking ferns that immediately made me think I had stepped into an Indiana Jones movie or something.
From there, the trail climbs a bit, and you’ll find yourself at the start of a mini loop that connects an upper and lower viewing platform. The lower viewpoint is the magical one, though it’s worth stopping at both.
Mount Storm King
- Length: 4.4 miles
- Elevation Gain: 2,109 feet
- Trail Type: Out and Back
- Difficulty: Moderate / Hard
- Pass Required? National Park Pass
- Dog-Friendly? No
- Trailhead Location: Storm King Ranger Station
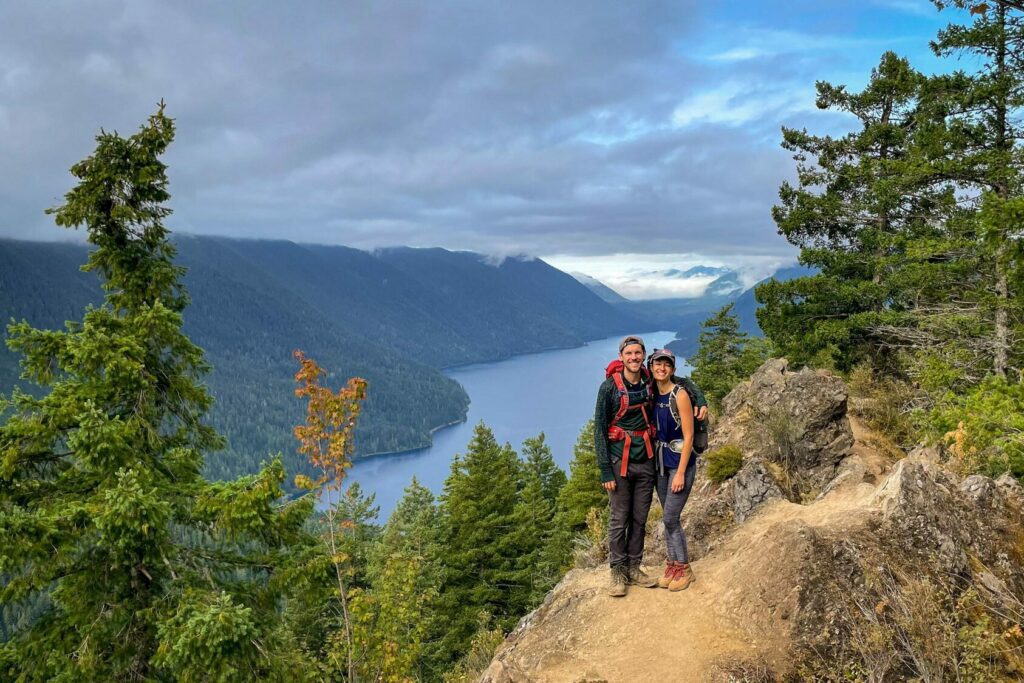
This is a relatively short but intense hike that starts from the Storm King Ranger Station on the south side of Lake Crescent that has gotten pretty famous over the past five or so years because of the sunrise and sunset shots you see all over Instagram.
To be completely honest, we’ve done it and it was fine. It’s a really tough climb, and the views at the top are nice, but there’s nothing particularly special about the rest of it.
Plus, the scramble at the top is off-putting, and we don’t really think the juice is worth the squeeze here.
There aren’t really any interesting notes about the first part of the trail other than the fact that it’s a nice flat trail through the rainforest.
You’ll walk under the highway on the path, follow it to a junction with the Marymere Falls trail, and then immediately begin climbing switchbacks through the forest with the occasional break in the trees giving you a nice view of the lake below.
Eventually, you’ll get to the adrenaline-inducing part of the hike, where it turns into a little bit of a scramble.
It’s so steep near the end that you’ll need to use the permanent ropes that are installed to pull yourself up. Pro tip: BRING GLOVES for the ropes to avoid tearing up your hands.
If you’re afraid of heights, this might not be the trail for you.
If you’re looking for a thighmaster workout in the woods with a great view over Lake Crescent from the top, then this might be the trail you’re looking for.
On the way down, we’d definitely recommend heading out to Marymere Falls, since you’ve already done a portion of the trail to get to the trail for Mount Storm King.
Sol Duc Falls
- Length: 1.8 miles
- Elevation Gain: 262 feet
- Trail Type: Out and Back
- Difficulty: Easy
- Pass Required? National Park Pass
- Dog-Friendly? No
- Trailhead Location: Sol Duc Trailhead
Of the waterfalls in this section of the park – and all three of our favorite waterfalls are up here (Sol Duc, Marymere, and Madison, if you’re curious) – this is our favorite of the bunch.
Though it’s a bit of a detour, it’s worth the extra hour or so of driving you’ll have to do up Sol Duc Road to get there.
The trail is easy, clocking in at less than two miles round trip with just 200 feet of elevation gain along a well-maintained trail, so it’s a perfect family-friendly excursion.
Aside from the waterfall itself, the thing we like about this stretch of trail is that you’ll pass through a beautiful stretch of old growth forest that rivals the other rainforest hikes below in beauty and ferny-ness. However, unlike the Hoh Rainforest, you’re likely to only see a handful of other people on this trail.
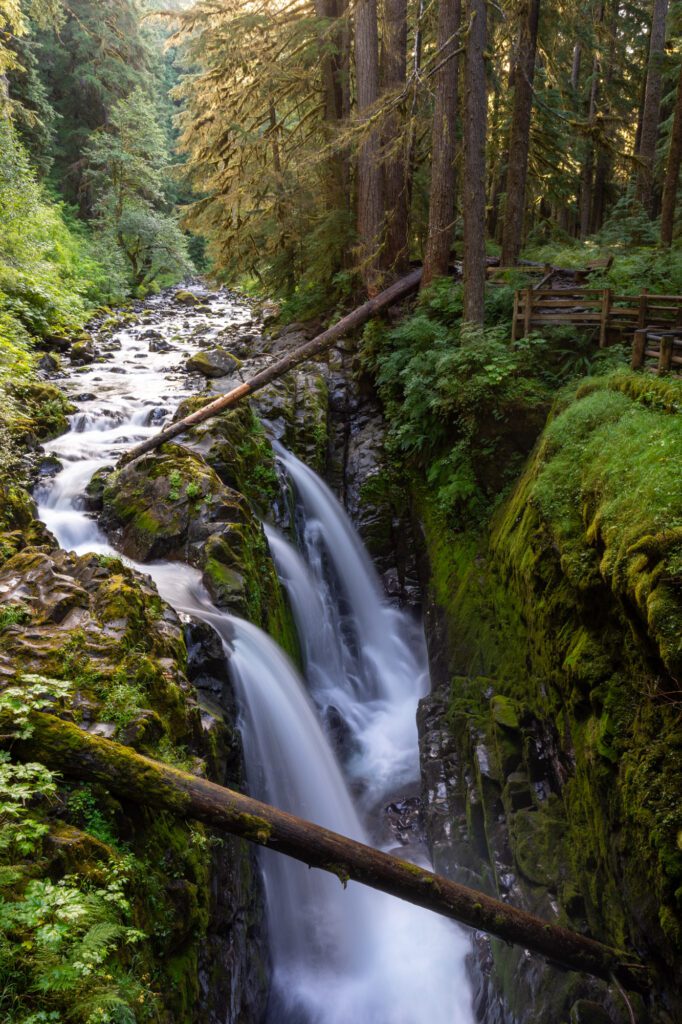
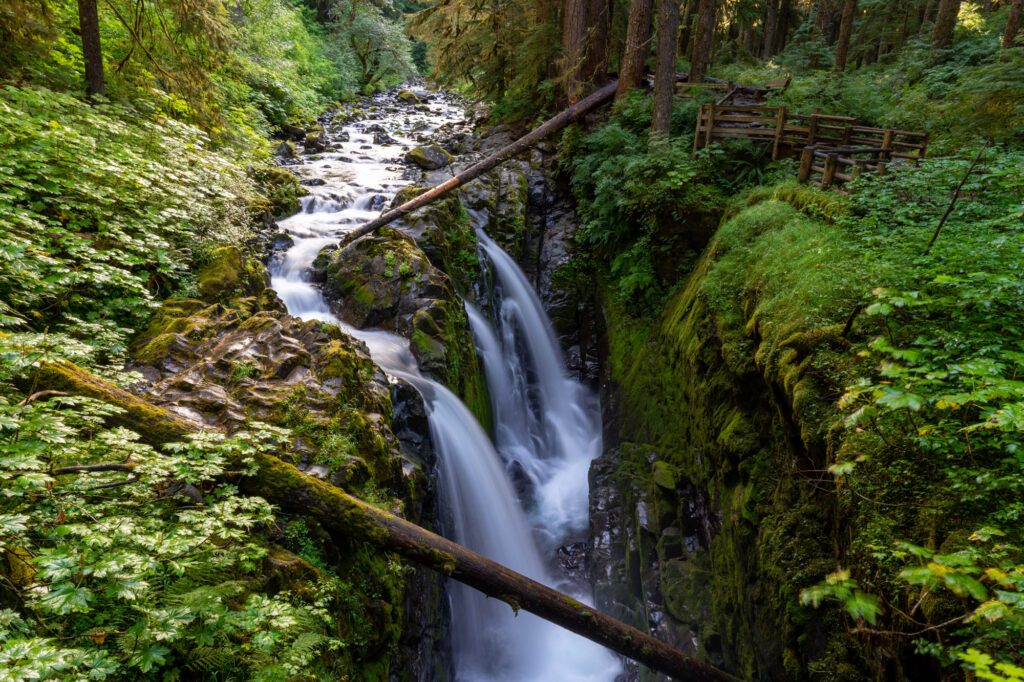
After a short walk through the forest, you’ll arrive at a wooden footbridge that passes over the Sol Duc River with a great view of Sol Duc Falls from above.
If you want to extend your hike, you can start this hike down near Sol Duc Hot Springs Resort (here on Google Maps), which makes it a longer, slightly more difficult loop called Lover’s Lane that extends your time in the rainforest.
The High Divide / Seven Lakes Basin (Overnight)
- Length: 22 miles
- Elevation Gain: 6,197 feet
- Trail Type: Loop
- Difficulty: Hard
- Pass Required? National Park Pass
- Dog-Friendly? No
- Trailhead Location: Sol Duc Trailhead
The High-Divide-Seven Lakes Basin Trail is among the best (if not the best) backpacking experience in Olympic National Park.
While it’s an adventure that requires some prior backpacking experience and a fair level of fitness, the effort is well rewarded with quality time spent in this spectacular subalpine basin.
Don’t be fooled by the name—there are at least eight, if not more, lakes that dot the basin.
The area isn’t just famous for its lakes, its wildlife is noteworthy as well. Black bears and mountain goats are known to be found grazing among meadows in the basin.
We did the High Divide as a three day, two night backpacking trip in late August, and it was fantastic.
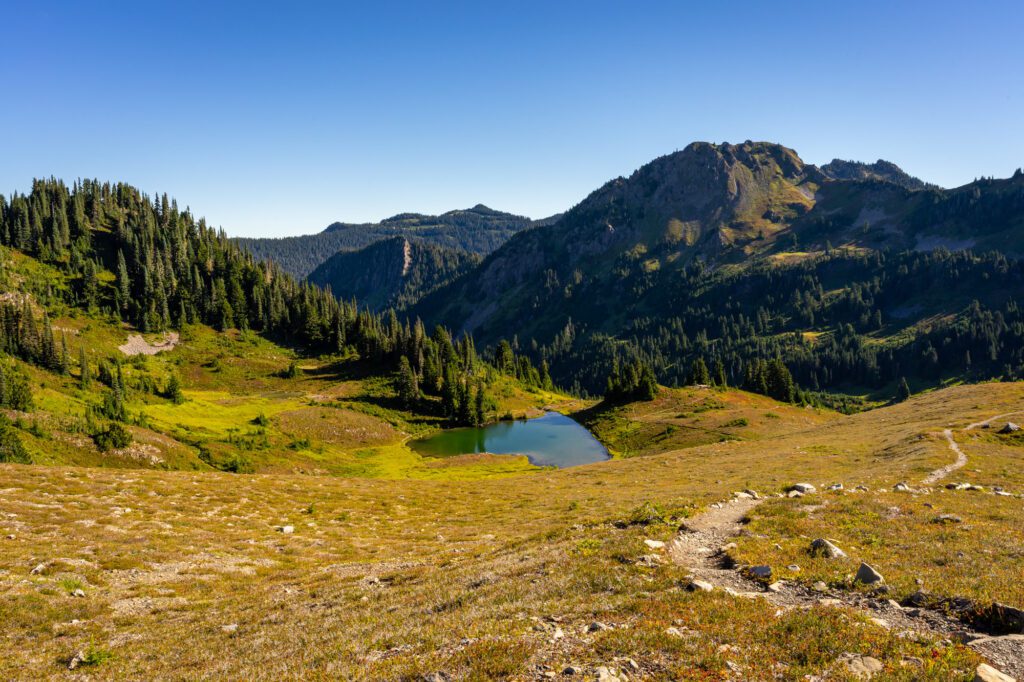
You could also do it as a day hike, but it’s a long one, with plenty of elevation gain to get up to the Seven Lakes Basin and the gorgeous High Divide, which is a ridge with spectacular views to the north and south of alpine lakes, green rolling hills, and the Olympic Range.
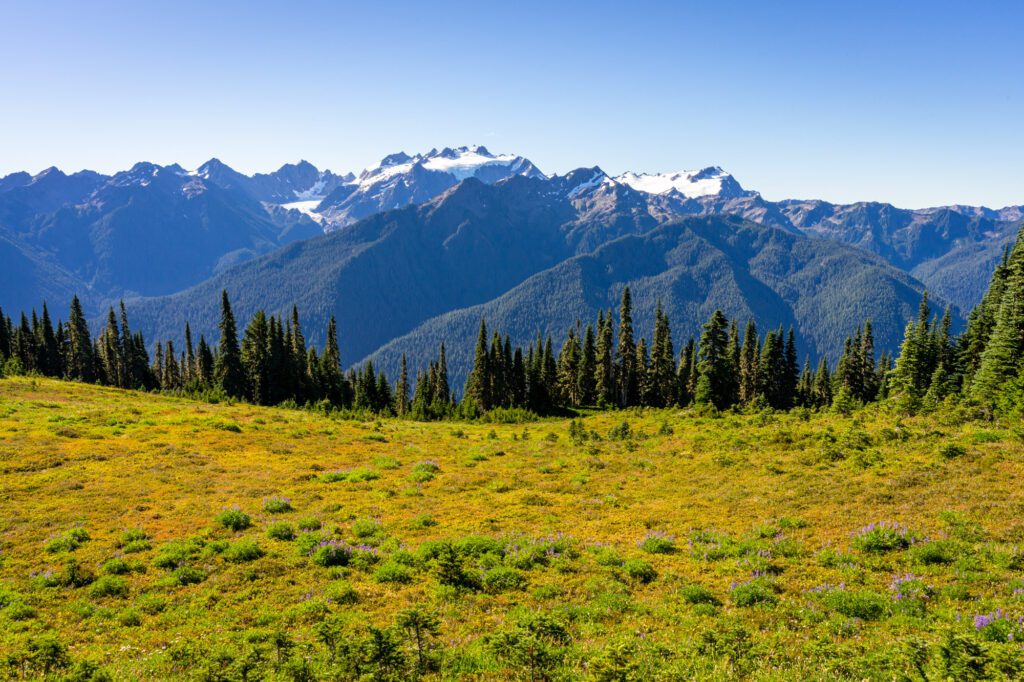
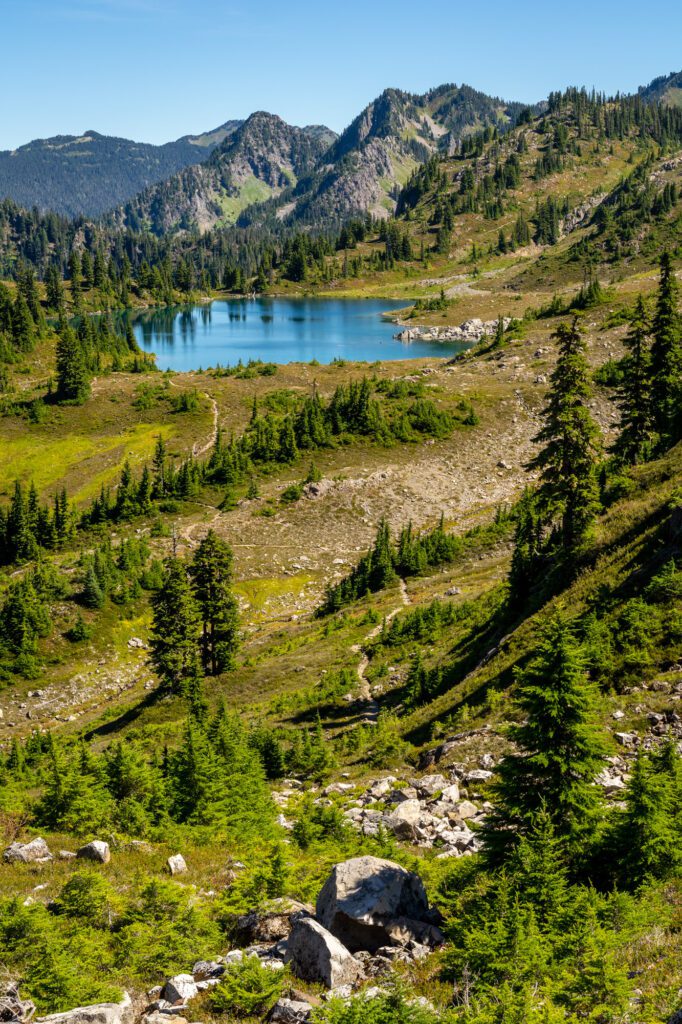
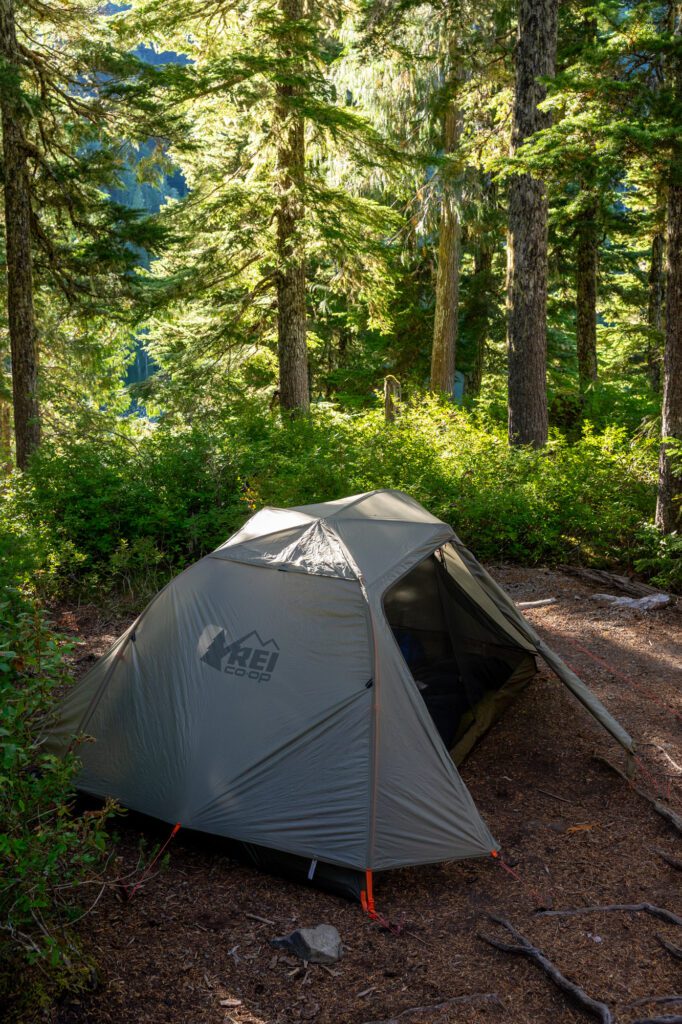
To do it as a day hike, you’ll need to get an early start – 19 miles in one day is no joke.
We did the hike clockwise, which is a more gradual ascent on the way up to the High Divide, and that’s what we’d recommend.
Going that direction, you do the ascent over roughly ten miles, rather than nine in the other direction. It’s a minimal difference, but it’s not nothing.
You’ll start from the Sol Duc Falls Trailhead, and meander through the dense forest for a bit before the climb really starts.
In the middle of the climb you’ll reach Sol Duc Park, which has a vault toilet if you or someone in your group needs to use the facilities.
Then, continue the climb, which really starts to get intense around here.
You’ll first reach Heart Lake, which is, you guessed it, shaped like a heart, and is a good spot to grab a snack and some water before you make the ascent up to the ridge, which is a thigh-burner.
Once you’re on the ridge, it’s a beautiful hike, with the Seven Lakes Basin and its sapphire blue alpine lakes to your right, and Mount Olympus off to your left
You should definitely make the detour down to Lunch Lake, which is gorgeous and should be your lunch spot.
It’s a steep climb back up to the trail, but we think it’s worth it to get a taste of the Seven Lakes Basin.
From there, it’s all downhill back to the parking lot.
It is important to note that camping permits must be reserved ahead of time, here.
Olympic National Park only gives out a limited number of permits, so it is best to plan ahead during peak season.
Bear canisters are required for camping on the High Divide, which can be rented from the Wilderness Information Center in Port Angeles.
Read More: Hiking the High Divide – Seven Lakes Basin in Olympic National Park
Hikes on the Northern Pacific Coast
Here are two great hikes on the northern Pacific Coast that we’ve done and love.
Both trails pass through land owned by the Makah Tribe, who have lived in this remote corner of the Pacific Northwest for thousands of years.
To park at both trailheads, you need a Makah Recreation Permit, which costs $20 and is good for the calendar year you buy it in.
You can either purchase one in advance (YOU HAVE TO PRINT IT OUT), or buy one at one of the businesses that sell them.
If you’re coming in early, stop at the Makah Mini Mart in Neah Bay (here on Google Maps) as you pass through, which opens at 7am.
If not, there’s a stand on the roads out to both Shi Shi and Cape Flattery where you can pick one up.
Shi Shi Beach (+ Point of Arches)
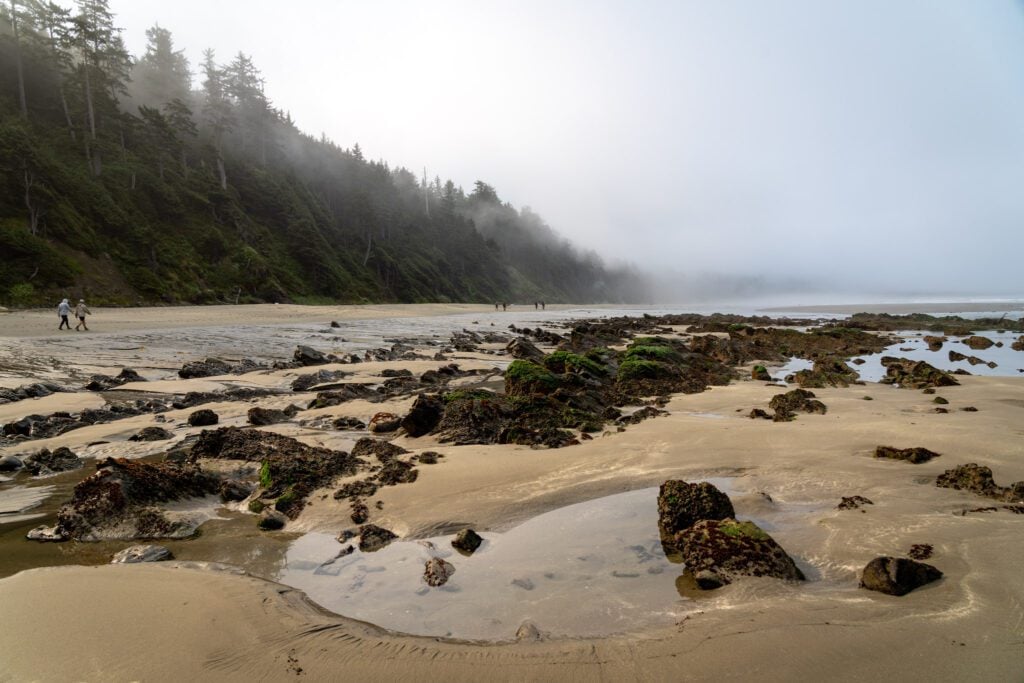
- Length: 4.4 miles (8.9 miles to Point of Arches)
- Elevation Gain: 567 feet
- Trail Type: Out and Back
- Difficulty: Moderate
- Pass Required? Makah Recreation Permit
- Dog-Friendly? No
- Trailhead Location: Shi Shi Beach Trailhead
Located near the northwest corner of the contiguous United States, Shi Shi Beach is a special kind of wild.
The combination of the slightly longer hike and the remote location (it’s FAR from Forks and Port Angeles) means that it sees relatively fewer people than the main attractions in the park like the Hoh Rainforest or Rialto Beach.
That does not, however, mean it is any less spectacular, especially if you catch it on a clear sunny summer evening (which we did not).
The hike out to the beach is only about two miles long (one way), and it’s mostly flat and features some nice sections of boardwalk.
That is, until the last 0.1 miles, when you drop 200 feet of elevation in a very short distance (which gets your heart pumping on the way back to the trailhead).
At the bottom of that steep descent, you’ll find a backcountry toilet and a wide, sandy beach. If you hit it at low tide, there are plenty of tide pools both to the left and right to explore, full of anemones and sea stars.
Point of Arches requires an additional five mile (round trip) hike down the beach to the southern cape, which we were considering doing until we got out to the beach and found a thick layer of fog blanketing everything.
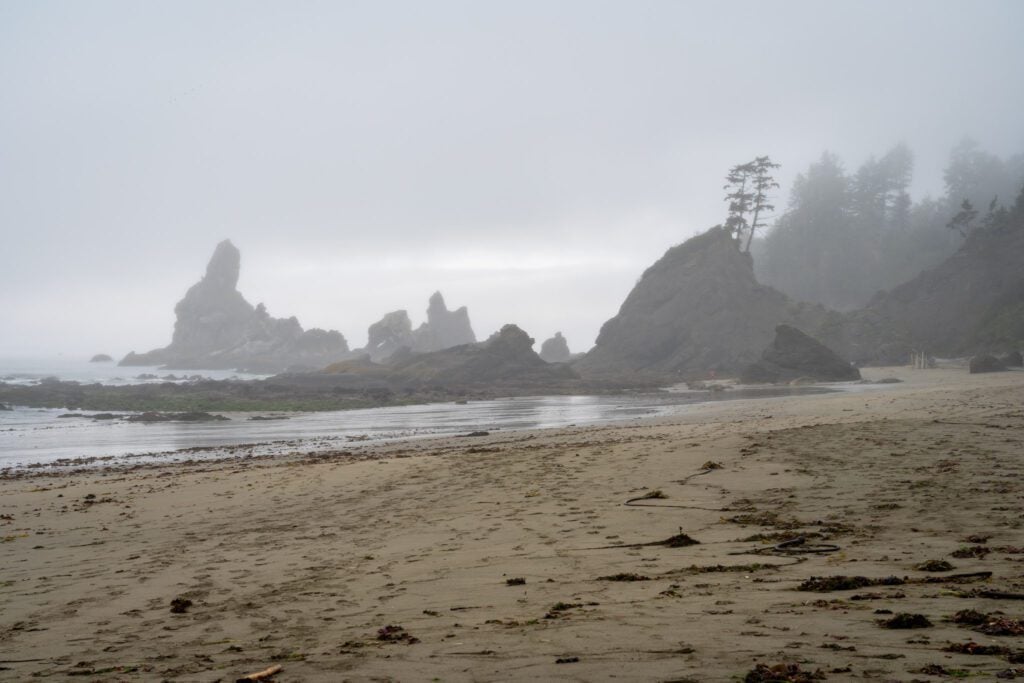
Dramatic, yes, but not great for viewing sea stacks, so we skipped that extra and spent our time exploring the tidepools along the beach and sitting on a log wondering if the fog was going to roll out anytime soon (it wasn’t).
This hike was the muddiest trail we’ve ever encountered in the park, and our boots (we wore boots, and were happy with the decision) were caked in a thick crust of mud by the time we got back to the car.
We saw people attempting this hike in sandals and Crocs, and we wouldn’t recommend that.
And we also wouldn’t recommend wearing your best white Nikes, which will likely never be the same after their encounter with this trail.
This is another hike that you’ll want to plan to hit around low tide, which you can check here.
Also worth noting that the majority of this hike is on land owned by the Makah Tribe, which means you’ll need a Makah Recreation Permit ($20, good for the calendar year).
A reminder that if you’re arriving up here early, stop at the Makah Mini Mart in Neah Bay (here on Google Maps) as you pass through, which opens at 7am.
Cape Flattery
- Length: 1.5 miles
- Elevation Gain: 200 feet
- Trail Type: Out and Back
- Difficulty: Easy
- Pass Required? Makah Recreation Permit
- Dog-Friendly? Yes, on a leash
- Trailhead Location: Cape Flattery Trail Parking
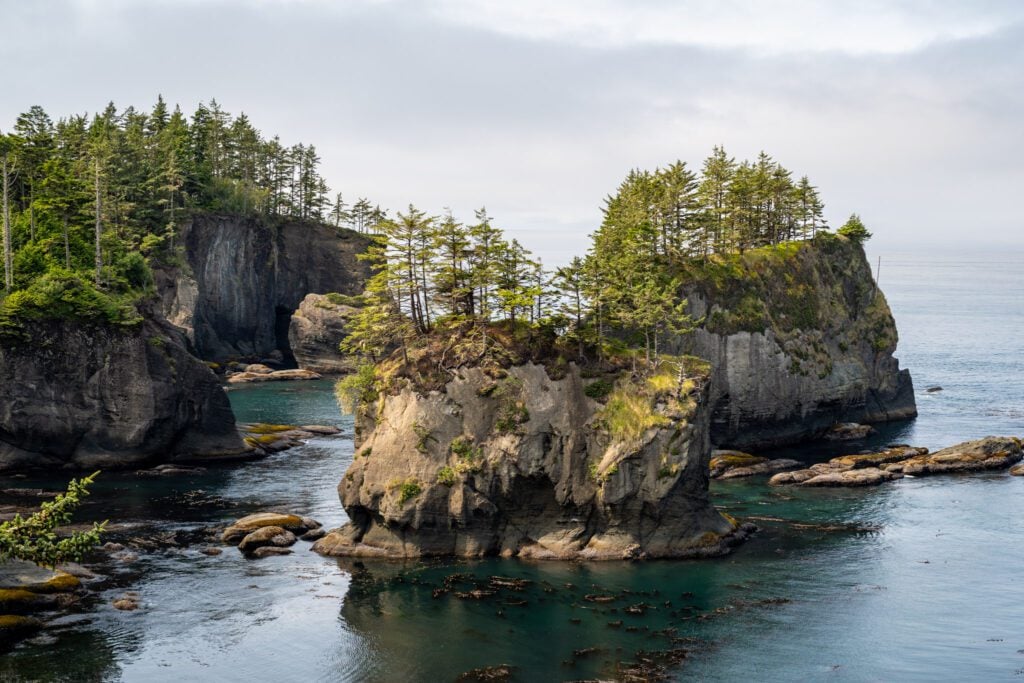
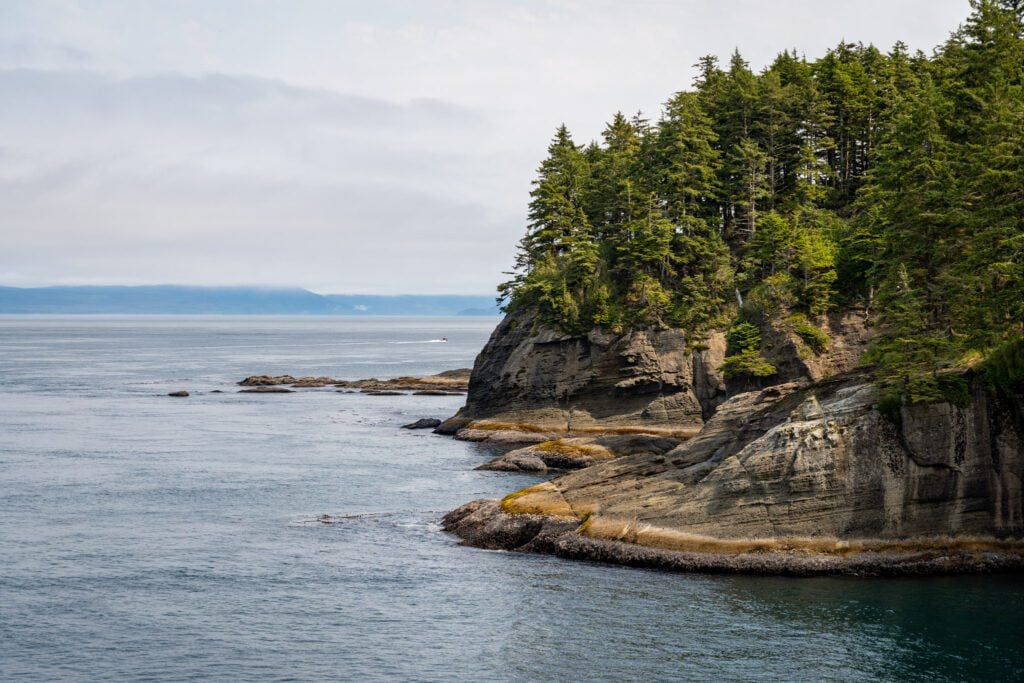
Cape Flattery represents the northwest corner of the contiguous United States, and a short downhill trail (which does mean uphill on the way back) takes you to a couple of really nice viewpoints looking west out over the Pacific and north towards the Strait of Juan de Fuca and Vancouver Island.
There are some great views of the sea stacks off the coast, some good marine life (lots of cool birds, and sea lions on an island offshore), and the lighthouse on Tatoosh Island.
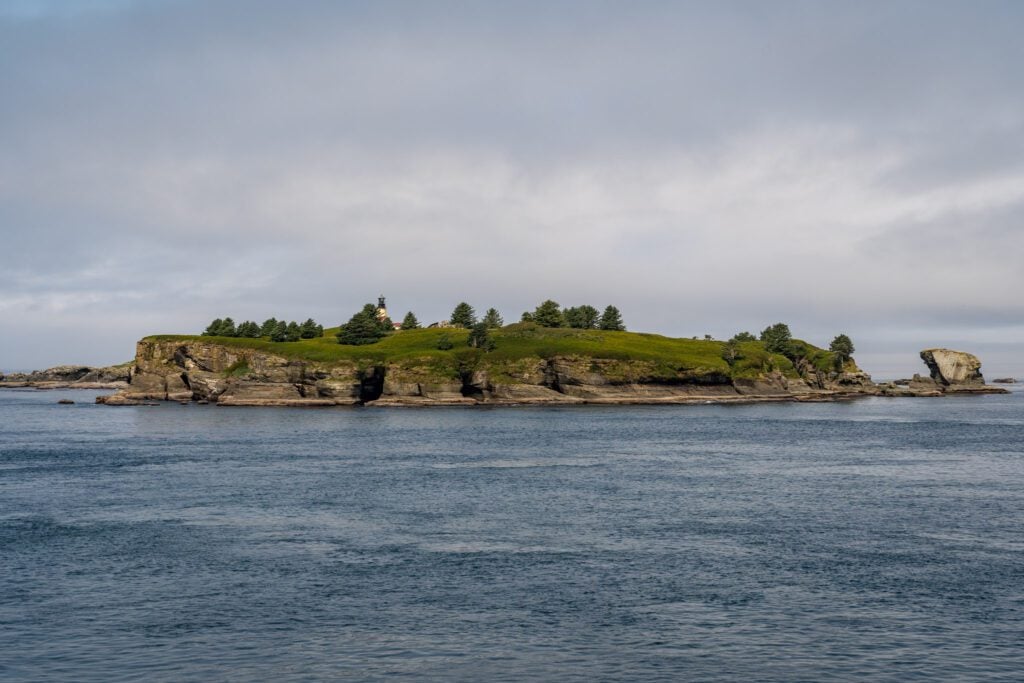
Of all of the trails we’ve included in this guide, this might be the one that stretches the definition of “hike” the furthest, but we wanted to include it because we very much think it’s worth stopping by.
Especially if you’re already up on the northern coast hiking to Shi Shi Beach. It’s a 10-15 minute drive between trailheads.
There’s a big parking lot with multiple gravel overflow lots, and the trail is relatively short so turnover is high.
The accessibility of this trail does mean that it’s a little bit of a zoo during the middle of the day, so we’d say to try to time it so that you’re here either in the early morning or later in the afternoon to have a bit more tranquility.
We were here smack dab in the middle of the day after a morning at Shi Shi, and there were SO MANY PEOPLE.
It’s pretty clear that a) the boardwalk sections of the trail were not designed with such high numbers of visitors in mind, because they’re too narrow for two people to pass shoulder-to-shoulder and b) people don’t really care to read the signs saying “don’t trample off trail here please” because they NEED to get that photo.
This is another hike that requires a permit from the Makah Tribe, which you can get at the base of the road out to Cape Flattery, or down in Neah Bay (the Makah Mini Mart is where we’d go if you’re arriving early – they open at 7am).
Hikes on the Central Pacific Coast
Here are three hikes along the Central Pacific Coast that we really like.
All three are great options for camping on the beach if you’re interested in that, and we’ve put them in the order in which we’d prioritize them if you’re short on time.
Second Beach
- Length: 2.2 miles
- Elevation Gain: 291 feet
- Trail Type: Out and Back
- Difficulty: Easy
- Pass Required? Quileute Tribal Lands Permit
- Dog-Friendly? No
- Trailhead Location: Second Beach Trailhead
Of the beach hikes that you’ll find in La Push, this is probably our favorite of the bunch (though we do love some sunset action at Rialto Beach in the right conditions).
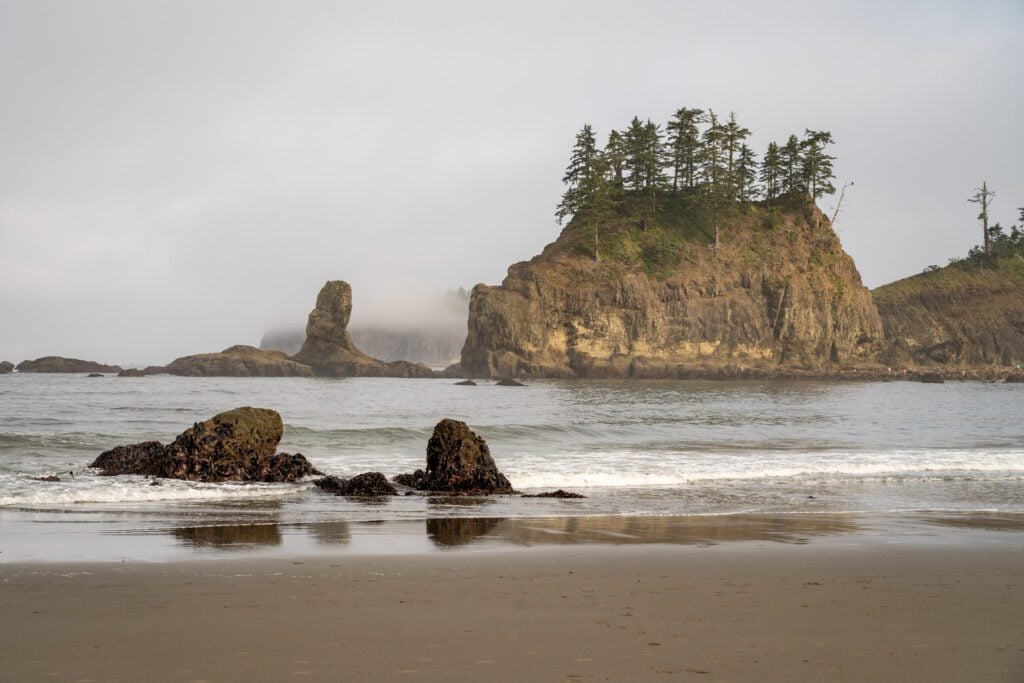
There are three beaches along this stretch of road in La Push, creatively named First Beach, Second Beach, and Third Beach, and our favorite of the bunch is Second Beach.
It’s a quick walk through a (very underrated) rainforest to reach Second Beach that covers 0.7 miles and is mostly flat until you get to the last 0.2 miles, which is straight downhill and can be very muddy (this is true of all of the coastal hikes, so bring waterproof hiking boots or shoes).
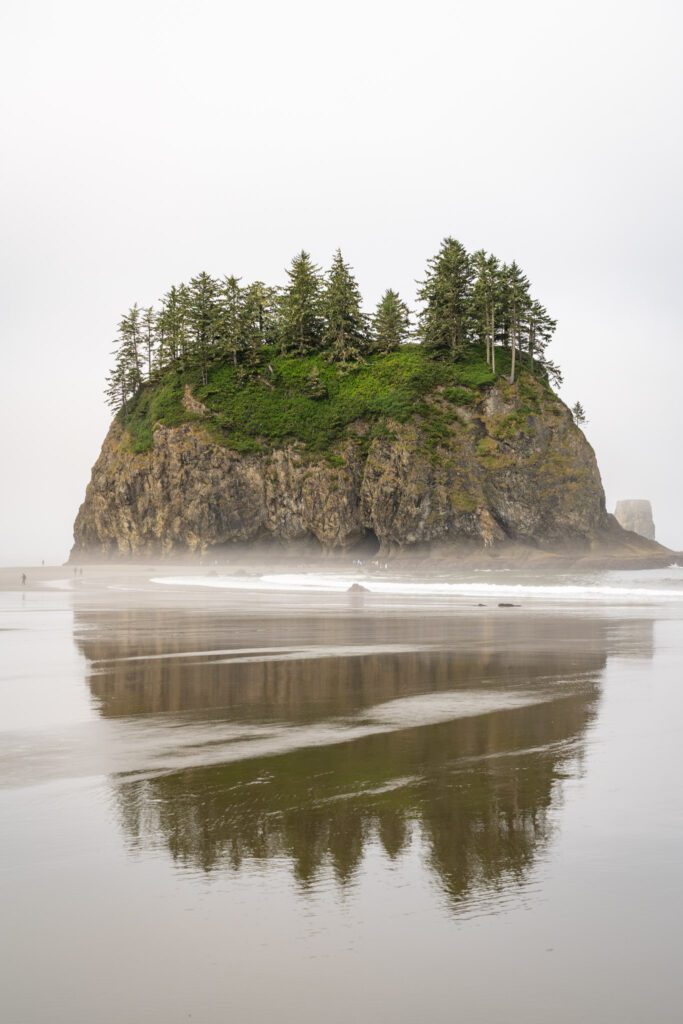
Once you step onto the beach, you’re met with two sets of sea stacks, one to the right and one to the left.
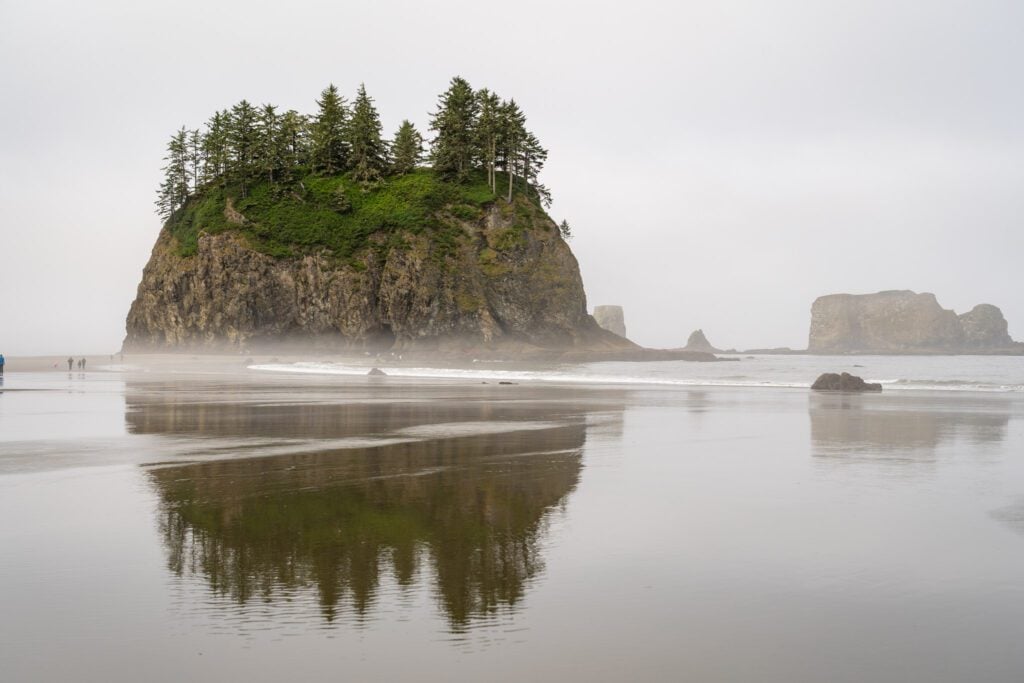
We would absolutely recommend timing your visit to Second Beach (and, frankly, any other beach on the Olympic Peninsula) around low tide, which means you’ll get to see some nice sea life and tide pools.
Check the tides here, and try your best to be here around low tide.
Assuming you’re here at low tide, there are a plethora of tidepools around the big sea stack off to the left where we spent a solid 30 minutes just marveling at all of the sea life that exists here.
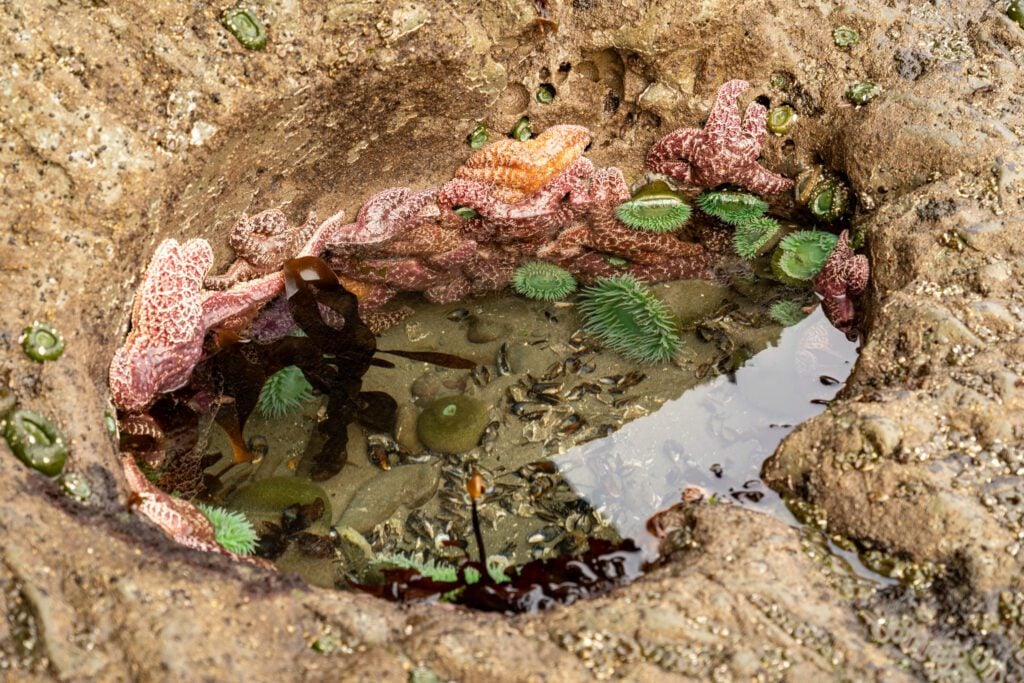
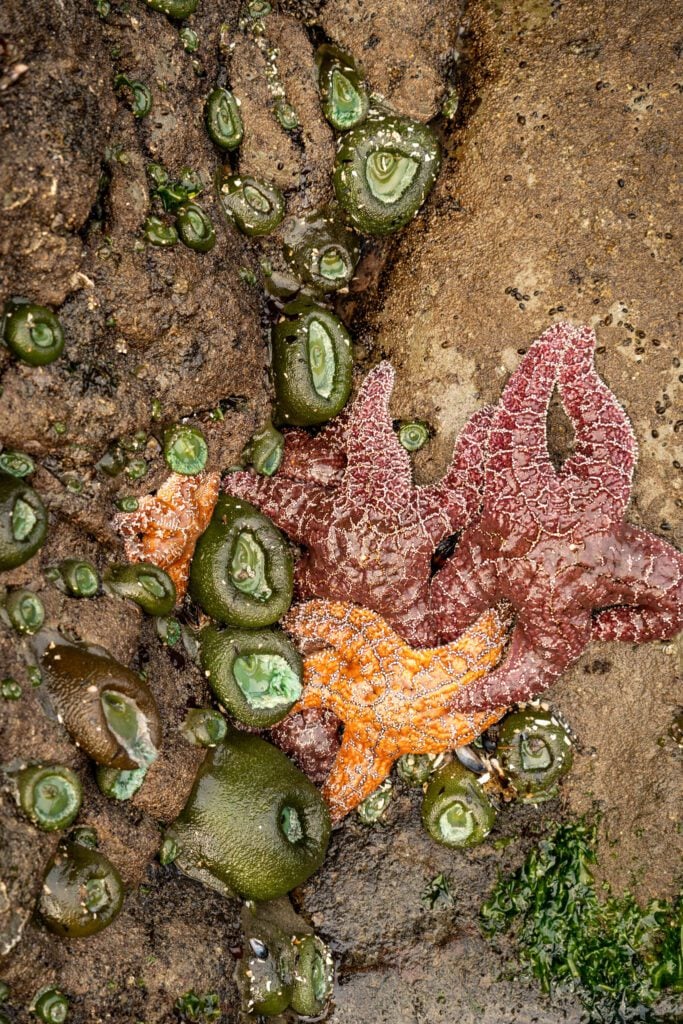
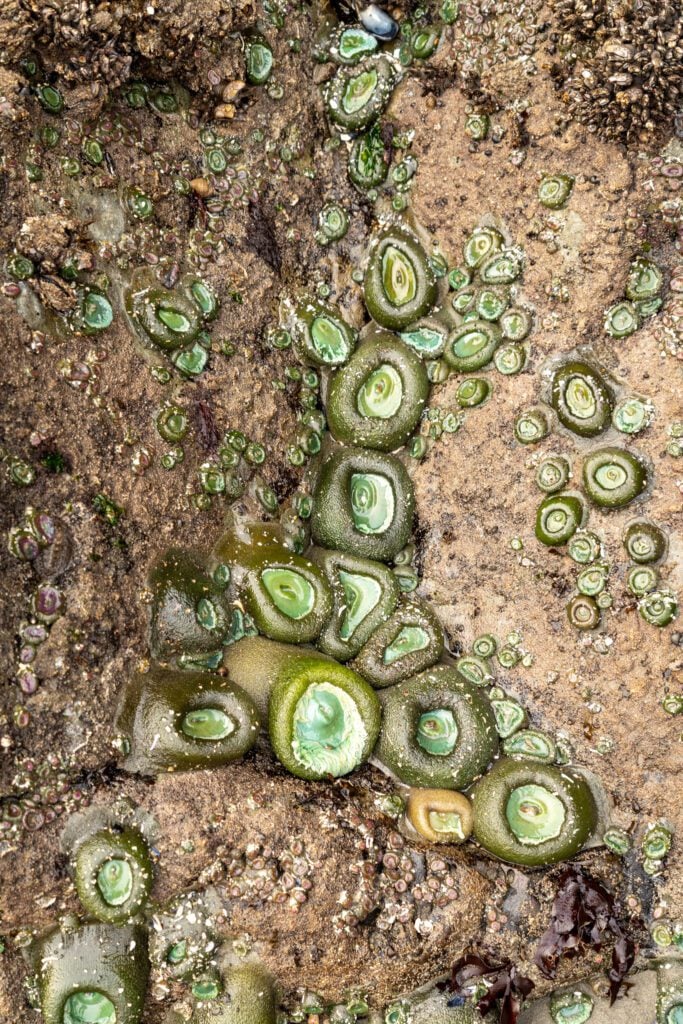
You can literally hear the life chattering if you stop and listen near the hundreds of mussels covering the rocks.
Overall, a very nice beach, and a relatively low cost of entry (in terms of the hiking) make this a great option, including for families (we saw tons of kids down on the beach tidepooling away).
They recently did a lot of work to improve the parking situation, and now there’s a big gravel lot that…is still full by 8am. It’s a short hike so there is plenty of turnover, but you might have to wait for a spot depending on when you show up.
An important note: As of 2026, parking at Second Beach requires a parking permit that allows parking on Quileute Tribal Lands.
There are handy signs at the lots with QR codes to pay, but there is zero cell coverage out in La Push, which makes those QR codes completely useless.
Instead, you’ll have to stop by the Lonesome Creek Store (here on Google Maps) to grab a physical parking permit in person.
As we were standing at the trailhead, we saw three different groups try to pull up the website on the QR code, fail because they had no service, and head on down the trail.
Rialto Beach to Hole-in-the-Wall
- Length: 3.3 miles
- Elevation Gain: 85 feet
- Trail Type: Out and Back
- Difficulty: Easy
- Pass Required? National Park Pass or Quileute Tribal Lands Permit (Depending on where you park)
- Dog-Friendly? No
- Trailhead Location: Rialto Beach Parking Lot
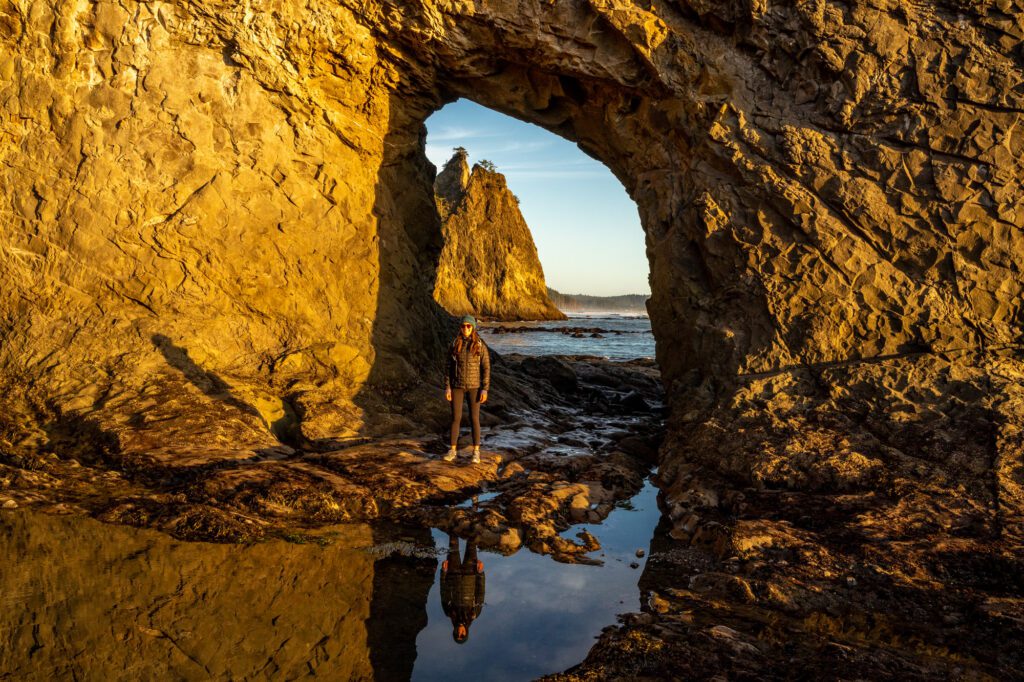
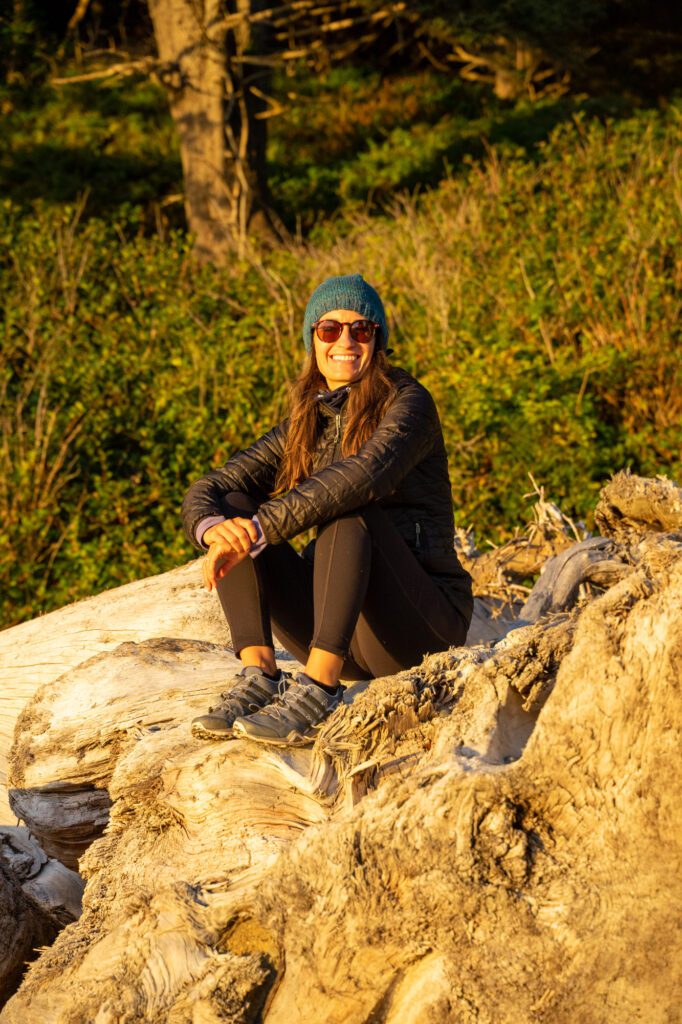
This is our favorite beach hike in the park, and we definitely recommend doing it around sunset if it’s not cloudy, which is a rarity on the Pacific Coast, but we got super lucky the first time we did it.
Since that magical night (which is when the pictures are from), we’ve been here two other times and it was cloudy and misty both of those times (which were both in August).
If you have a sunny evening, don’t hesitate to head out here!

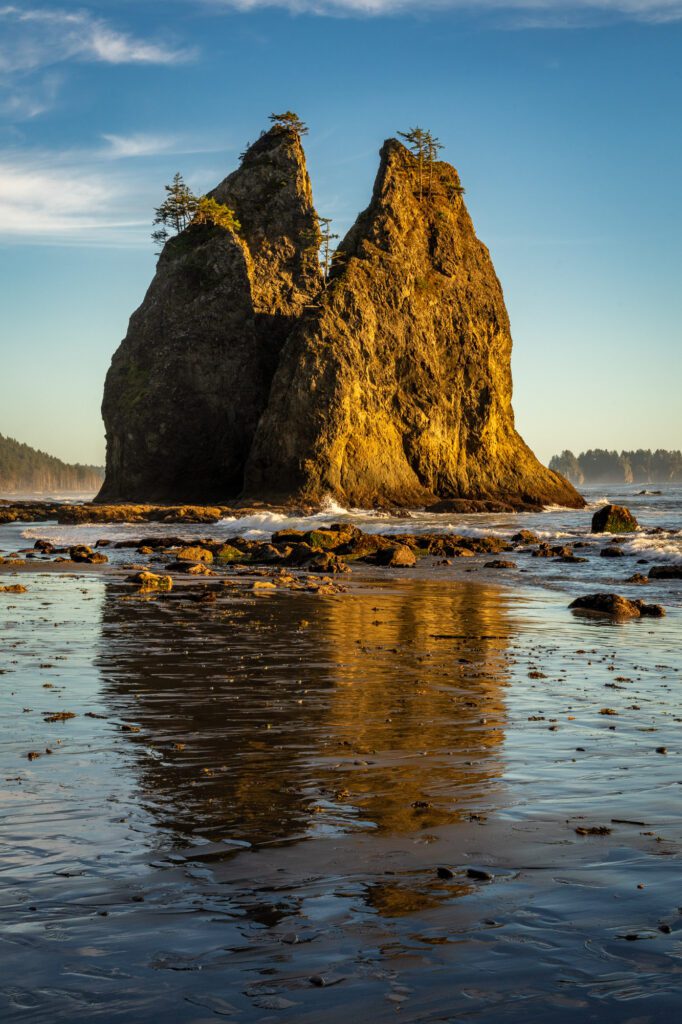
The hike starts from the parking lot for Rialto Beach, and from there you basically walk just under two miles up the beach until you reach Hole in the Wall.
Which, as you might have guessed, is a hole in a wall formed after thousands of years of erosion from the waves.
There’s no elevation gain to speak of, but walking in the sand is a pain. We’d recommend hiking boots to make it slightly less painful (waterproof + no sand in shoes).
Make sure to check the tide chart before you go – this hike is best done at low tide if you want to be able to walk through the hole in the wall (plus, the tide pools around there are fun too!).
An important note: As of 2026, parking at Rialto Beach requires a parking permit that allows parking on Quileute Tribal Lands.
However, it’s only for one of the parking lots – the gravel lot on the south end of the road.
If you park in the gravel lot, make sure you have a parking permit from the Lonesome Creek Store (here on Google Maps), because the QR codes don’t really work given the fact that there’s limited cell coverage.
Or just park in the main paved lot, which doesn’t require a permit (just a national parks pass).
Third Beach
- Length: 3.6 miles
- Elevation Gain: 280 feet
- Trail Type: Out and Back
- Difficulty: Easy
- Pass Required? National Park Pass
- Dog-Friendly? No
- Trailhead Location: Third Beach Trailhead
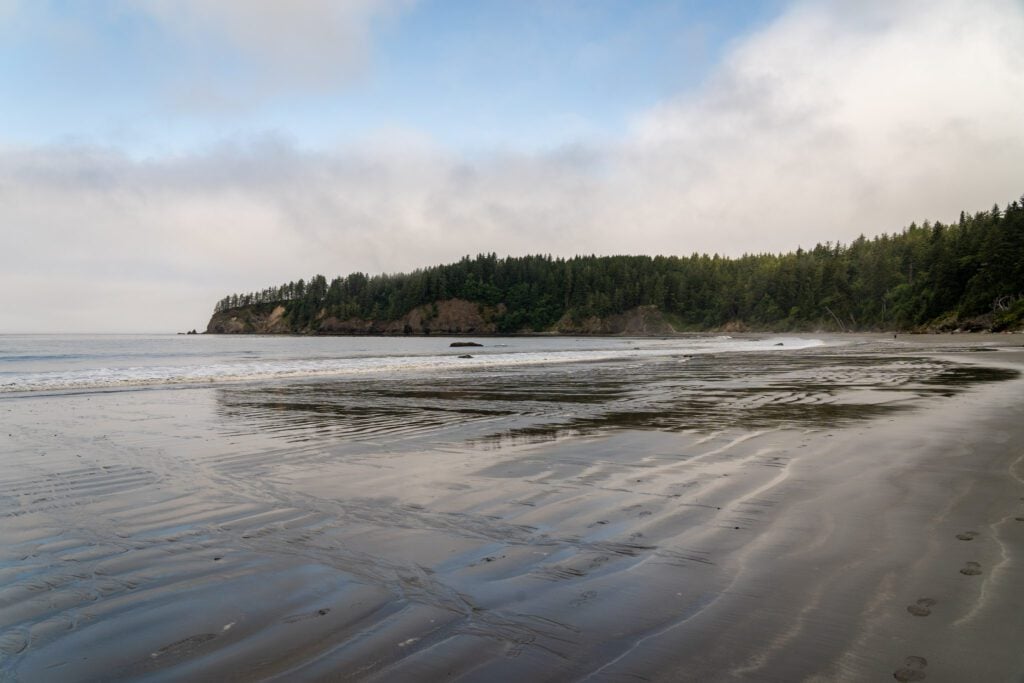
Third Beach is the closest beach in La Push to Forks, so it’s the first parking lot you’ll drive by as you’re heading out towards the coast along La Push Road.
Of the three main beaches in La Push (not counting Rialto here), it’s the longest hike to reach.
It’s not a difficult hike, but it is a three mile round trip journey, which means the barrier to entry is slightly higher than, say, Second Beach.
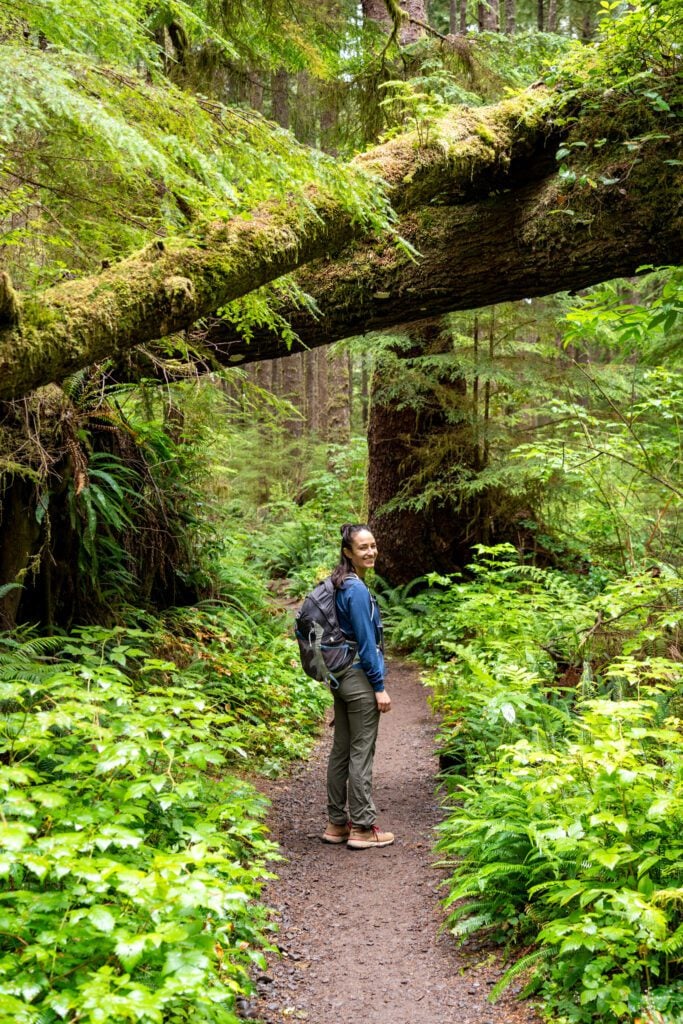
The big reason we liked our hike out to Third Beach is the fact that the parking lot is relatively small with no overflow onto the road, so the number of people on the trail is constrained by the parking situation.
Many of the cars in the lot are parked here for an overnight hike down the coast, so the number of day hikers is even lower.
As a result, you’ll encounter far fewer people heading out to Third Beach than you will at Rialto or Second Beach.
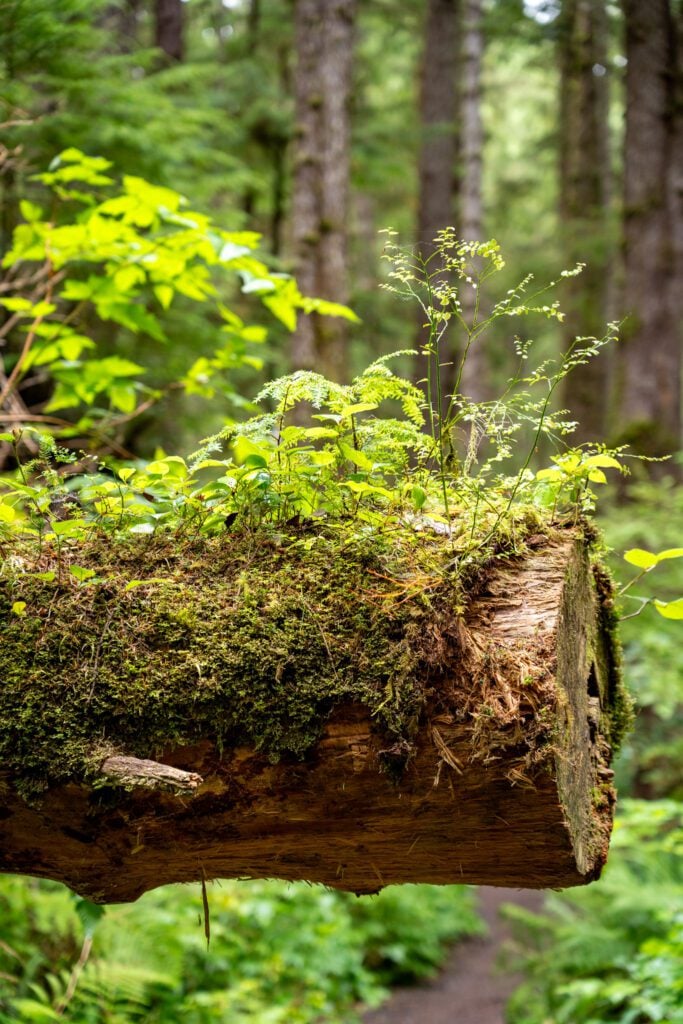
The hike itself is another nice, flat walk through the rainforest (again, an underrated rainforest that is right up there with the Hoh and Quinault editions) that drops 300 feet right before you get out to the beach.
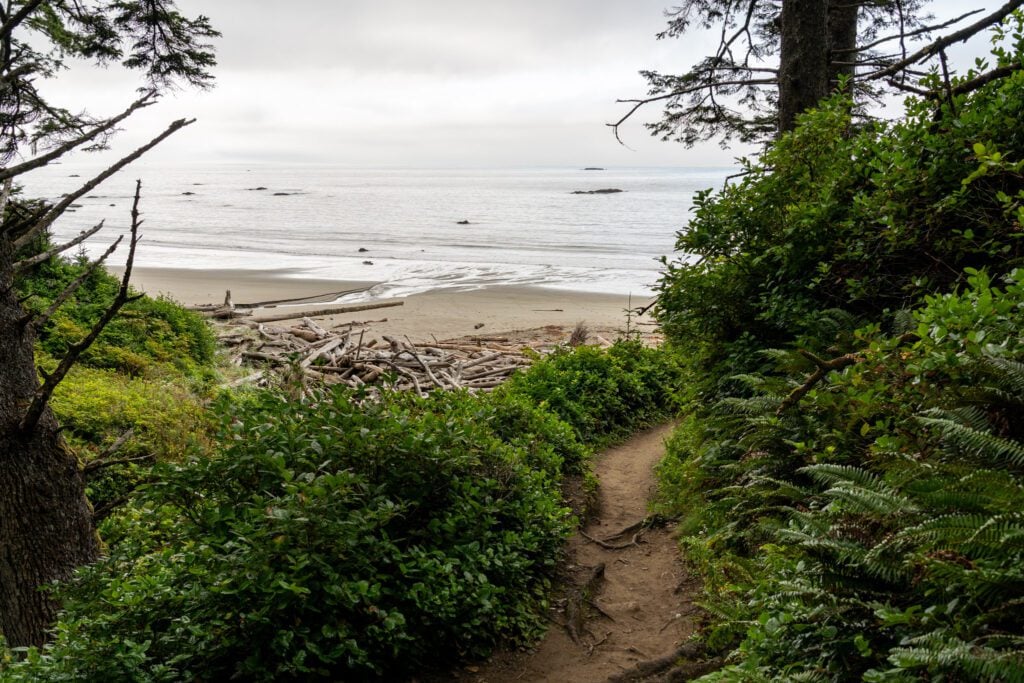
Once you’re out on the beach, you’ll immediately notice that there are far fewer sea stacks just offshore here, which means not as much tidepooling to do as Second Beach has.
However, Third Beach has a trail that extends off the southern end and continues down the coast, so this is one of the few beaches where you can extend your hike a bit if you’re up for it.
At the south end of the beach, there’s a seasonal waterfall and a trail that takes you up to a nice viewpoint out over the beach with a small climb.
This is another one you’ll want to time around low tide just so that you have as much beach real estate as possible (less for tidepools here).
Hikes in the Rainforests
These hikes are split between the Hoh Rainforest and the Quinault Rainforest, which are both south of Forks in the southwestern end of the park.
We have shorter options and longer options (including a nice overnight hike) to choose from.
The Hall of Mosses + Spruce Nature Trail
- Length: 2.5 miles
- Elevation Gain: 100 feet
- Trail Type: Loop
- Difficulty: Easy
- Pass Required? National Park Pass
- Dog-Friendly? No
- Trailhead Location: Hall of Mosses Trailhead
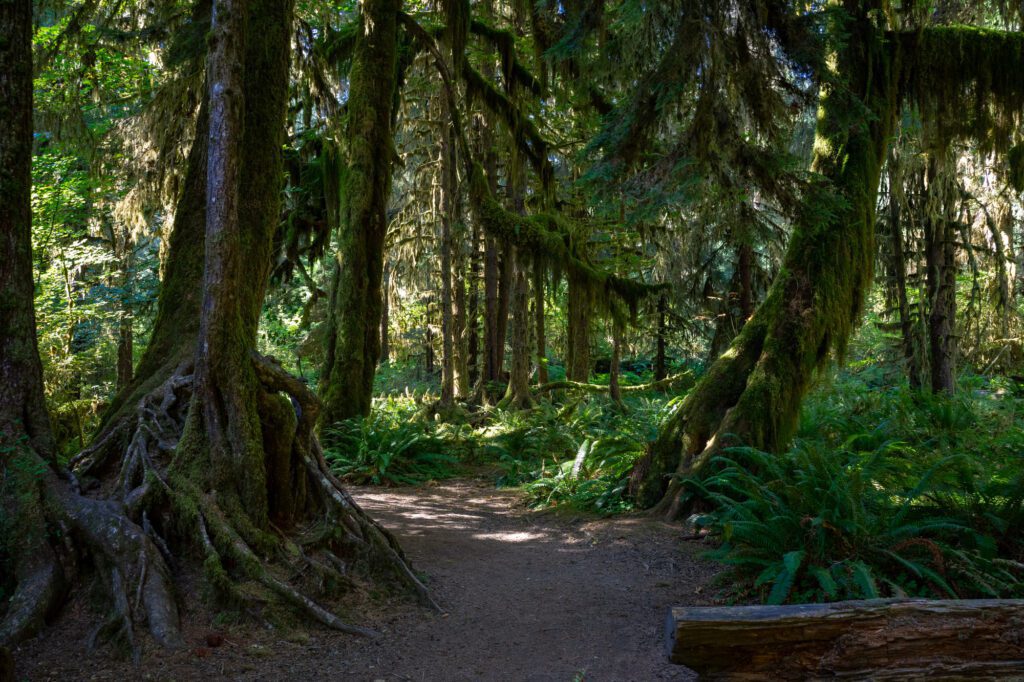
We’re combining the Hall of Mosses and Spruce Nature Trail, two short and flat trails that depart from the Hoh Rainforest Visitor Center, into one trail here, and it is without a doubt the most popular trail in the park.
We’re reiterating this at the top here because it is SO important: if it’s the summer, you need to be prepared to be out here by 7:30am or so.
Especially on summer weekends, when lineups to get past the entry station can take two to three hours (the parking lots are small compared to the demand).
All that being said, if you’re looking for the best introduction to the coastal temperate rainforests that make this place special – and also very wet – this is it.
More adventurous hikers shouldn’t be deterred by the short distance. What it lacks in distance, the hike makes up for in sheer beauty.
The trail brings you through an absolutely enchanting verdant forest where statuesque trees are elegantly draped with tangles of thick moss.
Along the way, you can read educational signs with information that teaches you about Washington’s rainforests and all of the flora and fauna thriving within them.
If you’re lucky, you may even spot the resident Roosevelt elk along the way!
The Hoh Rainforest parking lot is the busiest in the park, and it is not uncommon to have a line at the rangers station with a “one in, one out” policy that can mean waiting for an hour or more to get in.
We know because we accidentally got a late start with some friends on one of our recent trips, and didn’t arrive until almost 10am, which resulted in an hour and a half spent waiting at the visitor center.
Do yourself a favor and get an early start. Not only will you bypass the lines, you will also have a much more tranquil experience in the early morning, when there will be fewer people out and about (and more elk).
The Hoh River Trail
- Length: 10.2 miles (or as far as you want)
- Elevation Gain: 364 feet
- Trail Type: Out and Back
- Difficulty: Moderate
- Pass Required? National Park Pass
- Dog-Friendly? No
- Trailhead Location: Hoh River Trailhead
Whenever we talk to people in real life who are heading up to Olympic, our number one tip that we give them is that, yes, they should hike the shorter trails in the Hoh Rainforest (the Hall of Mosses and Spruce Nature Trail, mentioned above).
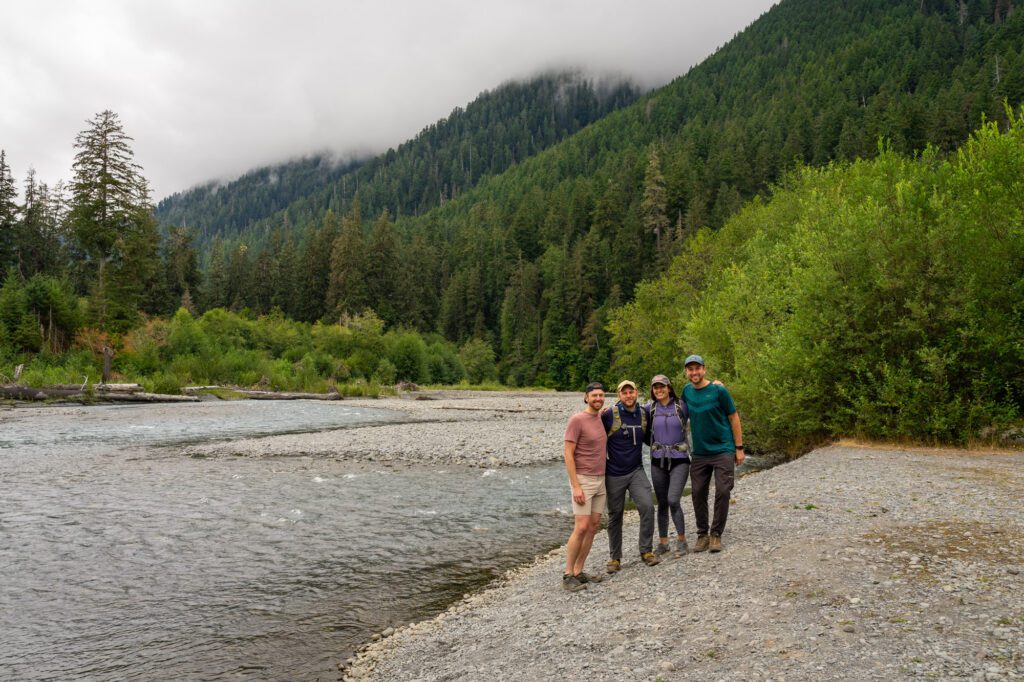
However, they should also take the time to walk out on the Hoh River Trail, where you’ll find the same exact rainforest with a tiny fraction of the crowds and the “quietest place on earth.”
This trail is mainly used by backpackers heading out to the foot of Mount Olympus, but once you’re about a mile and a half in, you start to have access to the banks of the Hoh River, which is cool. We like to go about two and a half miles out, have a snack out at the river, and then head back.
If you’re up for a longer hike, you can head all the way to Five Mile Island, which (unsurprisingly) is five miles into the hike.
Along that trail, you only climb 350 feet, so it’s a nice easy walk through the rainforest.
Take your time on this hike, walking along the abundant river valley, soaking up the magic of the Hoh as you marvel at the trees covered in layers of moss, search for birds, and drink up views of the Olympic Mountains rising above the river valley.
The trail is accessible year-round and is blissfully free of tourists in the wintertime (although significantly damper and cooler, of course).
The Quinault Rainforest Loop
- Length: 4.1 miles
- Elevation Gain: 364 feet
- Trail Type: Loop
- Difficulty: Easy
- Pass Required? None
- Dog-Friendly? Yes, on a leash
- Trailhead Location: Quinault Loop Trailhead
If you’re looking for a relatively easy rainforest hike that has similar levels of beauty to the more famous rainforest hikes in the park with a fraction of the crowds, we’d definitely recommend the Quinault Loop, which starts and ends at the historic Lake Quinault Lodge on the lake’s southern shore.
Technically speaking, this trail is outside the boundaries of Olympic National Park, but not by much (this fact also means pets ARE allowed on this trail).
As we covered the home stretch on this four mile hike through the Quinault Rainforest, I turned to Alysha and asked her if she thought this was better than the Hoh Rainforest.
Which tells you everything you need to know about how nice we thought this hike was.
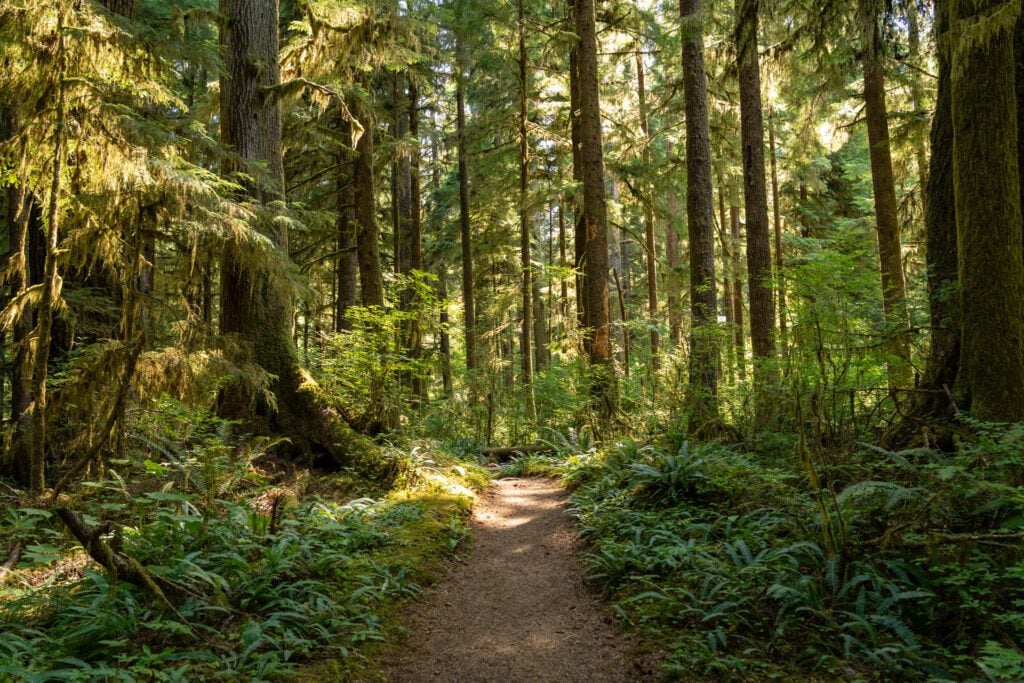
The coastal temperate rainforest that you find up and down the Pacific Coast is so vibrant and full of life, from the ferny undergrowth, to the tiny little fairy forests growing out of various logs, to the towering Sitka Spruce trees covered in moss.
The Hoh Rainforest is obviously lovely – it’s famous for a reason – but there are stretches of this trail that are equal to anything you’ll find in the Hoh, with a tiny fraction of the visitors and no two hour wait at the entrance.
This hike has it all: a beautiful stretch of rainforest, a waterfall, and a walk along the shores of Lake Quinault past the historic Lake Quinault Lodge.
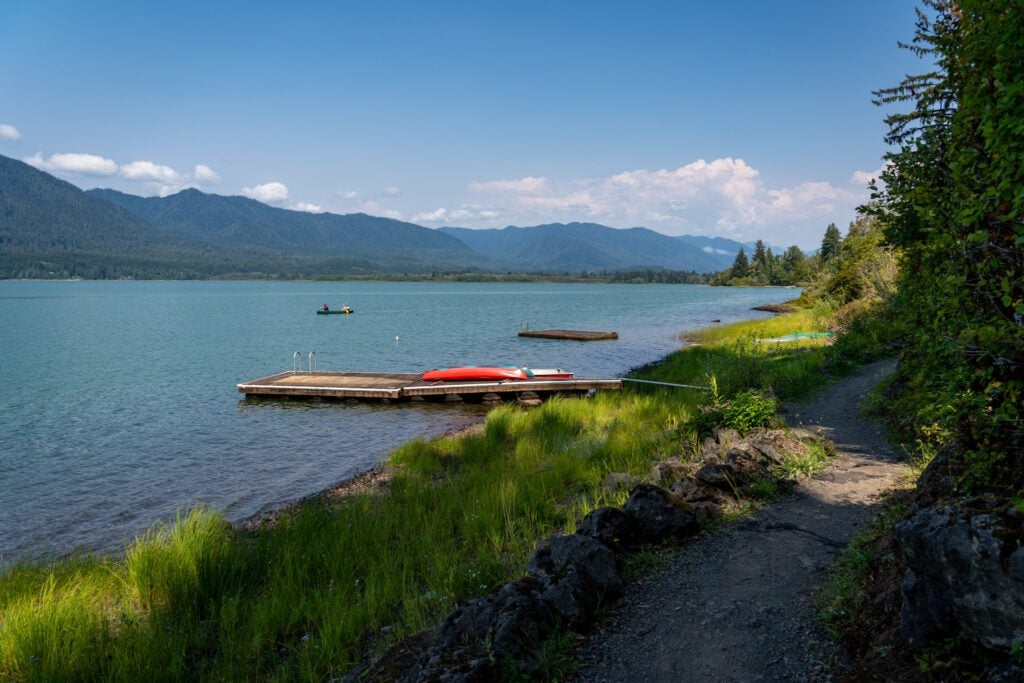
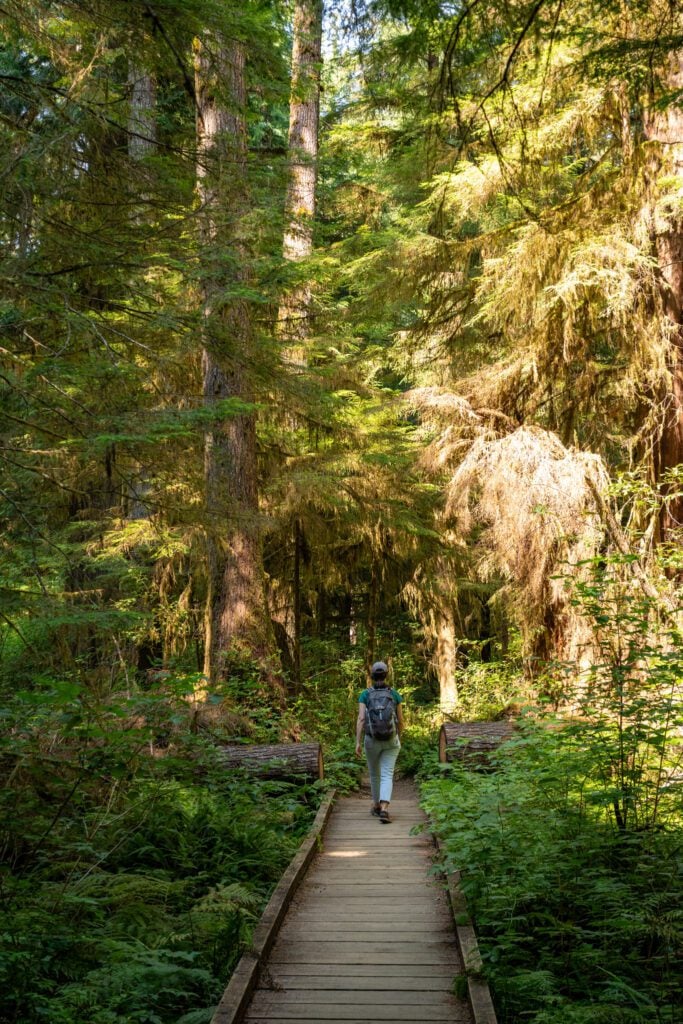
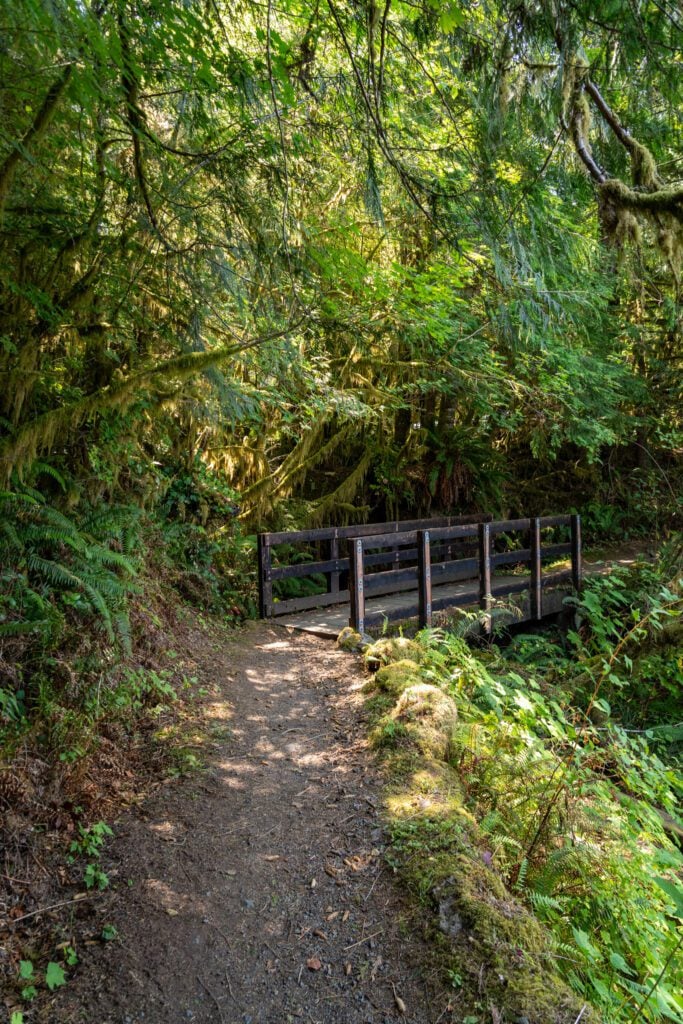
There are a couple of shorter trails along the south shore of Lake Quinault, including a shorter rainforest loop (that you’ll cover on the longer hike) and a walk to the world’s tallest Sitka Spruce, but the one we’d recommend is the four mile loop that we referenced above.
The Enchanted Valley (Overnight)
- Length: 27.8 miles
- Elevation Gain: 3,700 feet
- Trail Type: Out and Back
- Difficulty: Hard
- Pass Required? None
- Dog-Friendly? No
- Trailhead Location: Graves Creek Trailhead
We snagged permits to do the Enchanted Valley Trail a few summers ago, and we were absolutely ecstatic because they’re not particularly easy to get.
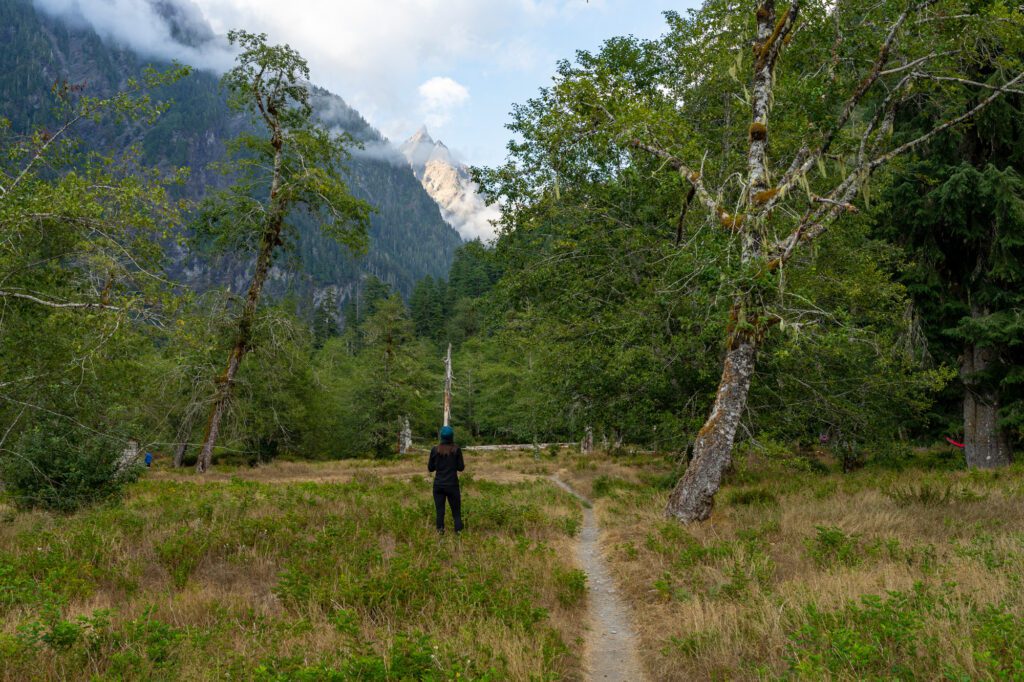
At the end of this long and incredibly picturesque excursion through the lush Quinault Rainforest is a fun reward for those who go the distance.
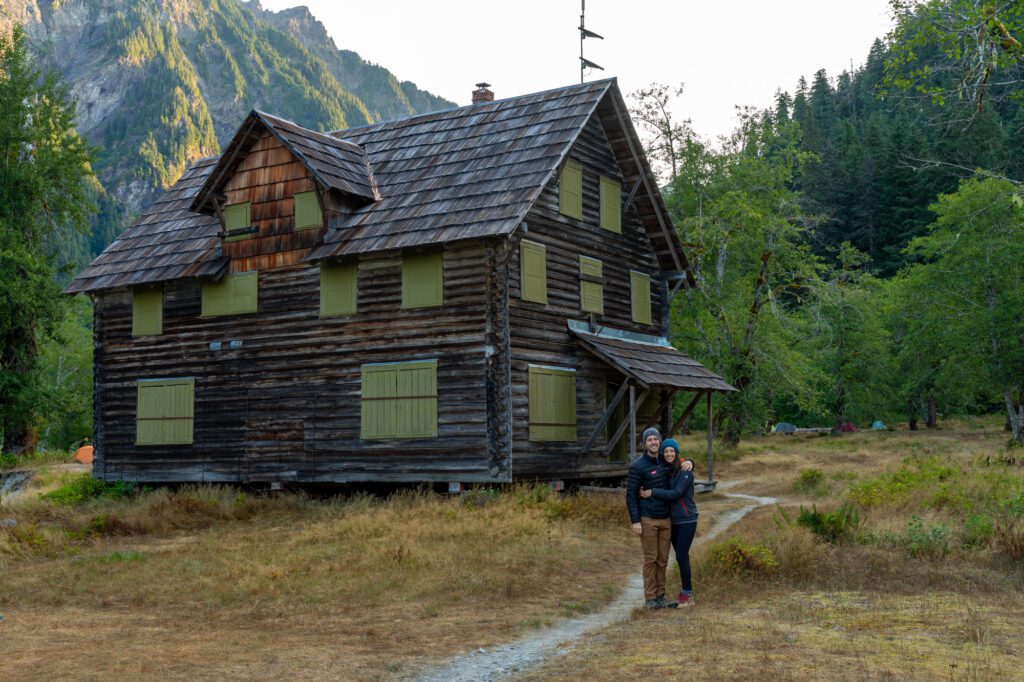
The Enchanted Valley chalet has been sitting in this lush valley since the 1930’s, when it served as a retreat for hikers and horseback riders.
Currently, it is closed to hikers but still makes for an interesting and historic stop along the trail, surrounded by incredible views of the snow-topped Olympic Mountains.
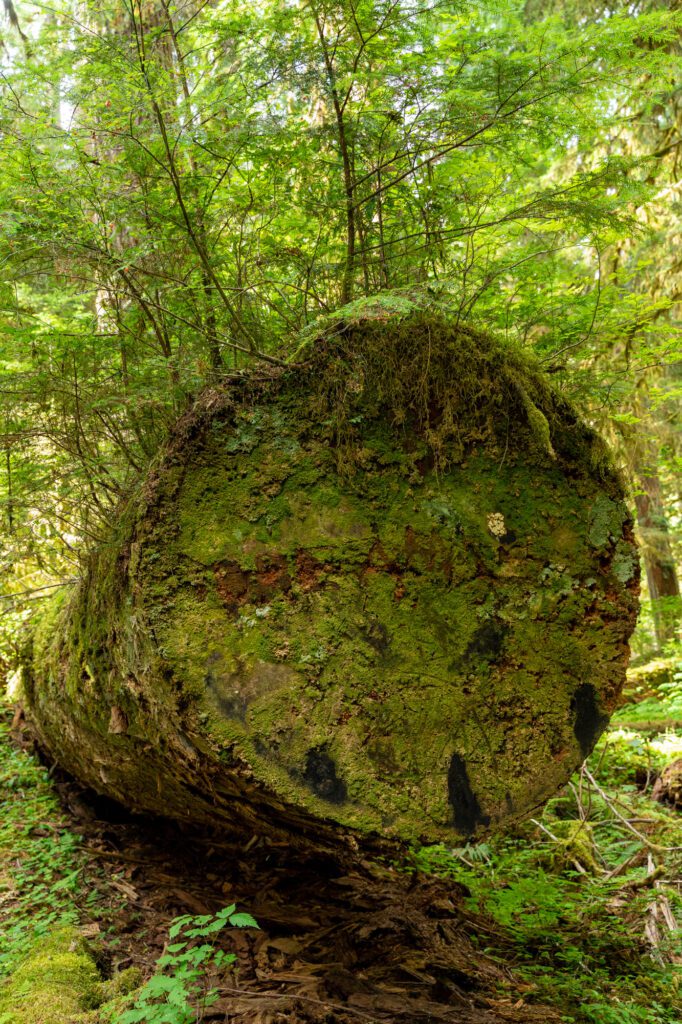
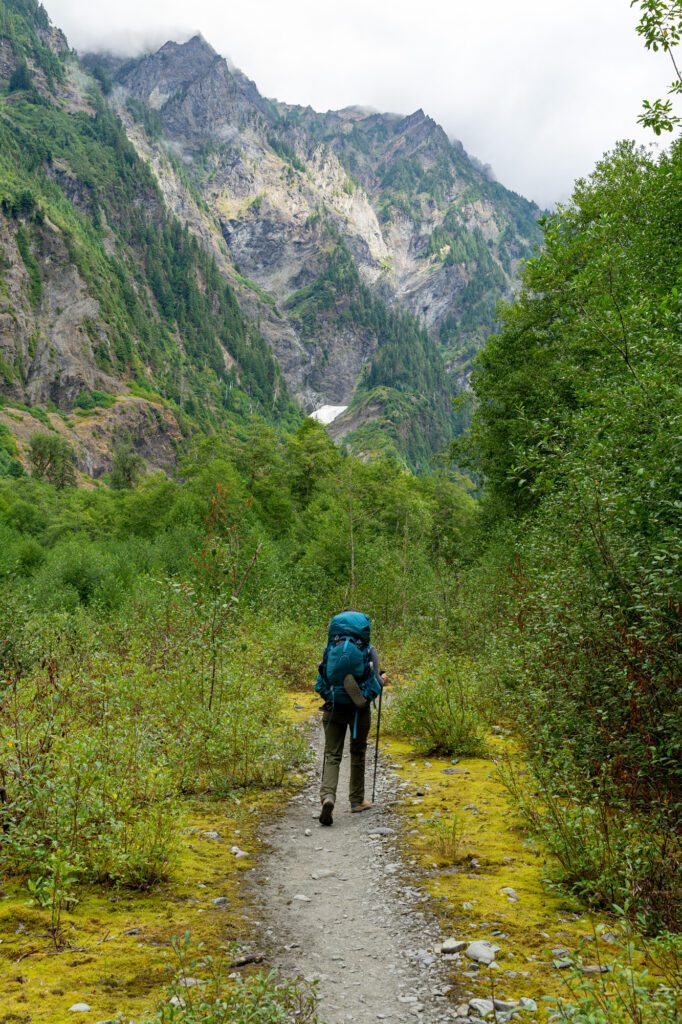
This is a long hike. It’s not particularly difficult in terms of elevation, but it is certainly not doable as a day hike (at least for most hikers, us included).
Instead, it’s best as a two night backpacking trip, which gives you a night on the way out to the valley, and a night in the valley itself (which you definitely shouldn’t miss).
Now, this is a very popular backpacking trail, so expect to encounter plenty of others around the way.
That isn’t necessarily a bad thing, but there were almost 100 people camped out in the Enchanted Valley when we were out there. Set your expectations accordingly.
The hike begins at the Graves Creek Trailhead. You’ll start out along an old road enveloped by towering trees. In the forest roam deer, coyotes, bobcats, bears, mountain lions, elk, and other woodland creatures.
The old road ends after two miles and you’ll continue on a steep descent into forest to the East Fork Quinault River.
Cross a bridge and a lovely gorge and follow the winding trail up and down as it runs parallel to the river.
At 6.7 miles in, you’ll reach O’Neil Creek Camp and ahead of you lie several creeks to cross, including No Name Creek and Pyrites Creek, as well as a handful of campsites.
Once you pass Pyrites Creek, continue climbing through woodlands to reach the valley and about half a mile from the chalet, you’ll pass through a gate.
It is important to note that camping permits must be reserved ahead of time, here.
Olympic National Park only gives out a limited number of permits, so it is best to plan ahead during peak season.
Bear canisters are required for backcountry camping in Olympic National Park, which can be rented from the Wilderness Information Center in Port Angeles.
We have an entire guide dedicated to hiking the Enchanted Valley Trail, including logistics like how to get permits and what to expect along the way.
Our Favorite Olympic National Park Hikes, Mapped
As promised, here is a map of the hikes featured in this guide, color-coded for the five different regions of the park.
Things to Know Before You Visit Olympic National Park
Here are a few things we think you should know before you venture out into Olympic National Park.
The park is huge, and drive times can be long. The park sprawls across the northwestern corner of the contiguous United States, and the borders are somewhat confusing and sometimes unconnected.
It takes more than three hours to drive from Hurricane Ridge, at the northern edge of the park, down and around the coast to the Quinault Rainforest at the park’s southern border.
It makes the most sense to break up your trip into two chunks; the northern end (Hurricane Ridge and Lake Crescent) and the southern end (the Pacific Coast and Rainforests) to minimize drive times. You can read more about how to organize your time in our itinerary for Olympic National Park.
Be prepared to be wet. Especially on the coast – including the rainforests. That’s the whole thing with the rainforests; they get an insane amount of rain every year.
Even in the summer, it’s not uncommon to encounter rainy days in the rainforest.
Over a few different summer trips, we’ve seen the beaches on sunny days, rainy days, and cloudy and foggy days. All in July and August.
It’s unpredictable, and you’ll want to have a good rain jacket and waterproof hiking boots.
A national park pass is required to access all sections within Olympic National Park. You have a few options to choose between.
You can buy a seven-day pass for $30 that admits you and your vehicle.
If you’re a national park enthusiast and are planning to visit three or more national parks in the next 12 months, you might want to invest in the America the Beautiful pass – The National Parks and Federal Recreational Lands Pass for $80 (more for non-citizens), which will grant you access to National Park Services sites across the United States for one year.
Not all of the hikes are within the boundaries of the national park and require different passes (or sometimes no pass), which we cover in the trail details section within each hike.
No dogs allowed on hiking trails in Olympic National Park. Like all national parks, dogs aren’t allowed in Olympic National Park.
This means no pups on the hiking trails or beaches. They can accompany you in campgrounds and parking lots. Basically, wherever a car can go, a dog can go.
In the northwestern corner of the Pacific Coast of Washington, much of the land belongs to the Makah Tribe, including Cape Flattery.
To access trailheads and beaches in that section of the park, you’ll need a separate recreation pass from the tribe.
The Makah Recreation Pass can be purchased in Neah Bay at a variety of businesses, including the Makah Tribal Center.
It’s also worth noting that you need a parking permit from the Quileute Tribe to park at First Beach, Second Beach, and one of the parking lots at Rialto Beach.
You can get one at the Lonesome Creek Store (here on Google Maps), because the QR codes don’t really work when cell service is spotty, at best.
Planning a Trip to Olympic National Park?
We’d Love to Help!
We have a bunch of detailed guides to visiting the Olympic Peninsula that are all based on our own personal experience exploring the park.
- All of our Favorite Things to Do in Olympic National Park
- How to Plan a Perfect Olympic National Park Itinerary (3-4 Days)
- Where to Stay in Olympic National Park: A Complete Guide
- The Best Hikes in Olympic National Park: A Helpful Hiking Guide
- Hiking the Enchanted Valley Trail: A Perfect 2-3 Day Backpacking Trip in Olympic National Park

Hi there! Which campsites did you stay in when you backpacked The High Divide / Seven Lakes Basin (Lake Crescent / Sol Duc Valley) and how did you break up the trip?
Hey Ashley! We did three days / two nights, and stayed a night each at Lower Bridge Creek (quiet and private, no toilets) and Deer Lake (more busy). We were booking relatively last minute, so we had to compromise a bit. If we were to do it again, we’d stay at Heart Lake on the way up, spend the night up on the High Divide at Lunch Lake (which is very competitive), and probably do the entire way down in one go and skip Deer Lake altogether. If you can spend a night at Lunch Lake on the Divide, which is the best part of the hike, do it! Hope that helps.
Hi there! If we only have time for 1 day in Olympic, coming from Tacoma, which hike(s) would you recommend? We’re experienced hikers who are always up for a challenge!
Hey Alex! I’d head to Hurricane Ridge (because it’s closest to Tacoma) and do Hurricane Hill or some version of Klahhane Ridge, depending on what kind of hike you’re up for. Hope that helps!
I’m planning my first trip to the park, and this is such a comprehensive overview! Thank you so much!
You’re so welcome! Hope you have a great trip – there are some fantastic hikes in Olympic, and we’re constantly discovering more to add to our own personal hiking list. Cheers!