
Hiking to Shi Shi Beach in Olympic National Park
Tucked away at the northwest corner of an already remote peninsula, Shi Shi Beach (which is pronounced “shy shy”) is a gem of a beach in Olympic National Park.
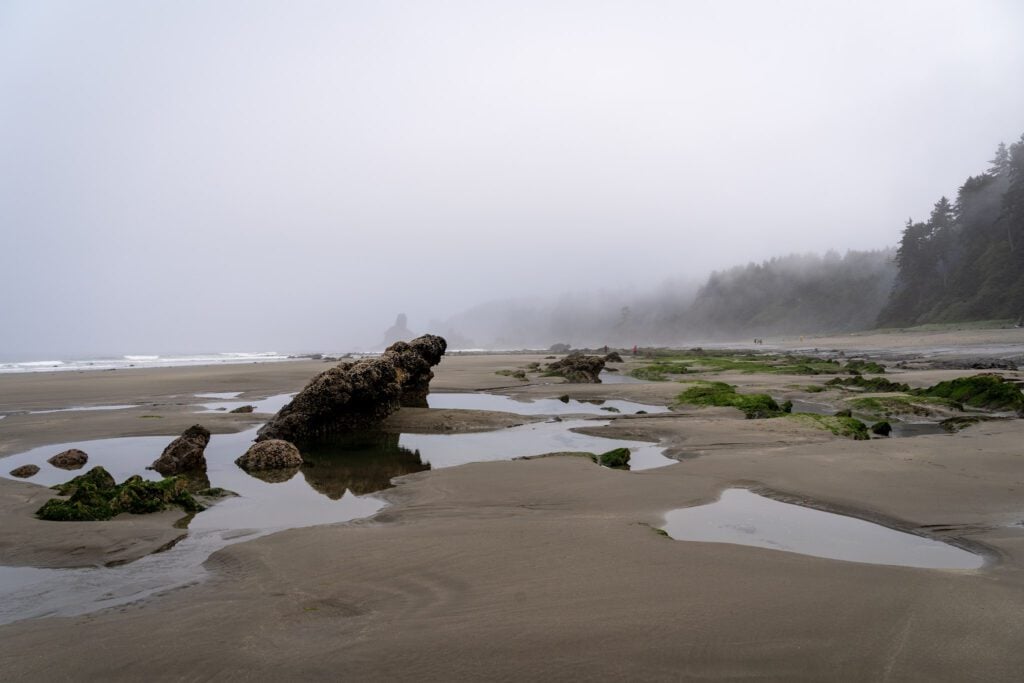
It’s wide and sandy. It has excellent tidepooling at low tide. And the combination of the remote location and two mile hike in mean that it’s a little less crowded than other beaches in the park.
If you’re willing to make the journey up to the northwest corner of Washington State, we think that Shi Shi Beach should be on your radar.
In this guide, we’re going to cover everything you need to hike out to Shi Shi Beach safely and confidently.
We’ll talk about the best route, the best time of year and time of day to hit the trail, and then take you through a play-by-play of our experience on the hike so that you know exactly what to expect.
Sound good to you? Let’s get into it.
Disclaimer: Some of the links in this post, like hotel links, are affiliate links, meaning at no additional cost to you, we make a little bit of money if you click through and book. That being said, we would never recommend something to you that we don’t stand behind 100%.
Shi Shi Beach: Trail Details
- Length: 4.4 miles (8.9 miles to Point of Arches)
- Elevation Gain: 567 feet
- Trail Type: Out and Back
- Difficulty: Moderate
- Pass Required? Makah Recreation Permit
- Dog-Friendly? No
- Trailhead Location: Shi Shi Beach Trailhead
How Difficult is the Hike to Shi Shi Beach?
By nearly every measurement we can think of, this hike out to the beach is firmly in the “easy” category.
It’s basically flat until the last 0.1 miles, which is a steep descent down to the beach and is the only section that would be considered moderate (the climb back up is no joke).
Given the short distance of that climb, it’s manageable for most hikers who are comfortable doing 4+ miles, we’d say.
However, the one thing you should know about this hike is that it is often very, very muddy, even in the height of summer.
We did this hike last in August, and the first half of the trail is on a boardwalk, which was fine, but as soon as you hit the non-boardwalk section, it was a giant mud pit.
We saw some people attempting the trail in crocs and other footwear, and we’d strongly recommend some sort of waterproof shoe or boot. And definitely leave the white sneakers in the car.
The difficulty of this hike changes slightly if you’re going all the way out to Point of Arches at the southern end of Shi Shi Beach.
If you do that, the hike is closer to 9 miles, though the elevation profile is essentially the same because all of that extra mileage is along the beach.
Hiking in the sand can be difficult, but it’s essentially flat the entire way from the north end of the beach (where you come out from the trail) to the southern end.
For the longer hike, we’d bring plenty of snacks and water (and ideally a packed lunch to enjoy on the beach).
Getting to the Shi Shi Beach Trailhead (and Parking)
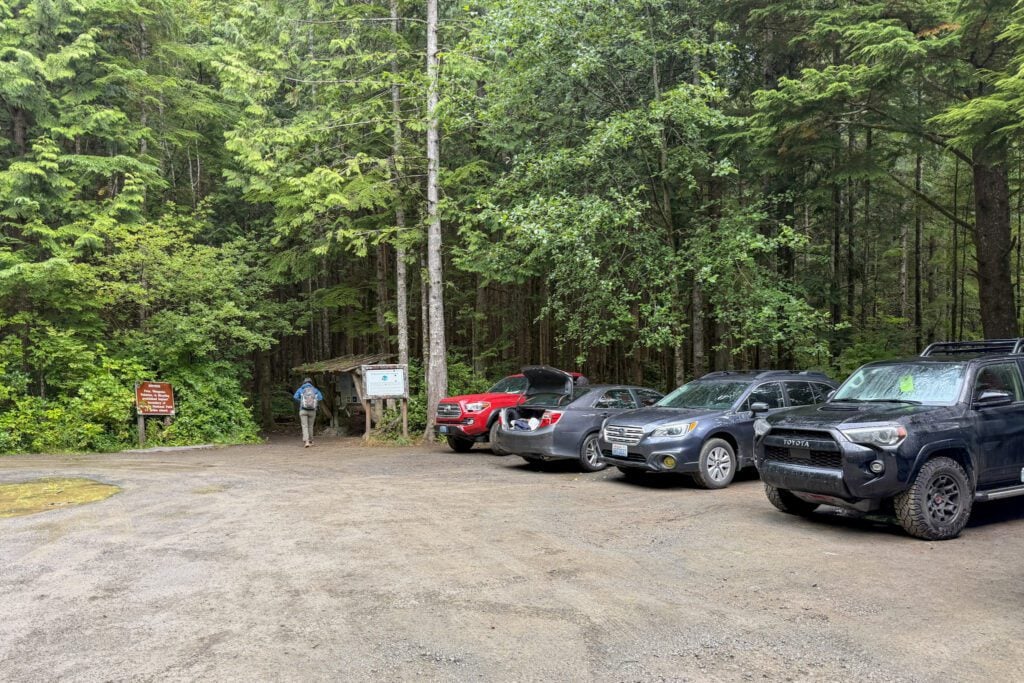
We’re not going to lie, it’s a bit of a trek to get to Shi Shi Beach, which is up on the northern Pacific Coast near Neah Bay on the Makah Reservation.
It seems like it should be a relatively easy journey if you’re already on the coast near Forks.
However, the big challenge is that there’s no direct route from the Highway 101 corridor, so you have to drive all the way around through the town of Sappho, which is halfway between Forks and Port Angeles.
From there, you make your way along a slow, winding road along the Strait of Juan de Fuca, through Neah Bay, and back out to the coast.
Whether you’re coming from the direction of Lake Crescent (or Port Angeles) or Forks, it’s going to take somewhere between 90 minutes and two hours.
The parking lot is pretty small, with room for roughly 10-12 cars, but there is plenty of parking along Hatchery Road, and we saw cars parked a long way down the road when we were hopping in our car to leave the trailhead.
If you’re spending the night out on Shi Shi Beach, you’ll need to park at this overnight lot, which costs $10 (cash only). Overnight parking is prohibited at the trailhead.
Also worth noting that the majority of this hike is on land owned by the Makah Tribe, which means you’ll need a Makah Recreation Permit ($20, good for the calendar year).
A reminder that if you’re arriving up here early, stop at the Makah Mini Mart in Neah Bay (here on Google Maps) as you pass through to get a permit, which opens at 7am.
The Best Time to Hike to Shi Shi Beach
There are two separate questions within the “best time” section, and we’re going to tackle both of them: the best time of year to hike this trail, and the best time of day to hike this trail.
In terms of the best time of year to hike this trail, the first thing to know is that this hike is accessible year round.
That’s because it’s at sea level, unlike some of the higher elevation trails around the state that are inaccessible for the majority of the year.
However, the second thing to know is that this part of the reason why this corner of the state is famous is the coastal temperate rainforest that covers large swaths of the Olympic Peninsula (including the trail out to Shi Shi Beach).
That means that this trail is likely going to be both wet and muddy.
Even in August, our last time on the trail, it was misty, foggy, and generally wet on the day we went out to the beach.
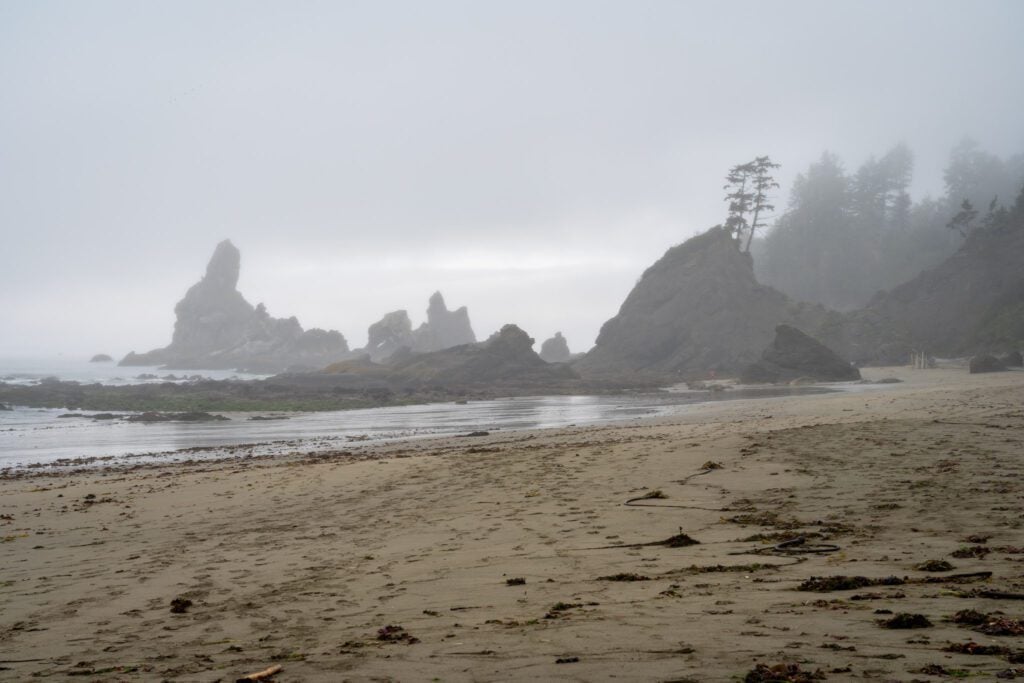
Expect rain and mud, even in the peak of summer.
You’re most likely to get clear days during the late summer and early fall (call it August through October).
The second question within the “best time” question is the best time of day to do this hike.
Rather than orienting the answer around the time on the clock, we’d focus on the cycle of tides.
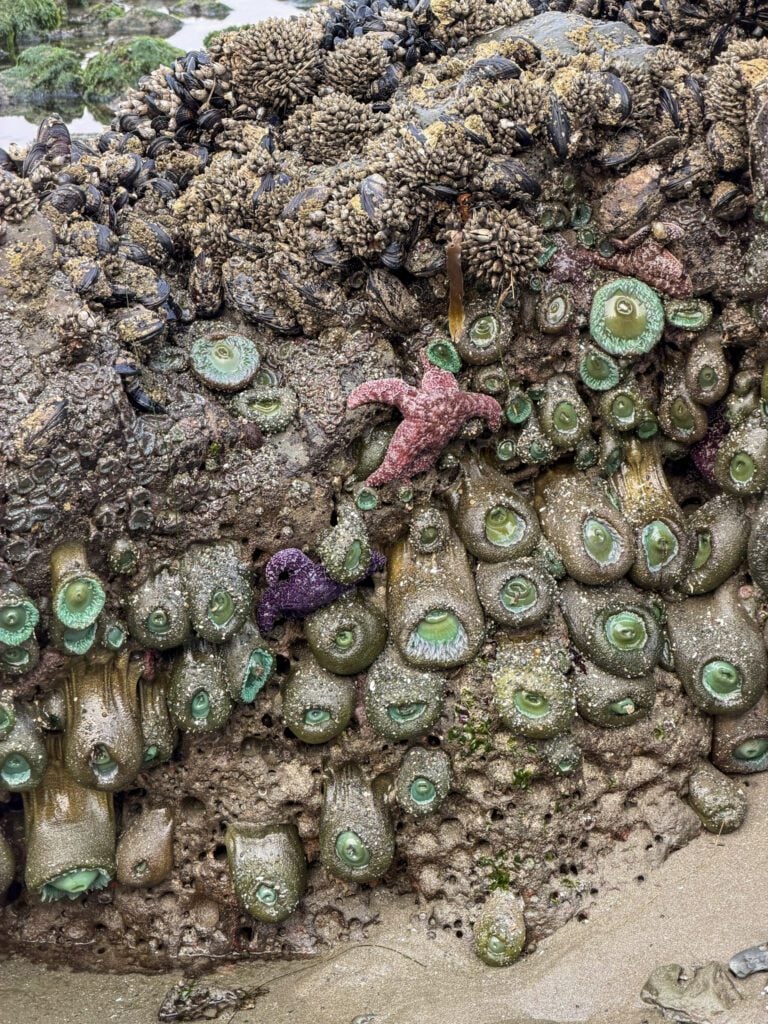
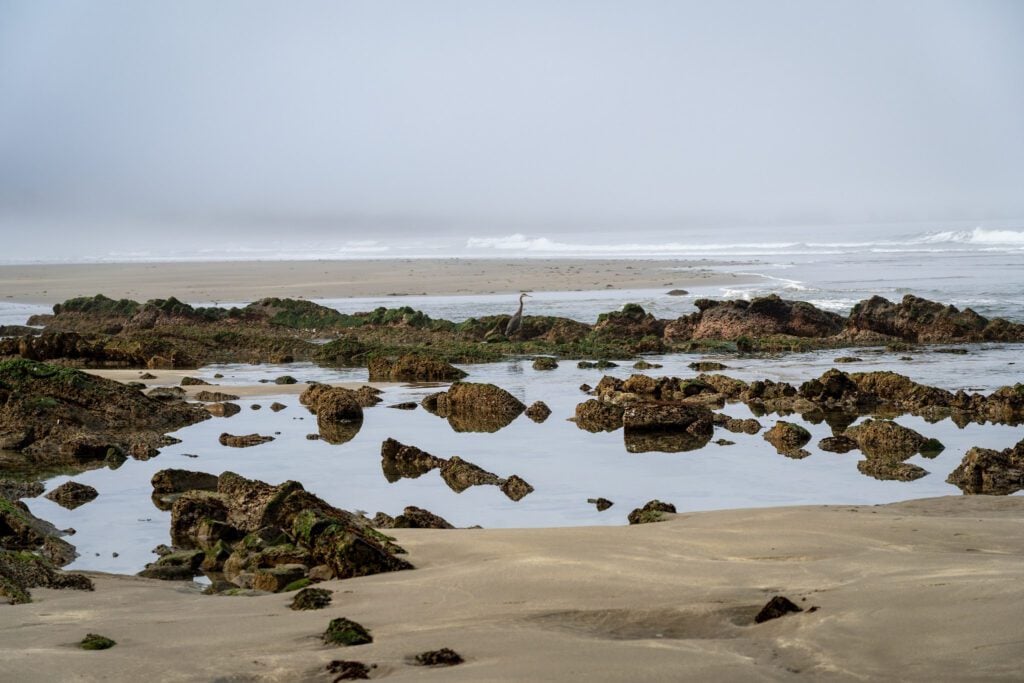
One of the main reasons why we like Shi Shi is the tidepools and sea life on display, which are particularly visible at low tide.
You should try to time your hike so that you arrive on the beach at low tide, which means starting about an hour before low tide arrives. You can check the tide charts for the day here.
In the best possible scenario, you’d have a low tide in the late afternoon so that you can be out on the beach around sunset, when the light is magical and that soft golden glow washes over the beach as the sun dips below the horizon off over the Pacific Ocean.
Things to Know Before You Hit the Trail
Here are a few things you need to know before you head out on your hike.
You’re likely going to encounter lots of mud. One of the reasons that this part of the world is so mesmerising is the abundance of foliage covering nearly every surface in the rainforest.
You know what you need for all that plant life to thrive? Moisture. And boy does this trail have plenty of moisture!
The first mile of this trail is along a wooden boardwalk, so you’re not dealing with mud for the first half of the walk out to the beach.
However, once you hit the halfway point, roughly, you get off of the boardwalk and you’re going to find yourself in one long mud pit that is difficult to avoid completely.
Come prepared with long pants and socks, and waterproof shoes (ideally high top hiking boots).
It’s a long way to go from the main areas of the park. Given the combination of the facts that it’s a long drive and there are plenty of beautiful beaches much closer to Forks and the more central areas of the park, we wouldn’t necessarily recommend coming up here unless you have more than three days to dedicate to the rest of the park.
Plus, if you come up here, don’t miss the short trail out to Cape Flattery, the northwest corner of the contiguous United States, and the Makah Cultural & Research Center Museum.
You need a Makah Recreation Permit. The majority of this trail is on Makah Land (basically only the beach is inside the boundaries of the national park).
In order to access Shi Shi, Cape Flattery, and Hobuck Beach, you need a recreation permit from the tribe that costs $20 and is good for the calendar year in which you bought it.
A reminder that if you’re arriving up here early, stop at the Makah Mini Mart in Neah Bay (here on Google Maps) as you pass through to get a permit, which opens at 7am.
Otherwise there’s a stand on the road out to Shi Shi where you can pick one up.
More information on the recreation permit and where to buy one here.
Our Experiences Hiking the Shi Shi Beach Trail
We did this hike last as a day hike on a gray August morning, and we were some of the first day hikers on the trail, starting at about 7:30am (to get out the beach around low tide that day).
Even in August, it was misty, gray, and cool, so be prepared for all of the different kinds of weather when you head up here.
The first section of trail is through a nice grove of Sitka Spruce (Matt’s favorite tree), and large chunks of this part of the trail are along wooden boardwalks.
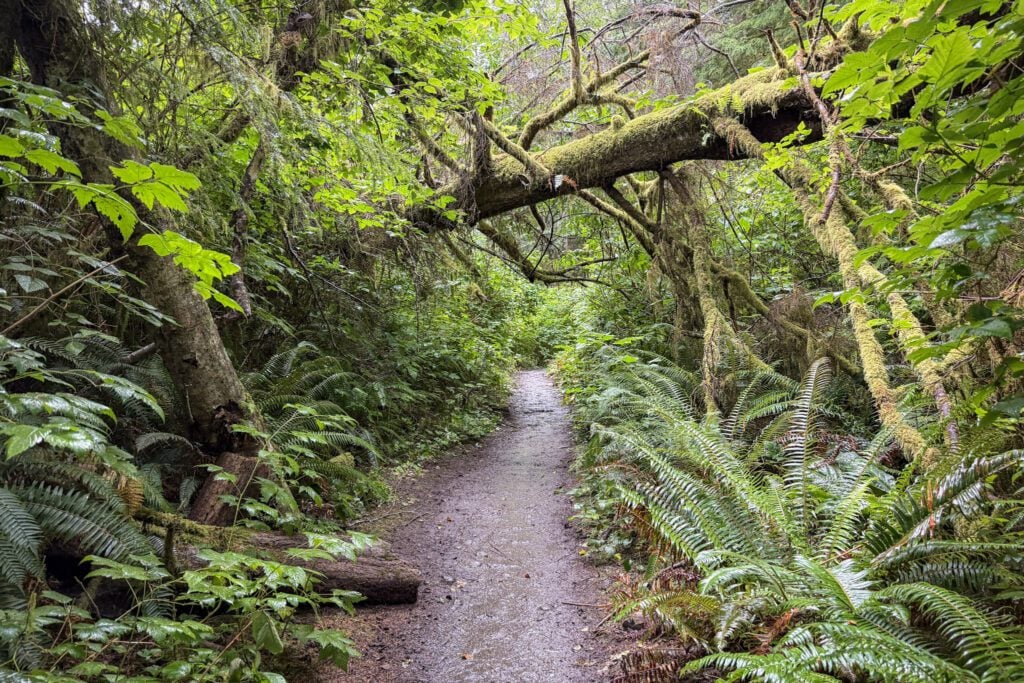
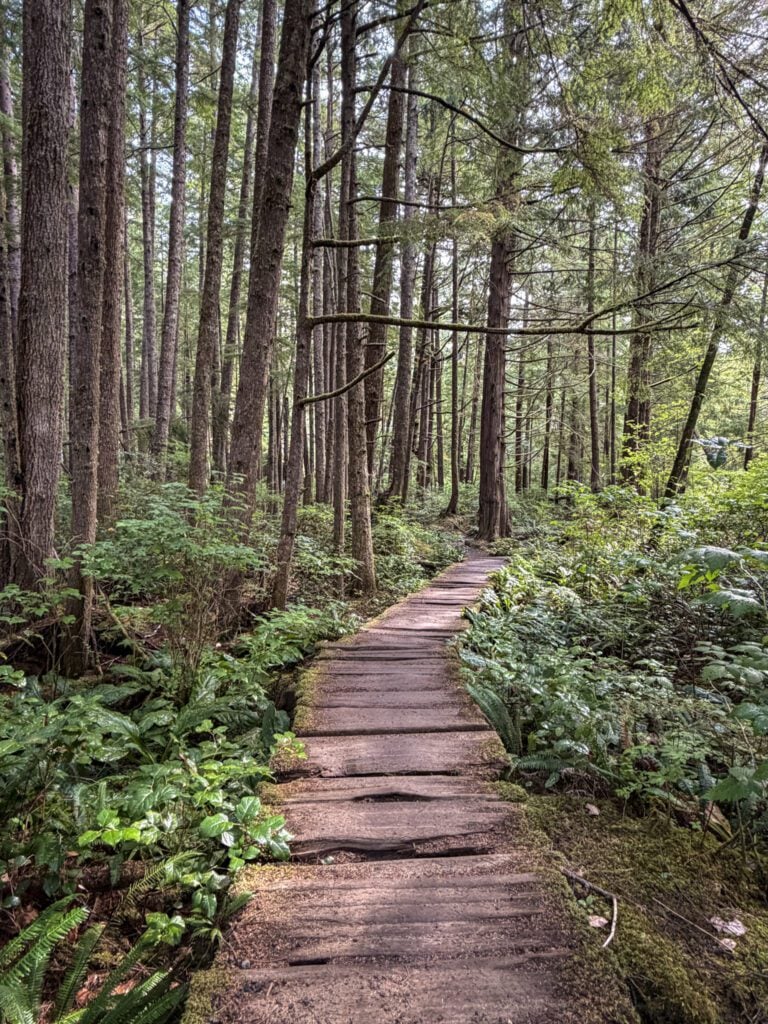
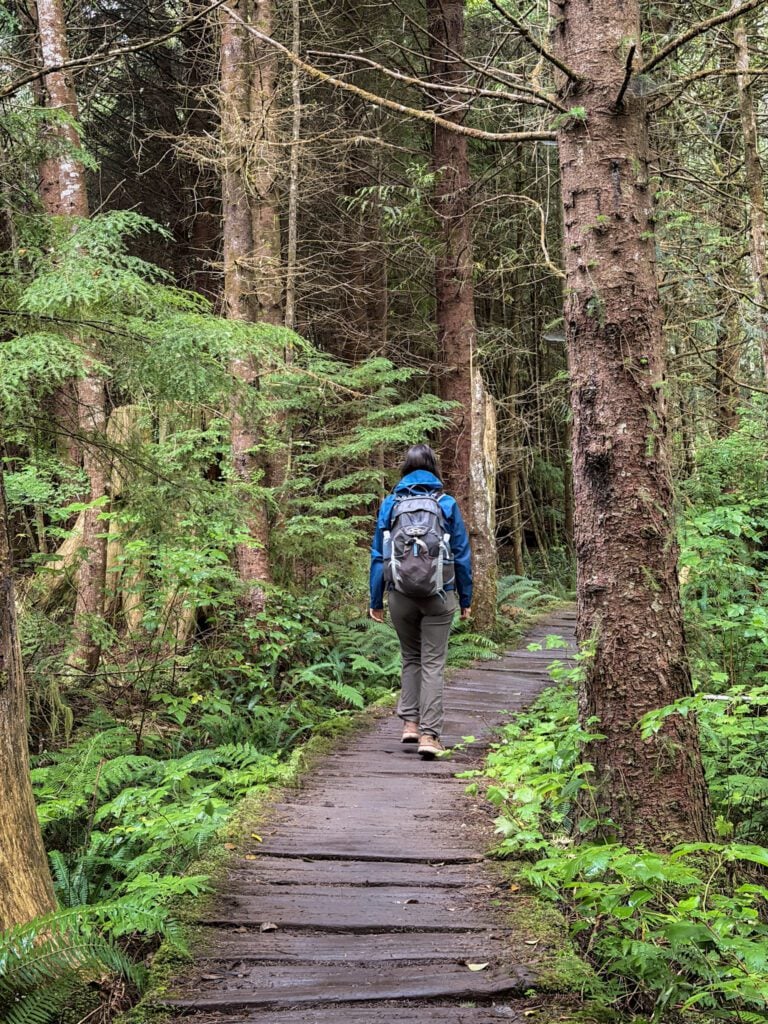
It’s mostly flat, and there aren’t any difficult sections to speak of.
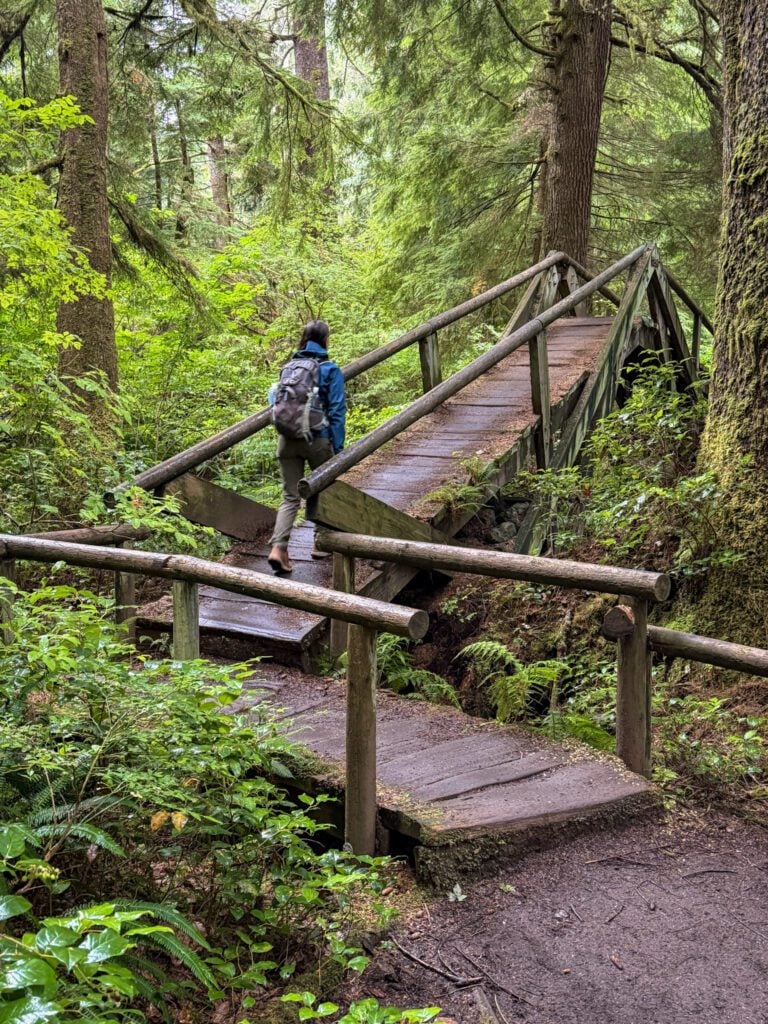
There is a point roughly halfway into the journey out the beach where you hit a wooden footbridge that takes you up and over a creek bed, and it’s a pretty cool little bridge.
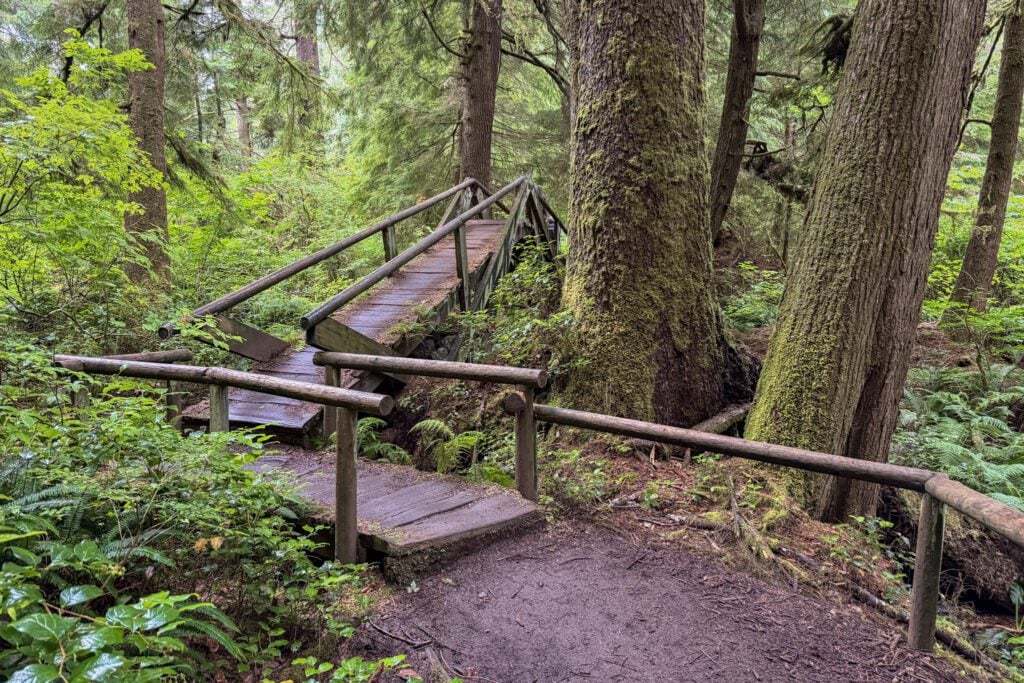
Immediately after that bridge, you step off of the boardwalk and into the mud zone.
For the next mile, it’s basically one big mud pit, and there are limited ways to avoid getting your feet muddy along the way.
Right before you get to the beach, you’ll start to see views of the coastline through the trees, and then you’ll reach a sign that declares that you’re entering Olympic National Park (the rest of this hike has been on land owned by the Makah Tribe).
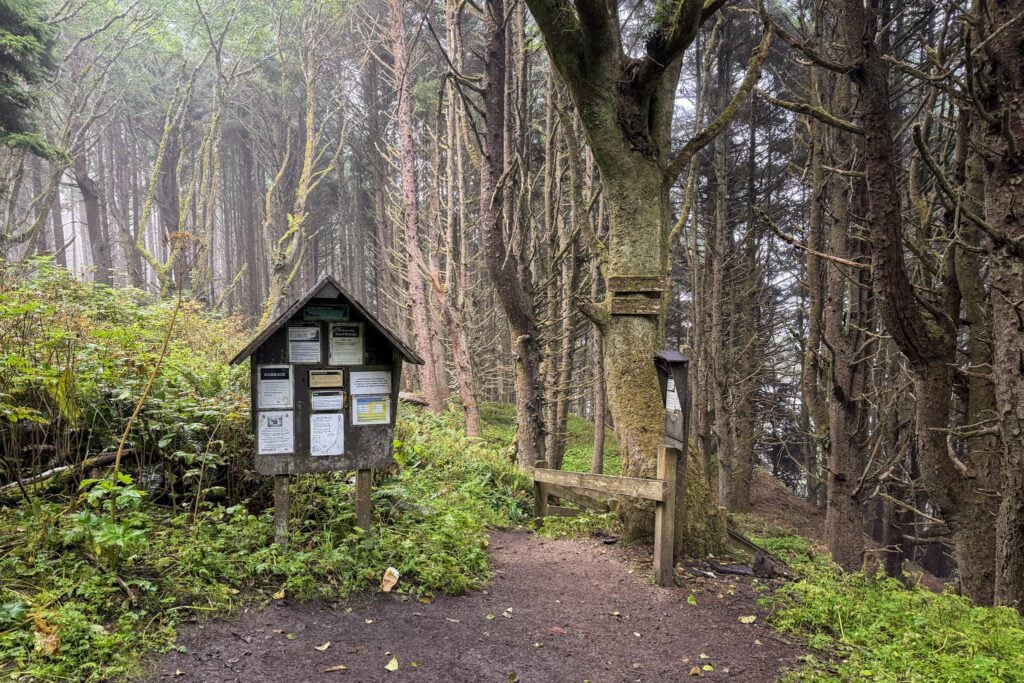
After that sign, which is on top of the bluff, the trail descends aggressively down to the beach.
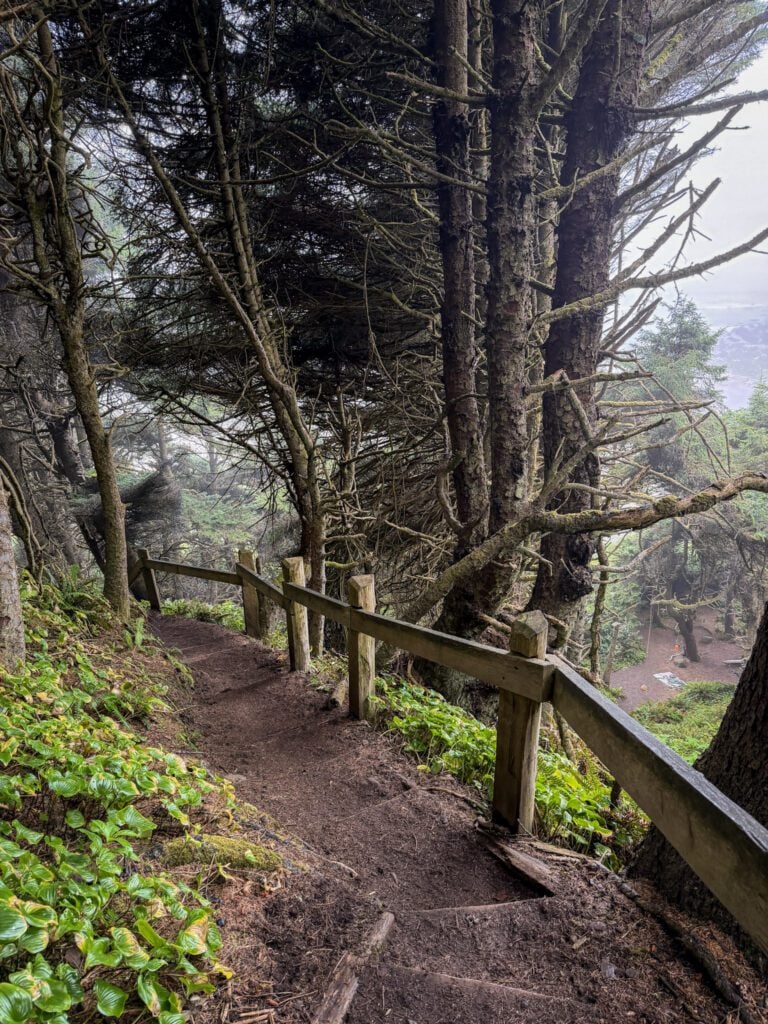
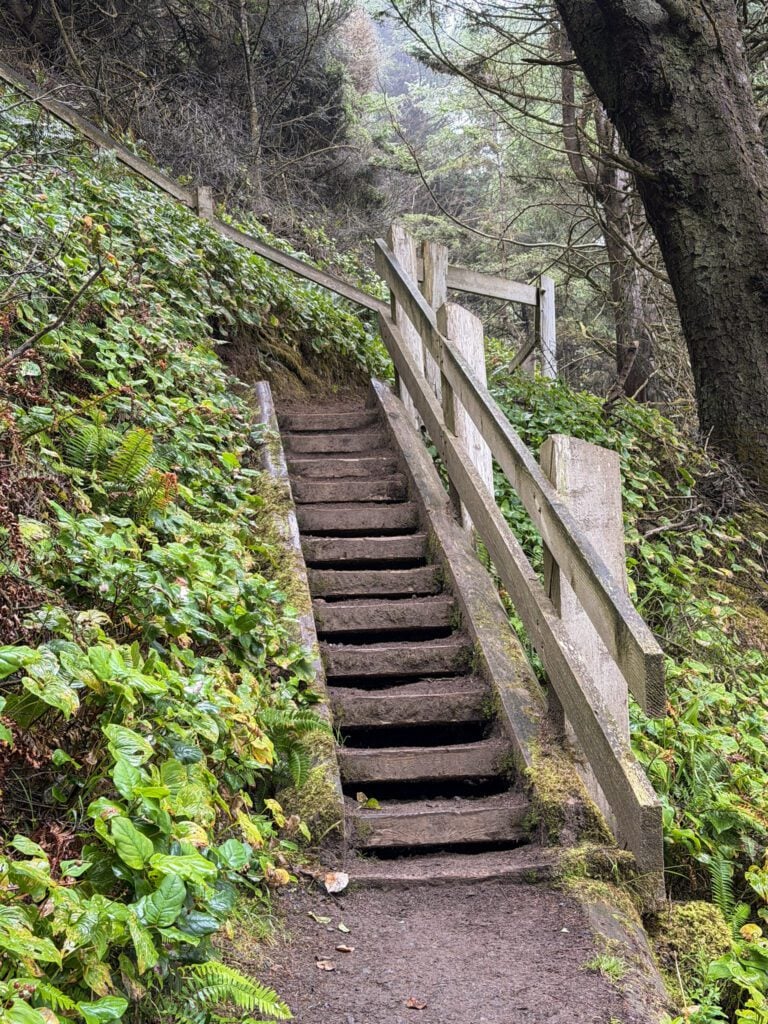
It can be slippery when it’s wet (which is almost always in this part of the world), so be careful on the way down.
At the bottom of the descent, you’re still in the trees and there’s a pit toilet off to the left of where the trail bottoms out.
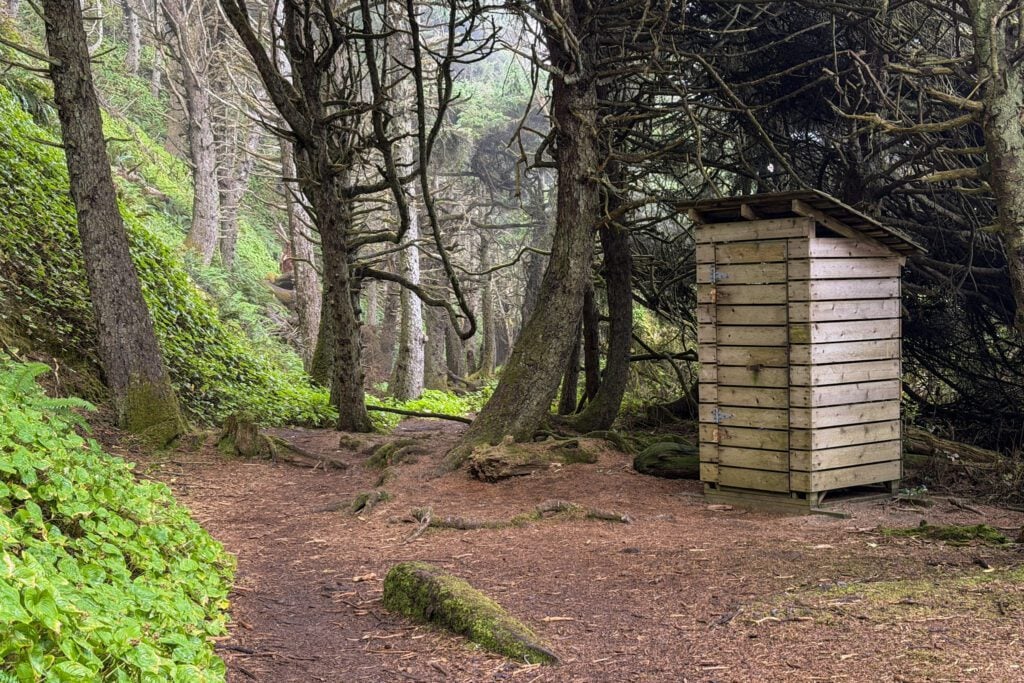
There are various paths out to the beach through the trees from there.
Once you’re out on the beach, you’ll see that you’re at the northern end.
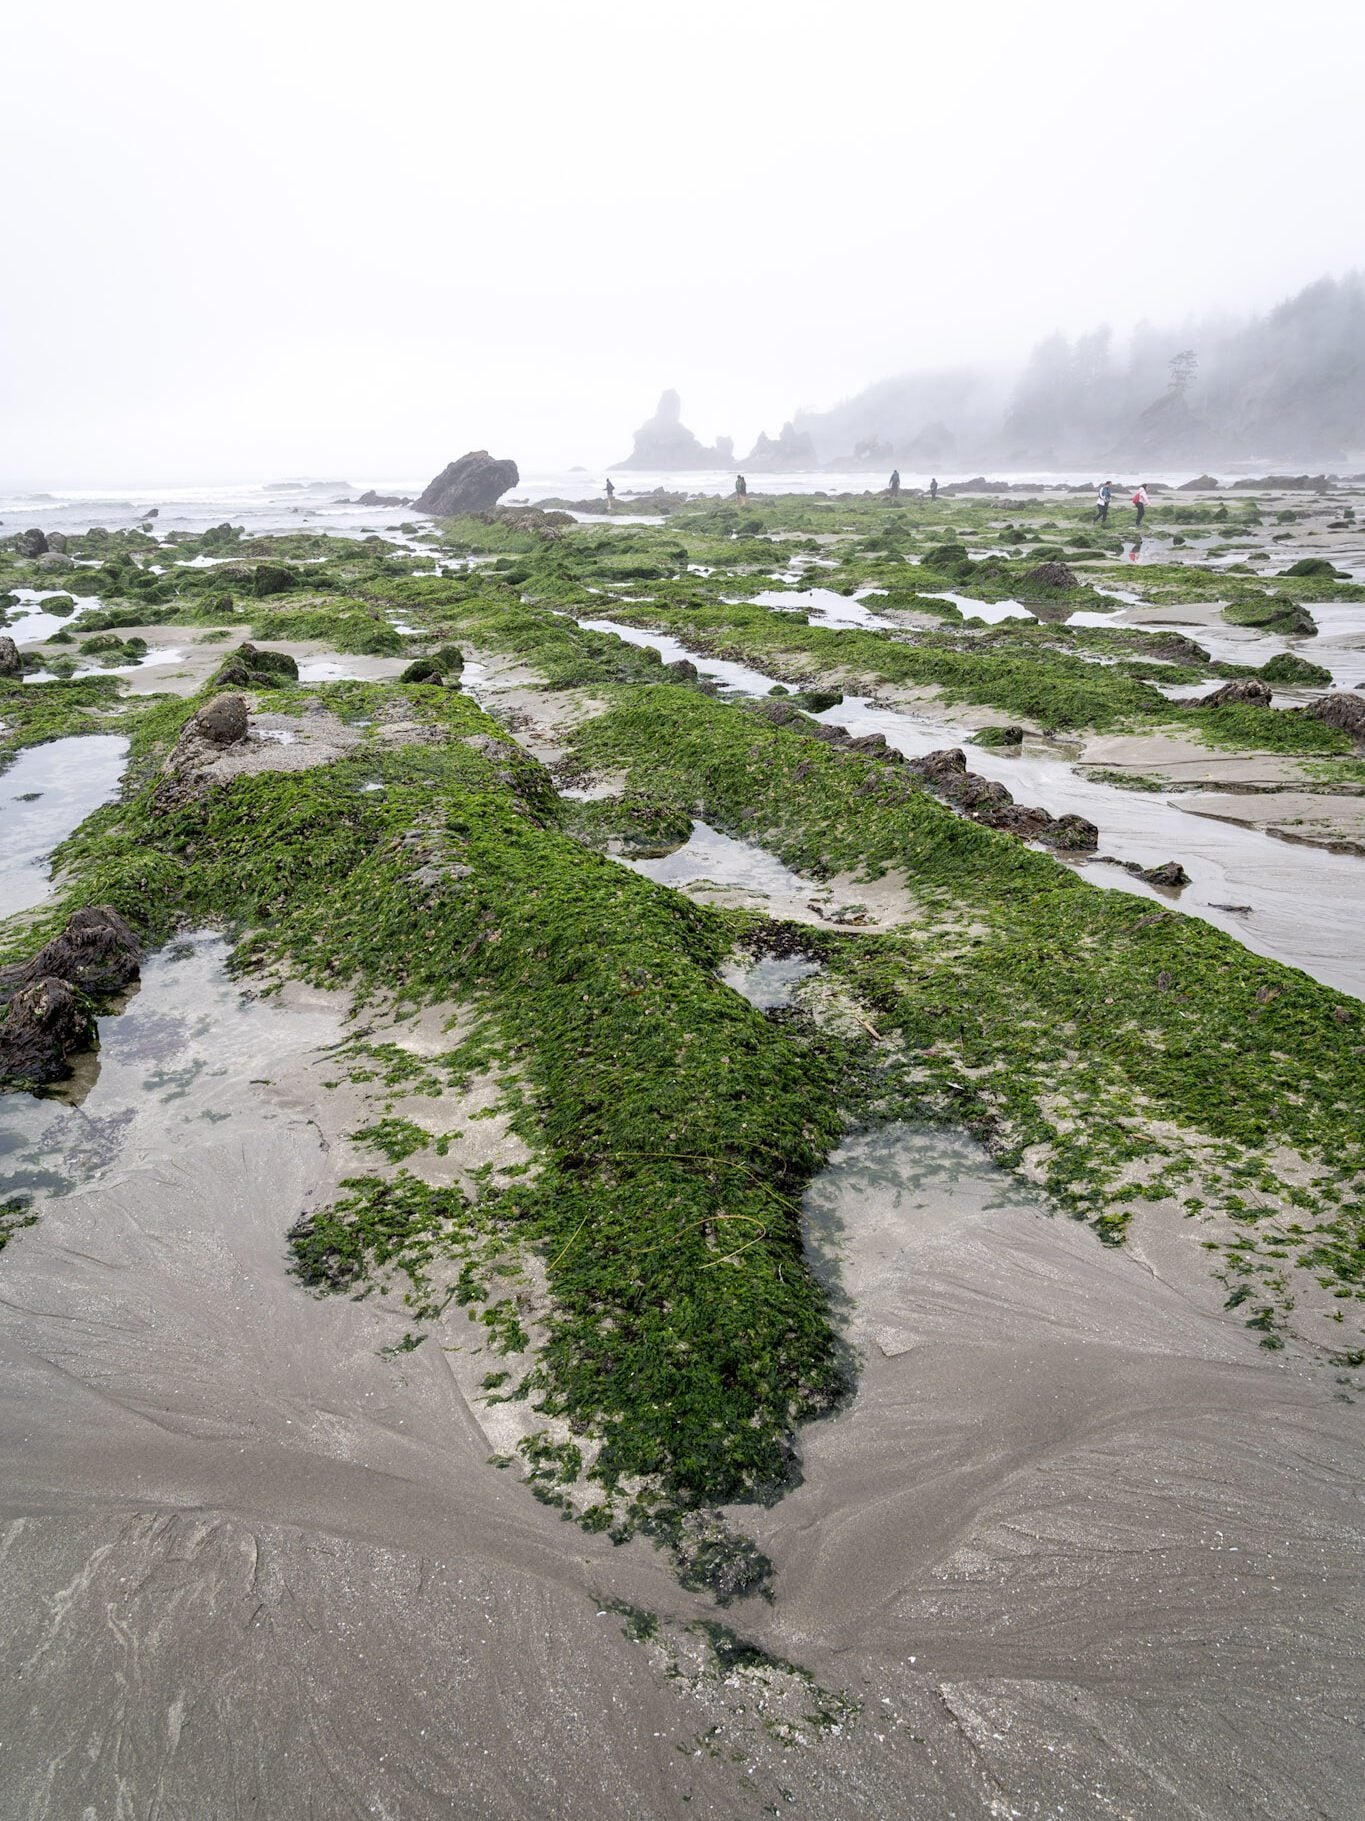
If it’s clear (it was not for us), you’ll be able to see the towering sea stacks of Point of Arches in the distance to the south.
From the northern end of the beach (at the base of the trail) to Point of Arches, you’re looking at about 2.2 miles of flat walking through wet sand one way.
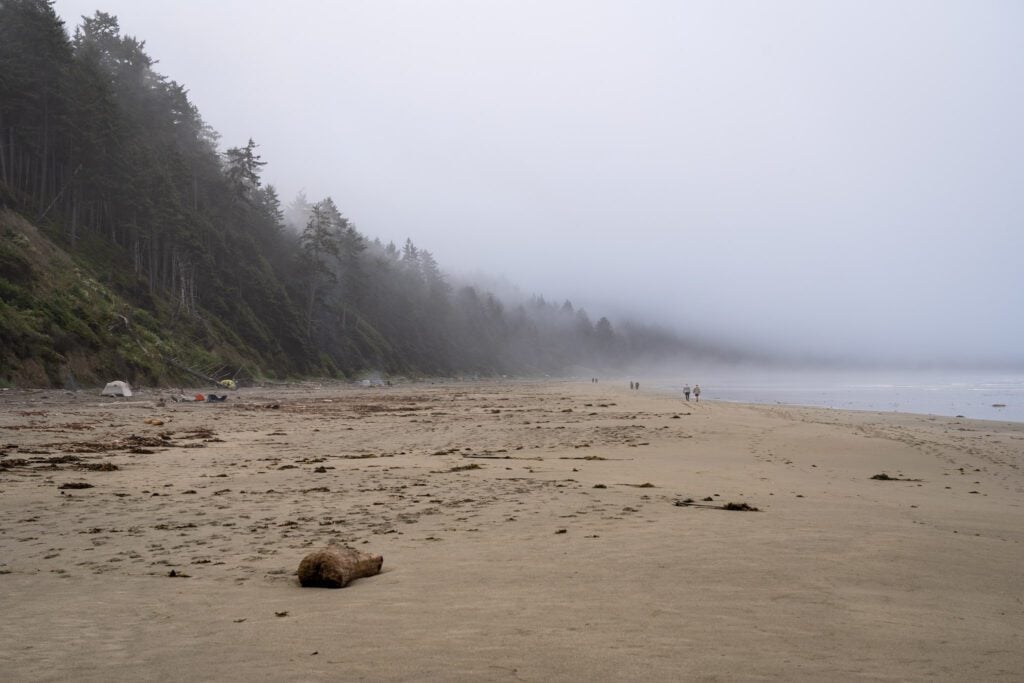
It’s more difficult than walking on the manicured trail through the forest, but at least it’s flat, and there’s plenty of beautiful scenery (not to mention wildlife like birds and sea life) to keep you company along the way.
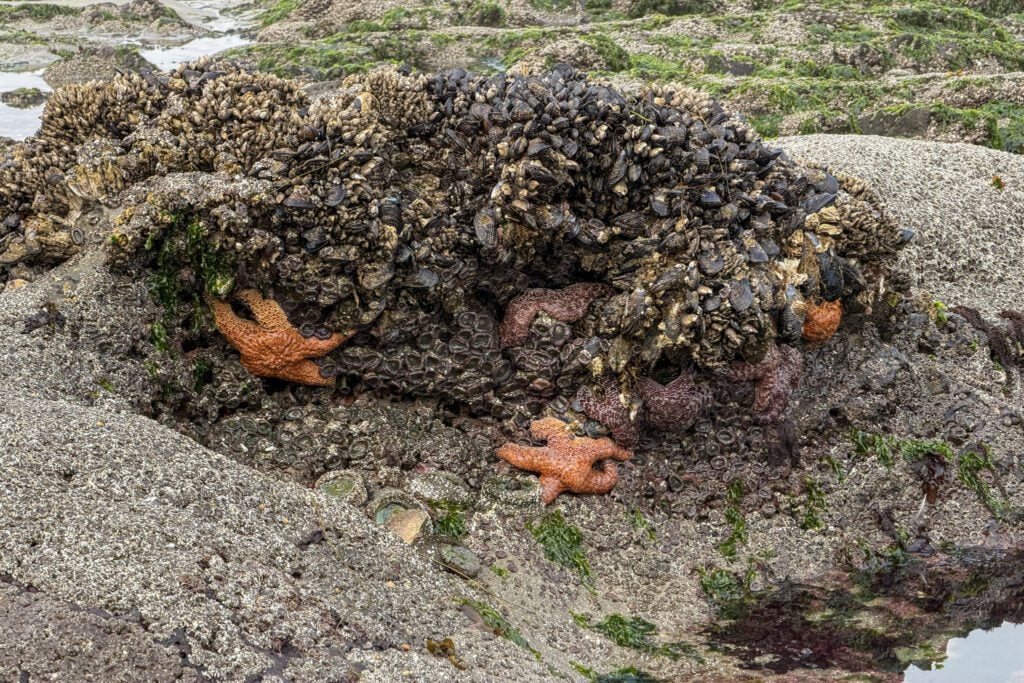
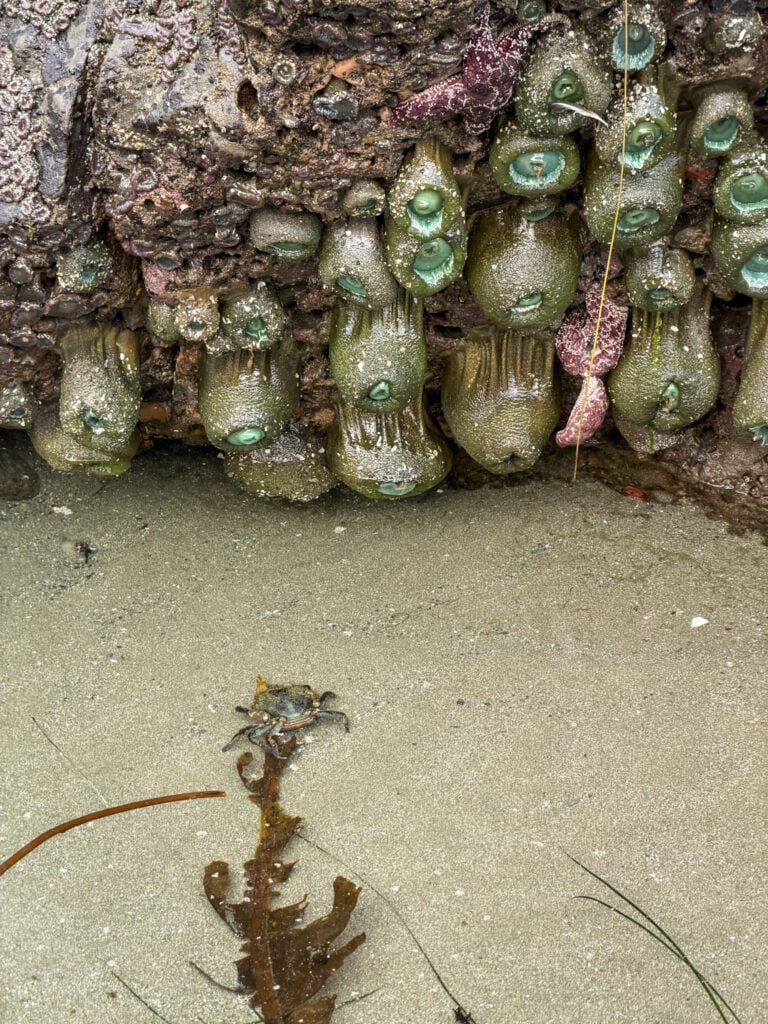
If you’re interested in tidepooling, the best tidepools we found were in the rocky section at the northern end of the beach, a few hundred feet from where you come out of the treeline onto the sand.
So, You Want to Camp at Shi Shi Beach?
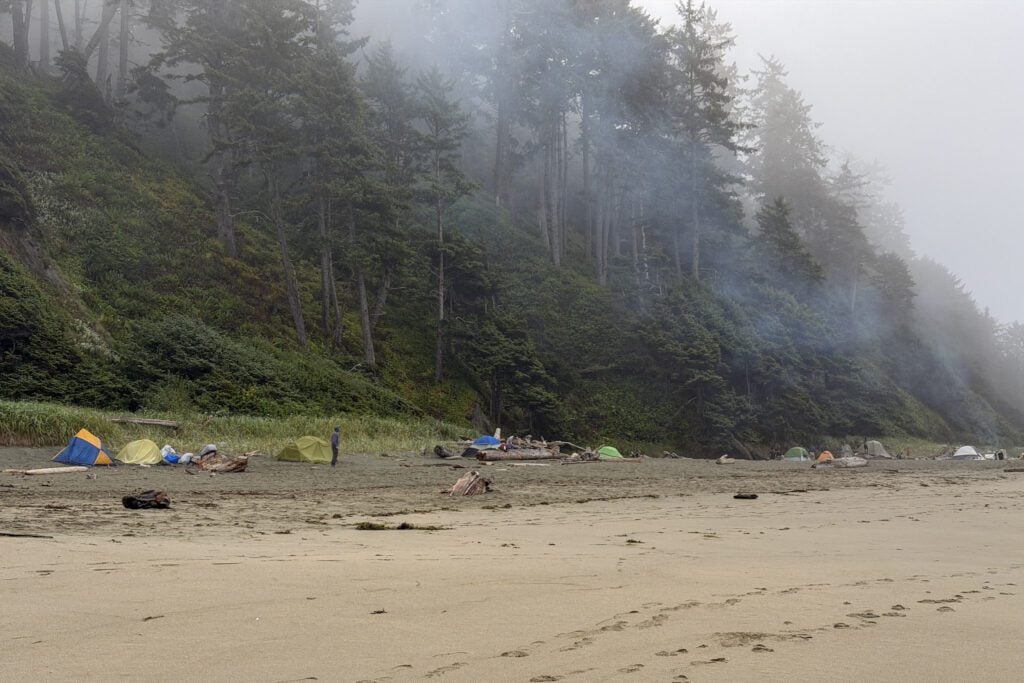
Shi Shi Beach is one of the beaches in Olympic National Park that makes for a nice overnight backpacking trip, which is one of the more unique aspects of visiting the park, we think.
There aren’t many places, at least on the west coast, where you can camp on the beach.
It’s not a particularly difficult hike in, and the distance from the other main areas of the park means that it sees fewer people than, say, Rialto Beach.
However, you shouldn’t head out there expecting complete solitude. When we showed up early in the morning as day hikers, there was basically a tent every 20 feet or so along the beach for a good long while.
We talked to a couple of Europeans on the trail who had camped at the beach the night before and they commented on how many people were out there (and they were a little shocked).
If you want to camp on the beach, there are a few things you need to know.
First, you need a wilderness permit, which you’ll need to reserve in advance here.
There are basically unlimited permits for Shi Shi Beach (I see 99+ even a few days before Labor Day Weekend), so it’s just a matter of reserving one in advance and printing it out before your trip to bring with you.
Second, you need a bear canister to protect your food from critters.
This is true of all backpacking trails in Olympic National Park.
You can either rent one from the Wilderness Information Center (here on Google Maps), or bring your own.
For what it’s worth, we have this sturdy bear canister for our backpacking trips in the Pacific Northwest, and we like it.
Obviously, you need all of the other backpacking gear you would need for any backcountry trip, like a tent, sleeping bag, etc etc.
Last, the water situation (for filtering) is variable depending on the time of the year.
We’d recommend carrying in some, if not all of the water you’ll need for your trip, assuming it’s one night.
For most of the year, there are a couple of fresh water streams about halfway down the beach that you can use to filter water. However, you should know that the water is an odd brownish color, even after filtering (it’s due to something about runoff from the trees).
Make sure to go up the stream a ways to make sure you’re not getting a mix of fresh and salt water.
Planning a Trip to Olympic National Park?
We’d Love to Help!
We have a bunch of detailed guides to visiting the Olympic Peninsula that are all based on our own personal experience exploring the park.
- All of our Favorite Things to Do in Olympic National Park
- How to Plan a Perfect Olympic National Park Itinerary (3-4 Days)
- Where to Stay in Olympic National Park: A Complete Guide
- The Best Hikes in Olympic National Park: A Helpful Hiking Guide
- Hiking the Enchanted Valley Trail: A Perfect 2-3 Day Backpacking Trip in Olympic National Park
