Exactly How to Spend One Day in Arches National Park
Arches was our first stop on our Utah National Parks road trip. We came from Denver, arriving in Moab in the fall after a summer of evergreen forests, alpine lakes, and mountainous terrain in Washington and Oregon.
The area around Moab in southern Utah was a significant change of scenery. Standing under the towering Arches you find in Arches National Park is quite the experience, and is a good example of just how awe-inspiring and diverse the landscapes in the United States can be.
Even just a few miles away, you’ll find the deep, winding canyons of Canyonlands National Park, which is a completely different experience despite being just a few miles away from Arches.
In this guide to planning your itinerary, we’ll go through exactly how to spend one day in Arches National Park, including what to do and see, how to get there, when to go, and all the other helpful information you’ll need to actually plan your trip (including how to navigate the timed entry reservation system.)
We loved Arches, and think you will too. Let’s get into it.

Disclaimer: Some of the links in this post, like hotel links, are affiliate links, meaning at no additional cost to you, we make a little bit of money if you click through and book. That being said, we would never recommend something to you that we don’t stand behind 100%.
Starting in 2022, Arches National Park has been testing a new timed entry system that is similar to the systems implemented in places like Rocky Mountain National Park and Glacier National Park to deal with huge increases in the number of visitors.
According to the National Park Service, visitation of Arches has grown more than 65% over the past decade, from just under a million visitors per year to well over 1.6 million.
As a result, when we were in Arches National Park in the offseason, the park entrance was closed due to congestion from about 10:00 am to 2:00 pm. We couldn’t even get in with our camping reservation!
If you are planning to visit between April 1 and October 31, you will need to have a timed entry permit (one per vehicle) to enter the park between 7:00 am and 4:00 pm.
The intention here is to reduce congestion during the most crowded parts of the day. You do not need a reservation to enter the park outside those hours (read below to understand one of the major impacts of this change).
There is an exception for people who have a camping reservation at Devils Garden Campground, the best – and only – campground in the park, or a backcountry permit. Both come with entry to the park. An exception also exists for people with a Fiery Furnace reservation.
How to Make a Timed Entry Reservation for Arches National Park
We’re going to do our best to help you understand exactly what you need to do to get your timed entry reservations in this section, but know that things change and, honestly, it’s a little confusing.
We’d recommend heading over to the NPS website to read through it yourself (they also have a handy video).
And, please, if you see something that we have wrong (we’re not perfect), please let us know in the comments so that we can fix it!
To make a timed entry reservation, head over to Recreation.gov.
Reservations are made available on a three month rolling basis, and the tickets for a given month are released in one block three months in advance.
That’s confusing, we know. Here are the exact dates for the 2024 season, ripped straight from Recreation.gov:
- January 2 at 8 am MST: April reservations (April 1–30)
- February 1 at 8 am MST: May reservations (May 1–31)
- March 1 at 8 am MST: June reservations (June 1–30)
- April 1 at 8 am MDT: July reservations (July 1–30)
- May 1 at 8 am MDT: August reservations (August 1–31)
- June 1 at 8 am MDT: September reservations (September 1–30)
- July 1 at 8 am MDT: October reservations (October 1–31)
There is a non-refundable reservation fee of $2 per ticket. Which is a little bit of a bummer. That cost DOES NOT include your entry to the park ($35 for a regular vehicle, good for 7 days).
If you’re planning on hitting at least three national parks over the course of the next year, we’d recommend investing in an America the Beautiful Pass, which gets you entry to all federal recreation land in the country, including national forests, national parks, and national monuments.
It pays off if you visit three or more national parks, and you’ve got Arches and Canyonlands National Parks right here in Moab, so there’s a pretty good chance you’re going to do just that.
Get your pass in advance at REI, or buy it on arrival at the entrance to Arches.
What to Do if You Don’t Get a Timed Entry Reservation
You basically have two options if you don’t snag a timed entry reservation in advance, not including “don’t go to Arches.”
First, a limited number of tickets are released at 7:00 pm MST one day in advance. For example, if you want to visit Arches National Park on Wednesday, you can log onto Recreation.gov at exactly 7:00 pm MST on Tuesday night to try to reserve your entry.
Second, you can enter the park before 7:00 am or after 4:00 pm, which is not exactly ideal, but will result in fewer crowds and better light for photos.
The Unintended Consequence of the Timed Entry Reservations
In our experience in Glacier National Park and Rocky Mountain National Park over the past few years, the timed entry reservation system has a major flaw that nobody has quite been able to solve.
As far as we know and have heard, you can freely enter the park between the hours of 4:00 pm and 7:00 am. Obviously the NPS doesn’t have the ability to staff the entrances 24 hours a day.
So guess what everybody who doesn’t have a reservation does? They arrive before 7:00 am, which means parking lots will be full at ridiculously early hours.
Seriously, in Rocky Mountain National Park, parking lots at popular trailheads were full by 6:00 am. It was insane. The same was true of Glacier in the summer.
Don’t be surprised if that becomes the norm in Arches during the timed entry reservation period (April to October). It’s a good reason to get a super early start for both the best light and a chance to actually get a parking spot.
How to Get to Arches National Park
The entrance to Arches National Park is about 15 minutes north of the center of Moab, a cool adventure town in southeast Utah.
You absolutely need a car to visit Arches. There is no shuttle system, like there is in places like Zion or Bryce Canyon, so a car is your only option.
You have a few options in terms of getting to the park if you’re coming from out of town, and it largely depends on what the rest of your trip looks like.
If you’re just planning on exploring the area around Moab, you can fly in and out of Moab’s small airport, Canyonlands Field Airport. To get there from most cities in the country, you’ll likely need to connect via Salt Lake City.
Your other options are flying into either Salt Lake City or Las Vegas and driving to Moab.
Along the way, you’ll pass by Zion, Bryce Canyon, and Capitol Reef, which makes this an ideal circuit to see the Mighty 5 national parks in Utah.
Moab makes a great first or last stop on that road trip, depending on your particular route.
Tips for Visiting Arches National Park
There are a few things that are good to know before you visit Arches National Park. If you have another question that you don’t see the answer to below, you might find it over in our Moab itinerary, which covers Arches.
Here are some quick tips for visiting Arches National Park.
- Entrance Fees: To enter the park, you’ll need to either pay the $35 entrance fee, which covers entry for your vehicle and the people in it for 7 days, or show a valid America the Beautiful Pass (that’s the US National Parks Pass).
- Should you buy the America the Beautiful Pass? If you will be visiting three or more national parks in the next 12 months, the pass will save you money. It costs $80 for a year, and it’s good for 12 months from the date you purchase it. If you’re visiting Arches National Park as a part of a broader Utah National Parks road trip, it probably makes sense to buy it. You can get it from REI.
- Stay Hydrated, My Friends! Because of the heat, make sure to drink plenty of water. We love our super lightweight and packable Platypus water bottles, which have quite literally been around the world with us, including on our Utah adventure. We each carry two of those bottles, and on longer hikes, I usually also carry their 70 oz water bottle as well.
- The Sun is Intense: Even if you’re not visiting Arches National Park in the heat of the summer, the sun is still going to be intense. Sunscreen and a good sun hat will go a long way to preventing heat exhaustion and gnarly sunburns. We swear by Sun Bum, because we like to smell like we just bathed in coconut milk. Here’s the body sunscreen we like, and here is the face sunscreen.
- Sturdy Footwear is a Must: You’ll be hiking primarily on some combination of loose dirt, gravel, and occasionally along slick rock faces, so you’ll want footwear with good traction. Alysha has spent the last five years hiking in her Columbia Newton Ridge hiking boots, which are a great combination of style, affordability, and quality (and would make a great first pair of hiking boots).
- Pack a Lunch: There aren’t any food options (or any other amenities for that matter) inside the park, so you’ll want to pack a lunch to avoid having to drive more than an hour to get to Moab for lunch and then drive back to the park.
A Complete One Day Arches National Park Itinerary (for First Timers)
And now, let’s talk about exactly how to spend your day exploring Arches National Park. Note that we spent a few days in the park, and this is our best idea of how to fit it all into one amazing day.
Although, we should be clear that you can’t actually fit EVERYTHING into a single day, and there are a bunch of cool things to do in Moab outside the park.
For that reason, you’ll find two sections at the end of this guide – one on what to do in Arches National Park with more time, and one on what to do near the park.
Early Morning at Delicate Arch
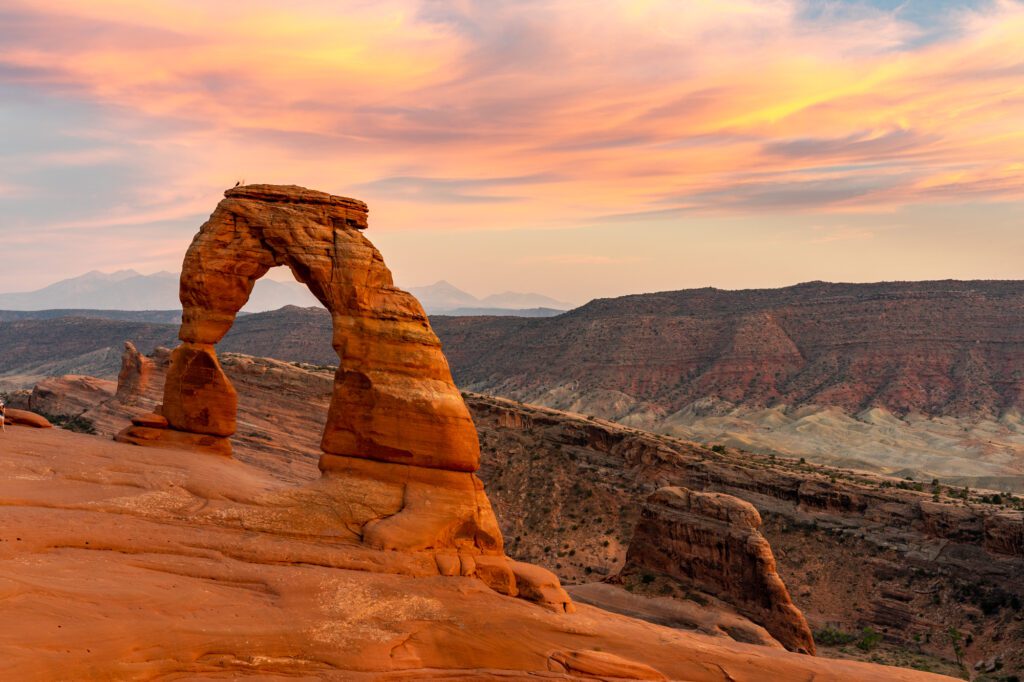
Start your morning nice and early with one of the highlights of the park – the hike to Delicate Arch.
We did this hike in the afternoon and stuck around for sunset, and it was a madhouse. Hundreds of people were crowded around the little bowl that’s immediately in front of the arch, and the line to get a picture was taking 15-20 minutes.
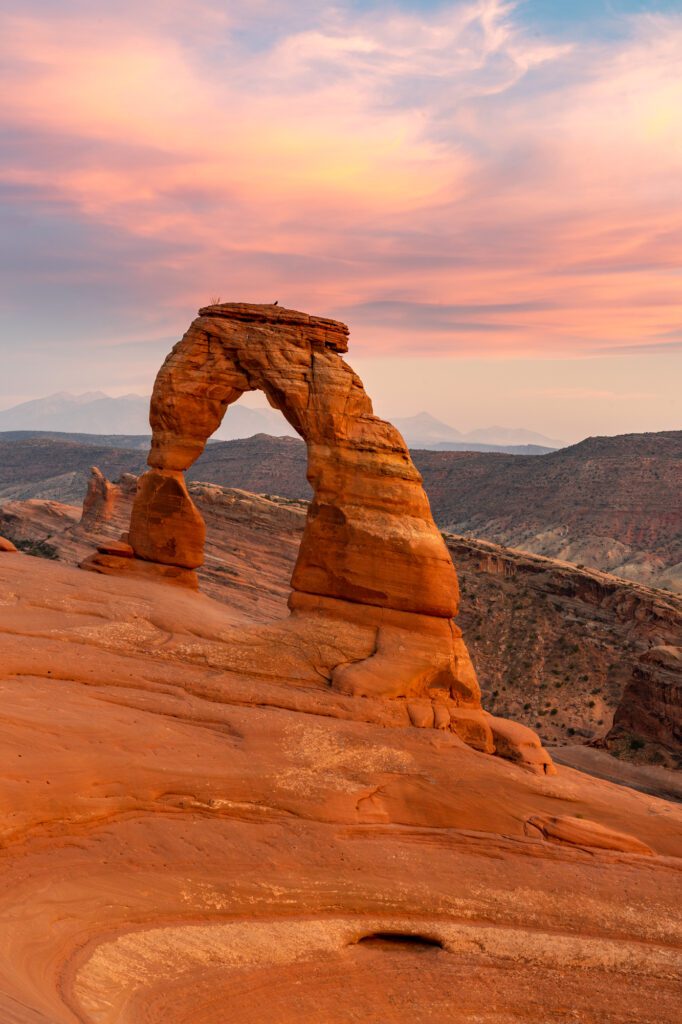
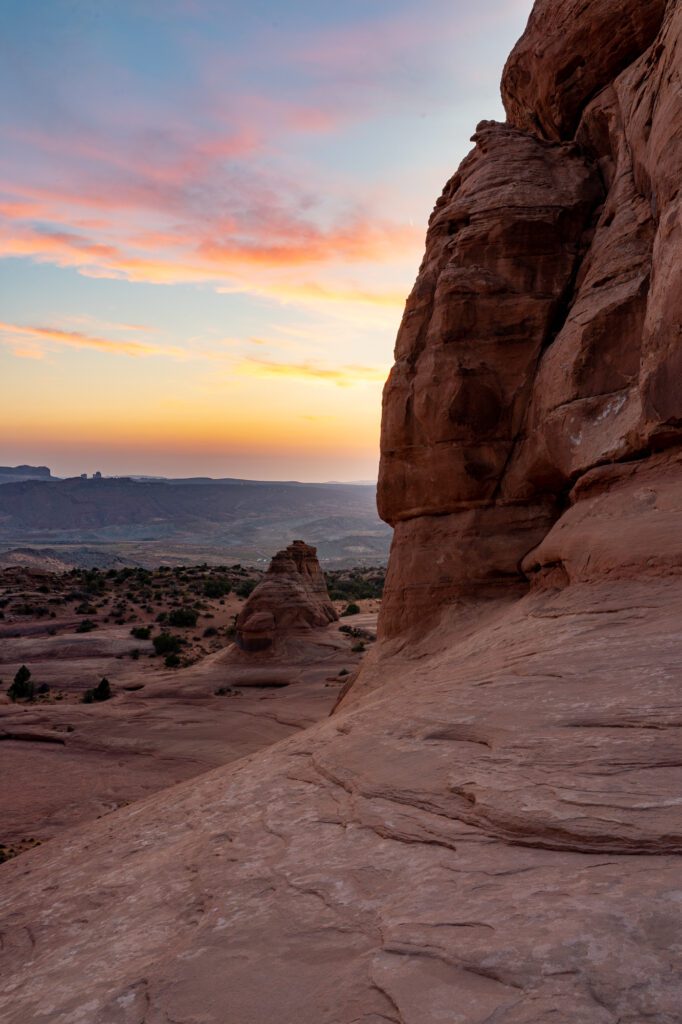
We were sitting next to a nice older woman who we got to chatting with, and she mentioned that she had actually come up in the morning a few days before and had the place almost entirely to herself.
Which is why we’re recommending this hike early in the morning rather than later in the day. Sure, the light won’t be nearly as good in the morning when the arch is essentially backlit (depending on the time of year), but the lack of crowds and sense of solitude will be worth the tradeoff.
Unless you care about getting the perfect picture, in which case we’d actually wait until later in the day (any time in the afternoon will be better than the morning).
The hike itself is a moderate hike. You start from the parking lot (here on Google Maps) and meander a bit before the trail really starts to ascend. Eventually, you’ll start a climb across a moderately steep rock face that can be tough if you’re not wearing the right shoes, or if it has rained recently.
Near the end of the trail, there’s a section where you hike along a narrow stretch with a steep dropoff on one side. Hug the wall and hold hands with your kids if you’re queasy with heights.
At the end, you emerge onto a bowl with Delicate Arch standing on the opposite side, with the mountains in the background.
Find more trail information and recent trail reports here.
There are a couple of alternate viewpoints from below that you can also hike to – it’s an easier hike, but the view isn’t nearly as good because the arch is really, really far away. More information here.
The Devil’s Garden Trail and Landscape Arch
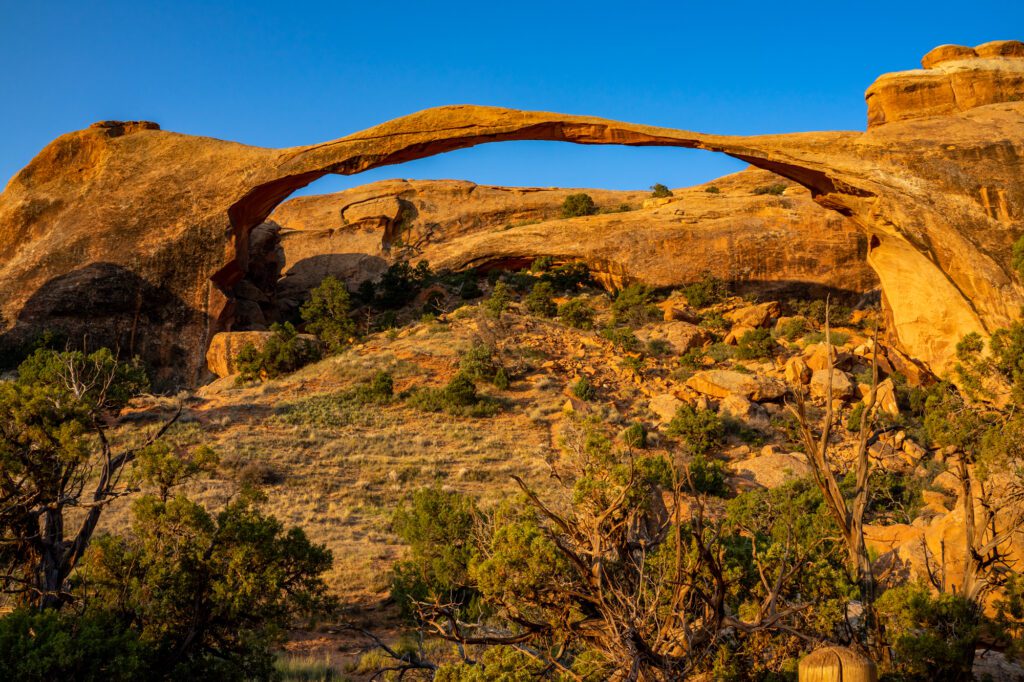
Hiking the Devil’s Garden Trail was the highlight of our trip to Arches. We really enjoyed this hike, and think it has a lot to offer thanks to its variety of different route options that can be scaled up or down based on your fitness and experience levels.
Whichever version of the hike you choose to do – we’ll get into the various options in a second – they all leave from the same place: the Devil’s Garden Trailhead (here on Google Maps). It’s across the road from the Devil’s Garden Campground, which makes it an ideal hike for people camping inside the park.
Doing the Full Loop
The full hike is a whopping 7.9 miles, though it’s not really that hard in terms of climbing.
The full loop – which is long, involves some route finding along the primitive trail, and has very little shade – is worth doing if you’re up for it. Along the way, you’ll pass eight arches!
We’d do the loop clockwise, starting with the more developed trail and coming back via the primitive trail.
It starts with the hike out to Landscape Arch, which is one of the longest arches in the world, spanning 306 feet. Part of the arch crumbled in the 90’s, and we don’t want to be around when the rest of it comes toppling down (which scientists are pretty sure is going to happen at some point, they just don’t know when).
From there, continue clockwise and take the offshoot trail to the left to make a quick detour to Partition Arch and Navajo Arch before continuing out to Double O Arch. This is the end point for the out-and-back hike (more on that in a second), and the beginning of the primitive trail.
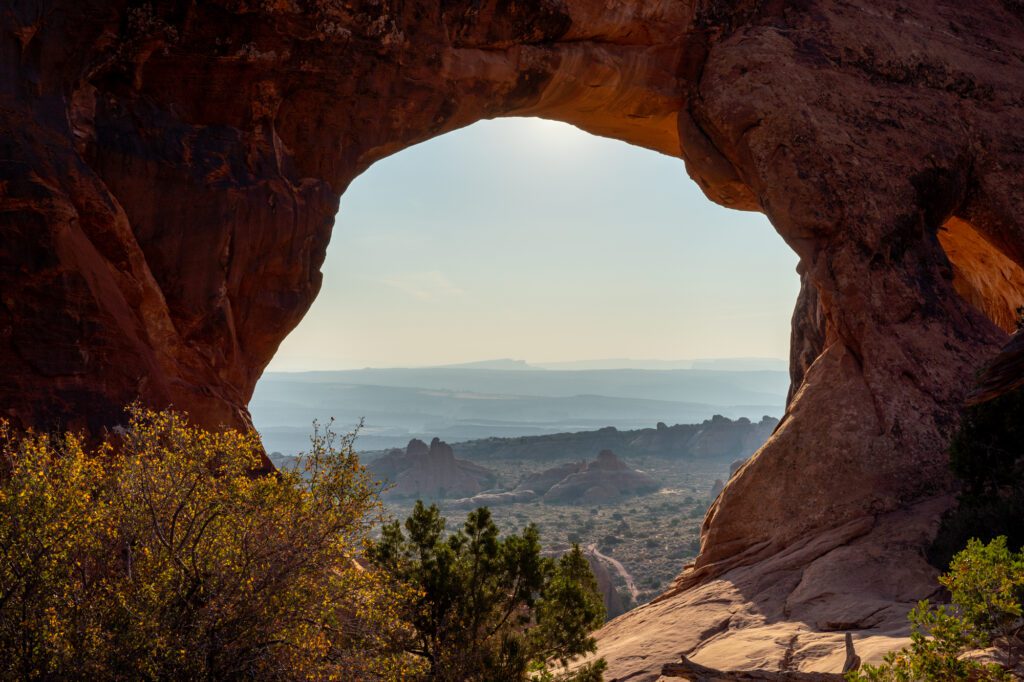
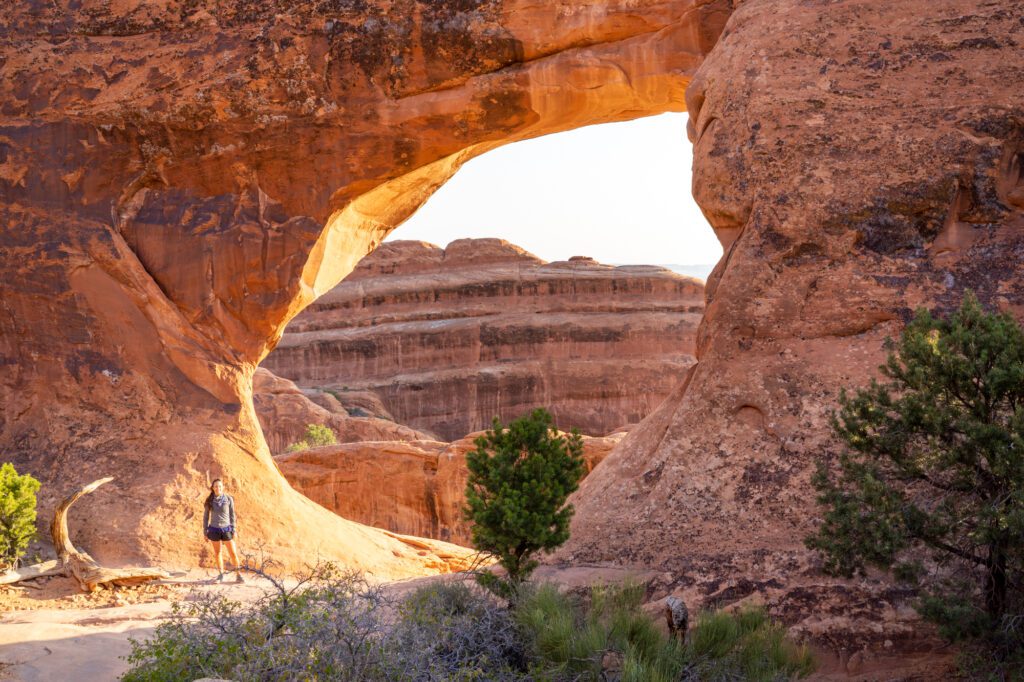
We’d skip heading out to the Dark Angel. Despite the cool name, it was disappointing.
From Double O Arch, pick up the primitive trail and start the journey back to the trailhead. You’ll pass Private Arch, which is hard to see and involves some scrambling and route finding to get to, and then you’ll follow the cairns – the little stacks of rocks that mark the trail – back to the main trail just before Landscape Arch.
On the way out, stop by Pine Tree Arch and Tunnel Arch, which are right near the trailhead on a little offshoot trail.
Find more trail information and recent trail reports here.
Doing a Shorter Version of this Hike
If you’re not up for the entire hike, here are two shorter alternatives that give you a nice taste of what this hike has to offer.
First is the out-and-back hike to Landscape Arch. It’s the most impressive arch of the bunch, and it’s only 1.8 miles out and back from the trailhead. More information here.
Second is the out-and-back hike to Double O Arch, which eliminates the part of the loop that is the primitive trail, which can be a little intimidating for beginners and inexperienced hikers. The hike out and back to Double O Arch is well marked and has all but one arch along the way. More information here
Break for a Late Lunch Near Devil’s Garden
For lunch, we highly, highly recommend packing lunch because there are exactly zero food options inside the park. Making the journey all the way back to Moab to get lunch just to turn around and make your way back to the park after will take more than an hour there and back.
There’s a nice little day use area with picnic tables just across the road from the Devil’s Garden Trailhead (here on Google Maps), or you can just find a pullout or parking lot to park in and enjoy your pre-packed lunch before continuing your day.
Make sure to drink plenty of water and try to get some shade, especially if you did the full loop (which would mean you’ve now hiked 11 miles or so).
Broken Arch and Skyline Arch (Optional)
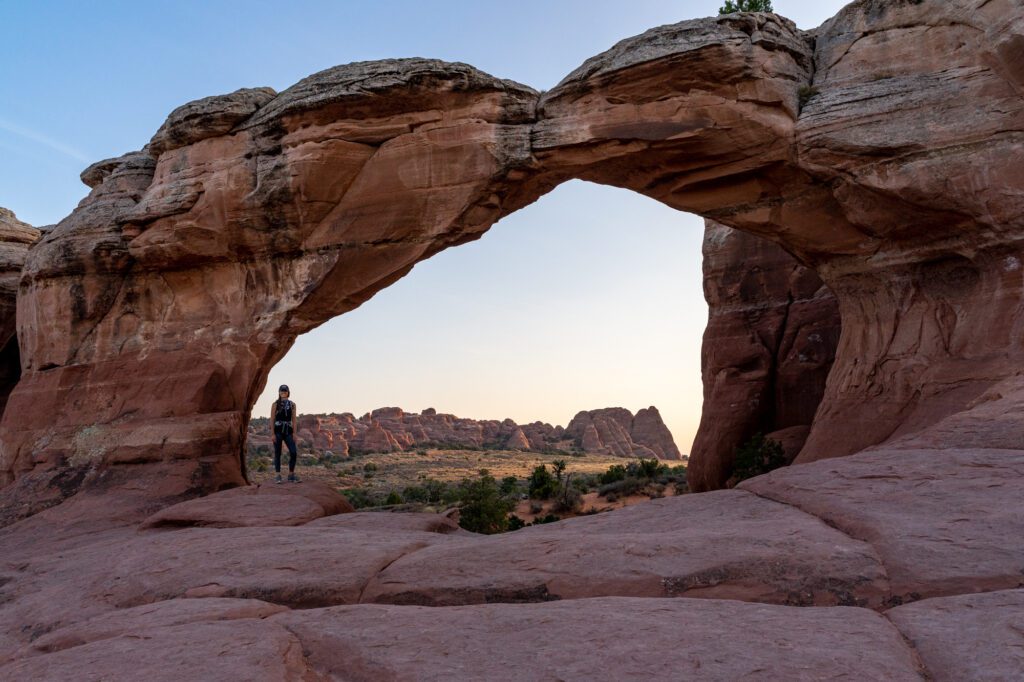
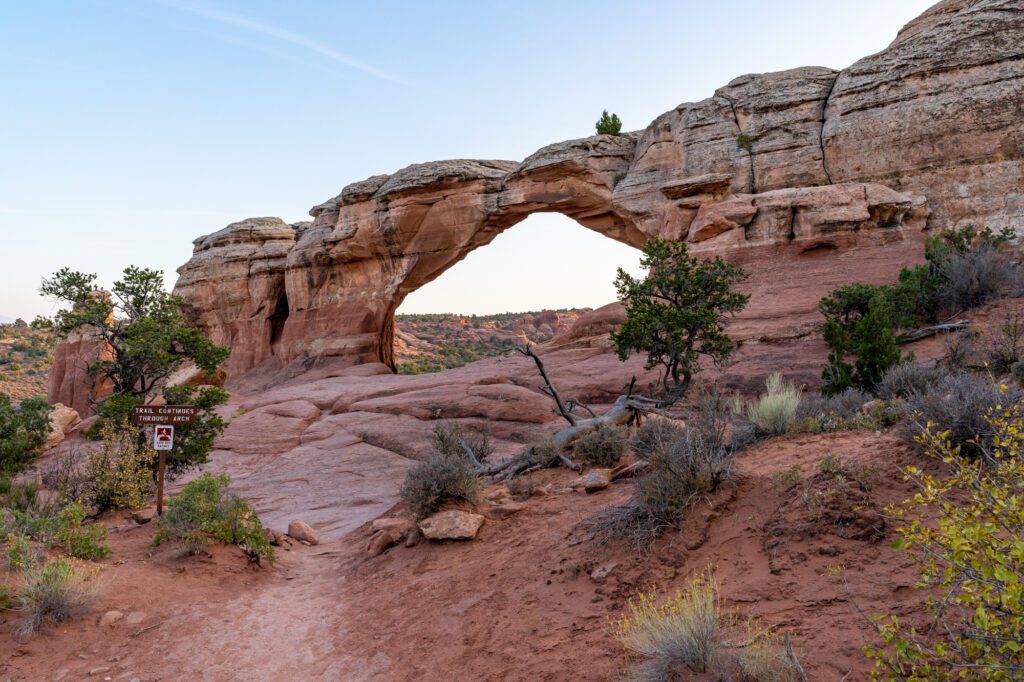
After lunch, if you’re up for another hike, do the quick hike out to Broken Arch, so-named because it has a crack right in the middle of the arch that is sure to come toppling down at some point. This seems to be a theme that we’re definitely not on board with.
If you’re camping at Devil’s Garden, you can do this loop by leaving directly from the campground (here is the trailhead inside the campground). This is how we did it, and you can also do a quick and easy detour to Tapestry Arch along the way. More trail information here.
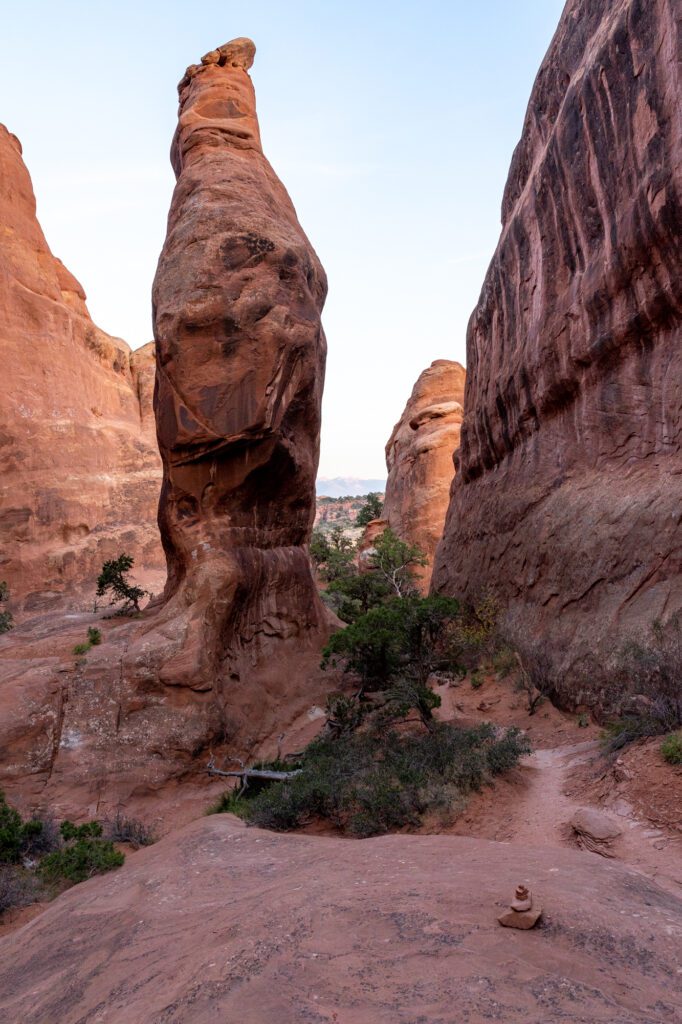
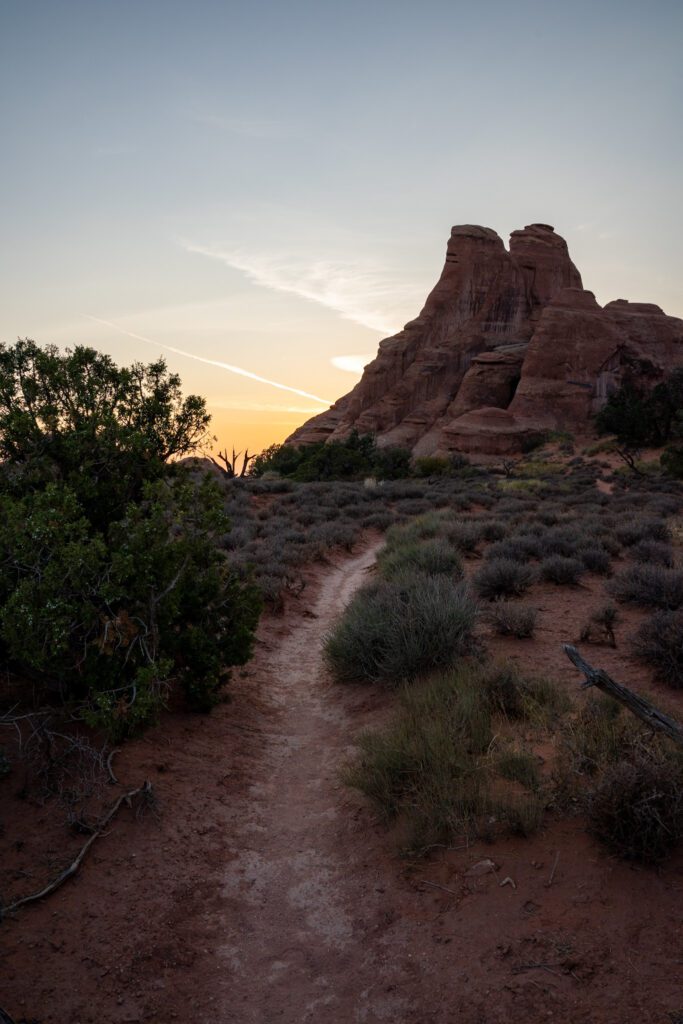
If you’re not camping, you’ll have to use the connector trail from the Sand Dune Arch trail to meet up with the loop. More trail information for that loop here.
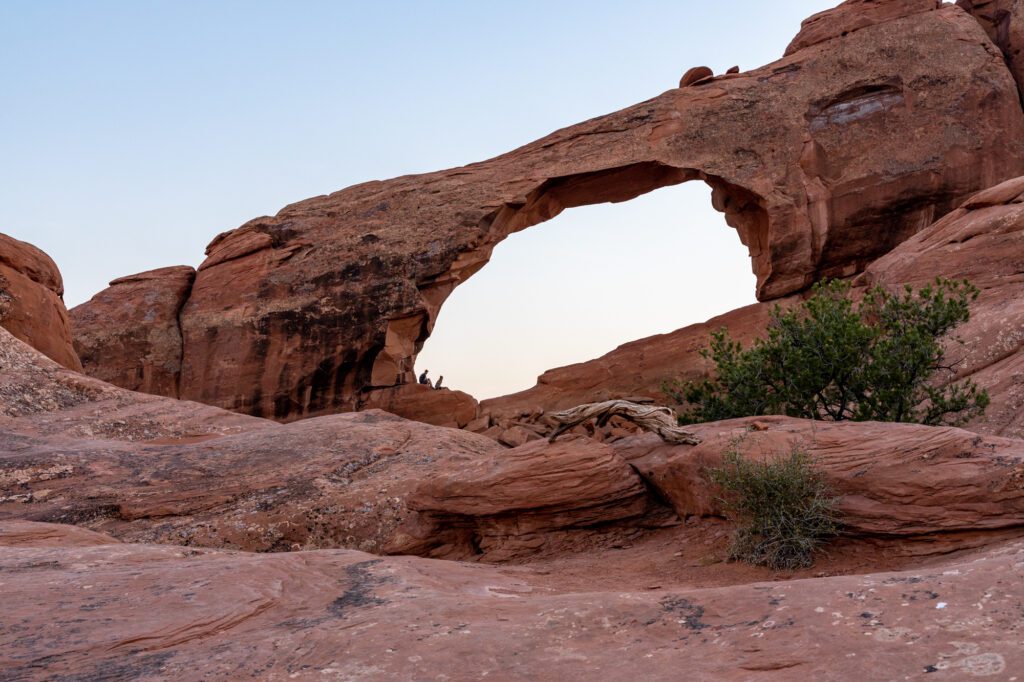
It’s also worth heading over to Skyline Arch (here on Google Maps), which is a very short, flat hike from the small parking lot along the road.
The Windows, Turret Arch, and Double Arch
After Delicate Arch and the Devil’s Garden Trail, this was our favorite part of the park. In this one area, you’ll find three distinct arches that are among the best you’ll see in the park.
Parking can be tough here, and you might have to wait for a spot. But it’s worth it, we promise.
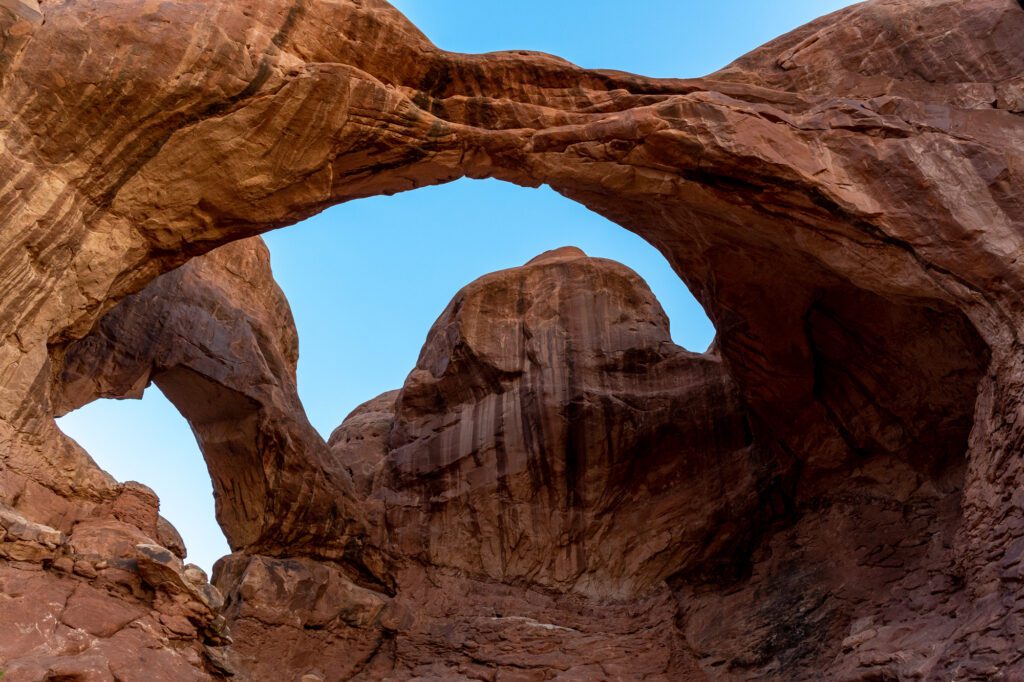
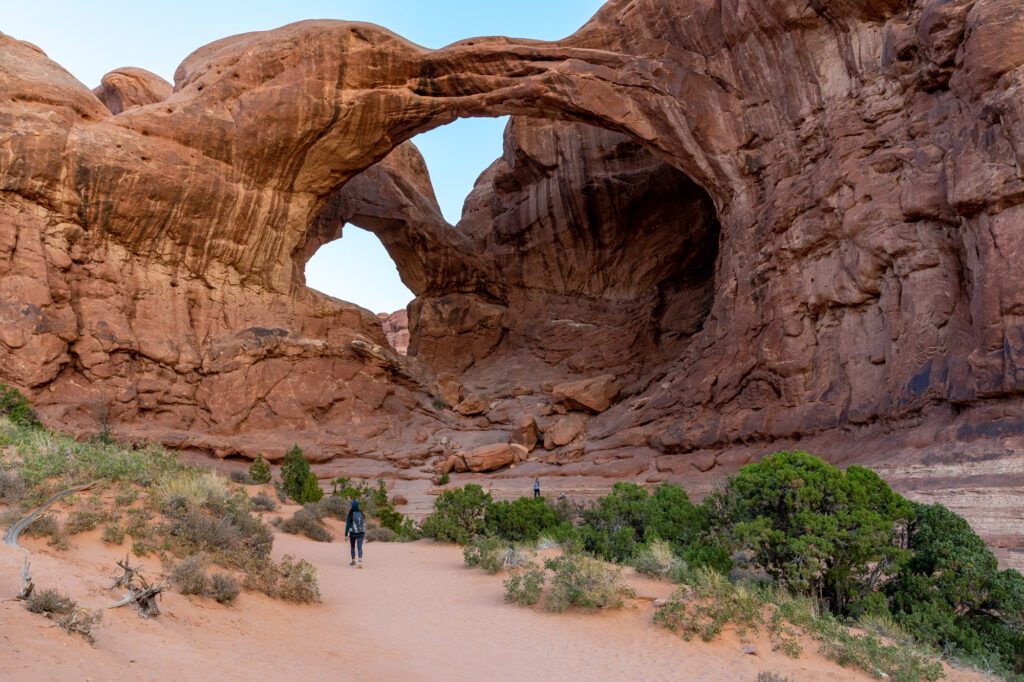
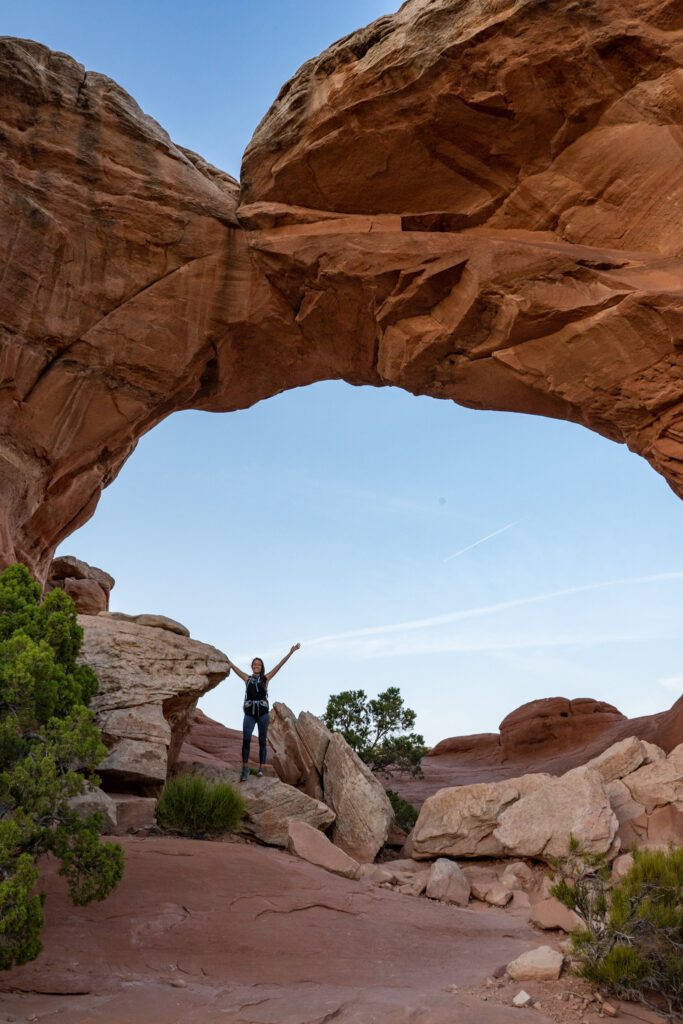
The first arch is Double Arch, which is two huge arches that have become intertwined. It’s a short, easy stroll from the parking area out to the arches. This is the tallest arch in the park, which you definitely don’t want to miss.
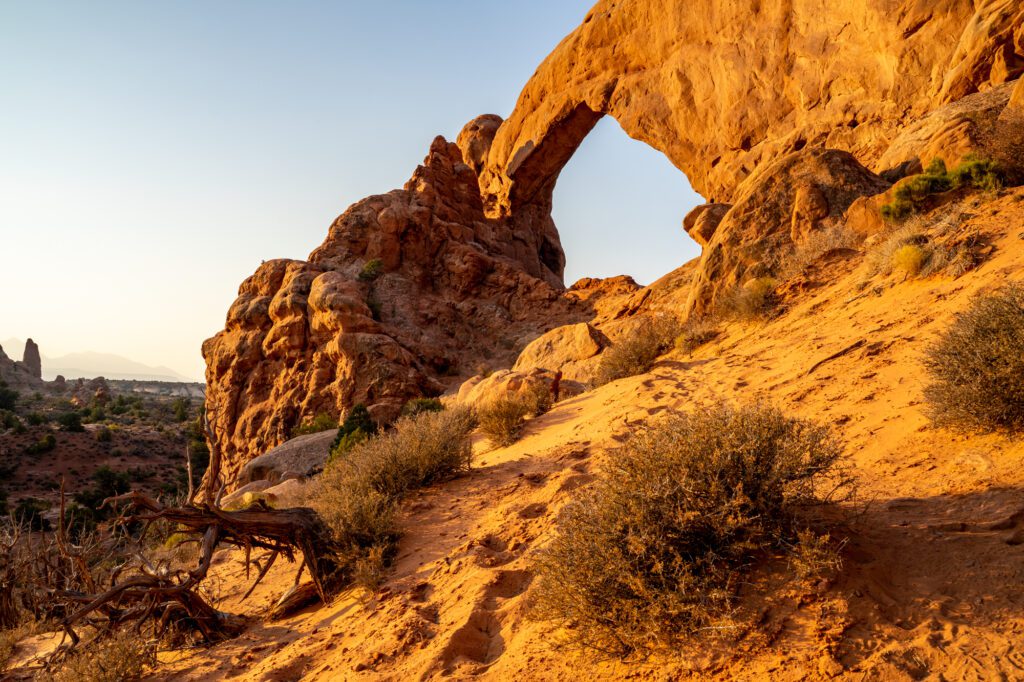
Second are the Windows, which has a quick little loop that you can do to see the North Window and the South Window.
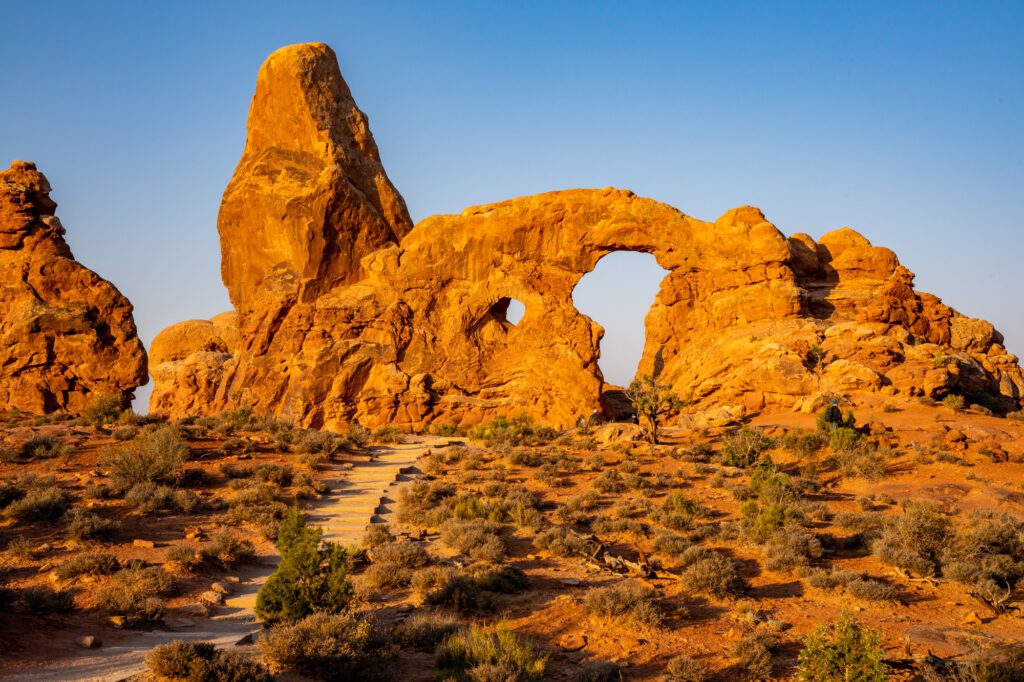
Third, and along the same little path as the Windows, is Turret Arch, which is a little arch standing next to a big tower.
As you leave the Windows area and head back towards Moab, it’s worth a stop at Balanced Rock, which is exactly what it sounds like and isn’t far at all from the parking lot.
From there, continue along the Scenic Drive, making stops to take in the views as needed.
What to Do with More Than a Day in Arches National Park
Here are some additional things to do in Arches National Park if you happen to have more than a day.
- Fiery Furnace: The Fiery Furnace is a series of sandstone fins that form a labyrinth that almost feels like a slot canyon once you’re inside it. It’s a short, easy hike (though it does require some navigation, which probably makes it more moderate than easy), and is only accessible by either permit or ranger-led tour. Trail information here, permit information here.
- Park Avenue: We wanted to fit this into the main Arches itinerary above, but felt like it was just too much hiking for a single day. This is a relatively short and easy hike, though it does involve some climbing. You’ll enter a canyon (gulch?) and emerge into a valley to some pretty incredible views of the southern part of the park, which includes the Courthouse Towers. More trail information here.
- Explore the Area near Tower Arch: This part of the park requires a high-clearance, preferably 4WD vehicle, so we didn’t make it there in our minivan. The hike is cool because you can’t see Tower Arch from the trailhead, and you need to climb over a sand dune to reach it. More information here.
- Take a Jeep Tour: If you don’t have a suitable vehicle for getting off the main road, this is a good option for seeing some of the less-visited parts of the park with a knowledgeable guide who can teach you about the various landscapes and topography you find in the park. This half day tour covers Tower Arch and some other parts of the park that are largely undiscovered.
Where to Stay near Arches National Park
If you’re camping, you have a bunch of great options near the park. If you’re not, your best option is to look for accommodations in Moab.
We have an entire guide dedicated to finding a great place to stay in Moab.
Camping Inside the Park
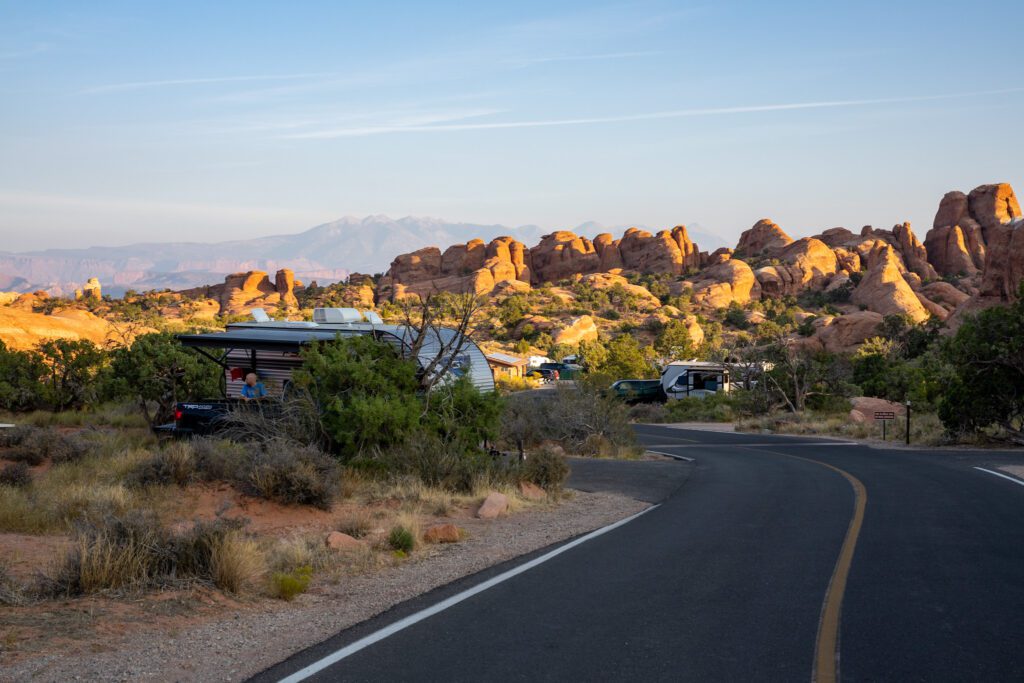
Inside the park, there’s exactly one option: Devil’s Garden Campground. It’s a relatively small campground, and it’s understandably very, very popular.
We camped there for three nights during our trip to Arches, and every single day we saw people come into the campground and ask the host if they had any sites available.
The answer was almost always no, unless it was very, very early in the day and they got very, very lucky.
During peak season (March 1 through October 31) you need to reserve in advance – sites are made available six months in advance. Outside of peak season, sites are available on a first-come, first-served basis.
Camping Outside the Park
There are a bunch of great first-come, first-served campgrounds just outside of the park, and most of them are either cheap or free.
The first cluster is along the Colorado River. Along Highway 128, which parallels the river, there are a series of BLM (Bureau of Land Management) campgrounds starting with Goose Island Campground that are available on a first come, first served basis.
The good news is that they’re cheap (you’ll need cash or a check to pay for your site – they’re $20 a night). The bad news is that they’re small campgrounds, and they’re very popular. Don’t plan on showing up on a Saturday afternoon and finding a site.
Be aware that some campgrounds don’t have water, so you’ll need to have your own containers to fill up in Moab (there’s a spigot at Lion’s Park where you can fill).
The second cluster is on the west side of town along Highway 279 and Highway 313. More information on camping on BLM land near Moab here.
Staying in a Hotel or Vacation Rental
If you don’t want to camp, the best option is to stay in and around the town of Moab.
We were planning on staying in a hotel in Moab for a night to shower and take a break from the weeks of sleeping in our van, but later decided to stay at a campground for an extra night instead.
There were exactly three places on our list of hotels that we wanted to stay in.
The first is Moab Springs Ranch, which has a range of rooms from bungalows to more lodge-style rooms, and has a great coffee shop onsite (Horsethief Coffee). Unfortunately, they were sold out for our dates (book early, people!), but we would have chosen to stay there given the opportunity.
The second, which is a place we booked then later canceled, is the Expedition Lodge.
It’s in a great location along the main drag in Moab, and it looks nice. It’s motel style, which was what we were looking for during the summer of 2020, and it has some nice retro touches like the mint green mini fridges in the rooms.
They also have some unique room configurations, like two queen bunk beds, which are nice for a traveling family (nobody likes sleeping on the cot on a hotel room floor).
Oh, and there’s a pool, which is always a bonus.
The last option was Moab Under Canvas, which is less a hotel, more glamping, but still fits here. This is your chance to stay under the stars while still maintaining some semblance of the comforts of a hotel. It looks incredible.
Read our guide to finding a great place to stay in Moab for more hotels and vacation rentals near Moab.
The Best Time to Visit Arches National Park
While the majority of people visit Arches in the summer, when temperatures often get over 100 degrees Fahrenheit and kids are out of school, we’d choose spring or fall instead.
Arches, and the entire Utah National Parks circuit, is a great spring break destination!
Fall and spring in southern Utah, which is where the national parks are, are fairly similar. We’ve visited in October and April within a year, and both were very pleasant times to be there.
However, the weather is certainly more unpredictable than the summer – it was 80 degrees and sunny one day, and then snowed the next day on our trip in April.
On our road trip to the Mighty Five in the fall (October), we found temperatures in the 70’s and 80’s during the day, and between 50 and 60 degrees at night.
Summer is crowded and blazing hot. In the United States, a lot of families plan summer vacations because that’s when the kids are out of school.
The result? Parks are packed, camping reservations are few and far between, and good luck getting a parking spot at the most popular trailheads in the park.
Winter in Arches is on our list – it’s much colder, but the crowds are much thinner too.
You might even get a little bit of snow, which is a particularly beautiful way to see the arches in the park. Pack a warm jacket (we basically wore this jacket every night on our road trip) and some long underwear and you’ll be fine.
You might even get treated to a nice dusting of snow covering the parks, which is stunning.
If you’re planning on visiting in the winter, I’d avoid camping (although we’ve camped in Yellowstone when it was below 20 degrees before) and plan on staying in hotels and vacation rentals along the way.
More on Utah’s National Parks
- How to Plan an Incredible Utah National Parks Road Trip
- 4 Days in Moab: A Complete Moab Itinerary
- 12 Awesome Things to Do in Moab, Utah
- The Best Places to Stay in Moab, Utah
- How to Spend One Day in Arches National Park
- A Complete Guide to Hiking in Arches National Park (6 Hikes)
- How to Spend One Day in Bryce Canyon National Park
- 6 Amazing Hikes in Bryce Canyon National Park

The timed entry begins April 3rd not in March
Correct! We had it right in one spot, but updated the other mention to make sure it was clear. Thanks for letting us know – we really appreciate it!