
The High Divide / Seven Lakes Basin in Olympic National Park
Do you want the best possible endorsement of this trail? Normally, when we’re done with a backpacking trail, we say something along the lines of “that was gorgeous, but I’m not doing that again in the near future.”
However, as we packed up our stuff into the car at the end of this hike, we both agreed that we’d absolutely do it again (and in more recent times, we’ve talked about making it happen again soon).
The reason? For people who love subalpine landscapes, it doesn’t get much better than this combination of alpine lakes and rocky peaks.
We’ve said it before in this corner of the internet, and we’ll likely say it again in the near future: on a spectrum of “beach people” to “mountain people,” we are about as far towards the “mountain” side of the spectrum as you can possibly be.
Our ideal summer is spent doing long hikes through meadows of wildflowers to alpine lakes, ideally with a snowcapped peak or rocky ridgeline looming over the lake.
If you love alpine lakes and mountain vistas as much as we do, you’ll find yourself in heaven on the High Divide.
It’s one of the most famous backpacking trails in Olympic National Park for good reason, and we were lucky to snag permits to do this hike a few years ago.
In this guide, we’re going to cover everything you need to hike the High Divide – Seven Lakes Basin in Olympic National Park safely and confidently.
We’ll talk about the best route (and recommended campsites), how much time you need, the best time of year to hit the trail, and then take you through a play-by-play of our experience on the hike so that you know exactly what to expect.
Sound good to you? Let’s get into it.
Disclaimer: Some of the links in this post, like hotel links, are affiliate links, meaning at no additional cost to you, we make a little bit of money if you click through and book. That being said, we would never recommend something to you that we don’t stand behind 100%.
High Divide / Seven Lakes Basin Trail Details
- Length: 20 miles (including detour to Lunch Lake)
- Elevation Gain: 5,600 feet
- Trail Type: Loop
- Difficulty: Hard
- Pass Required? National Park Pass
- Dog-Friendly? No
- Trailhead Location: Sol Duc Trailhead
Here’s a map of the trail.
How Many Days + Nights Do You Need?
We should start this section by saying that the number of days you take will be at least partially dictated by the permit availability for your trip dates.
Don’t worry, we’ll cover everything you need to know about securing permits in the next section.
Let’s start with the ideal scenario if permit availability isn’t a factor.
We think the ideal amount of time to spend on this hike is four days, three nights. That gives you a night on either end of the High Divide, and an extra day and night to spend exploring the High Divide itself.
That being said, we weren’t able to get the right configuration of permits necessary to do that, so we ended up doing this trip as a three day, two night adventure.
If you’re unable to get three nights in the right order, we’d say two nights is a good compromise provided you’re up for a pretty long middle day of hiking.
We started early in the morning on the first day, got to camp early and went out to explore a bit.
On the second day, we went up and over the High Divide, including a detour down to Lunch Lake (which is the best place to camp up high) to camp at Deer Lake on the other side of the Divide.
That left us with a relatively easy downhill walk back to the car on the third day.
We wouldn’t really recommend this hike as a day hike, though it’s theoretically doable if you’re a fast hiker and get a really early start to make sure you have plenty of daylight.
Recommended Itineraries
Let’s talk about the best way to structure your trip with one, two, or three nights on this trail.
This is, once again, going to be impacted by your ability to get permits, so think of this as an ideal scenario with some alternate options to choose from.
If you only have one night to spend on the trail, we’d spend it either at Lunch Lake (if you can get permits), or at Heart Lake.
You’ll want to get as early a start as possible and spend your first day hiking up onto the High Divide to set up camp.
We’d go counter-clockwise if you only have one night, which means you have a slightly shorter route to get up onto the High Divide.
This does mean a long first day if you’re going all the way to Heart Lake (which would be all the way on the other side of the High Divide if you go this direction), but we think it’s worth it.
If you have two nights on the trail, we’d go clockwise and spend one night either at Lunch Lake (if you can get the site) or at Heart Lake, and then the second night at Deer Lake.
Again, this would mean a long hike up onto the divide and into the basin on the first day (assuming you get a site at Lunch Lake), but we think it’s worth it to spend that night in the basin.
You can also do this in the opposite direction, spending the first night at Lunch Lake or Deer Lake, and the second night at Heart Lake.
If you have three nights on the trail, which we think is the ideal amount of time, we’d do the first night at Heart Lake, the second night at Lunch Lake, and the third night at Deer Lake.
This allows you to maximize your time around the High Divide, take a side trip to Bogachiel Peak or down to Hoh Lake (we wouldn’t camp down there because it’s a big descent/climb to and from the High Divide), and do some more exploring than you would on a faster trip.
If you can’t get permits for Lunch Lake, spend the middle night at Heart Lake (which we think is nicer than anything over on the western side of the loop).
Where to Camp on the Trail
Once again, this is going to be heavily affected by the permit availability for your trip dates, so take this all with a grain of salt. We’ll try to give you a few good options to choose from for each stop.
On this trail, you are required to camp in established campsites, which are littered along the trail.
Generally speaking, we’d organize your time by spending a night on either side of the High Divide, which will maximize your time up on the ridge and in the Lunch Lake basin (which is the best part of the hike).
We’d also recommend staying as close as possible to the ridge so that you can head up there easily for part of the day without your big pack.
In the ideal scenario where you can get any permit you want, the only difference between a two day itinerary and a three day itinerary would be a night spent at Lunch Lake in the heart of the Seven Lakes Basin.
We were not able to get a site at Lunch Lake – it’s the most competitive of all the campgrounds on the trail – but we would HIGHLY recommend trying to stay here for at least a night.
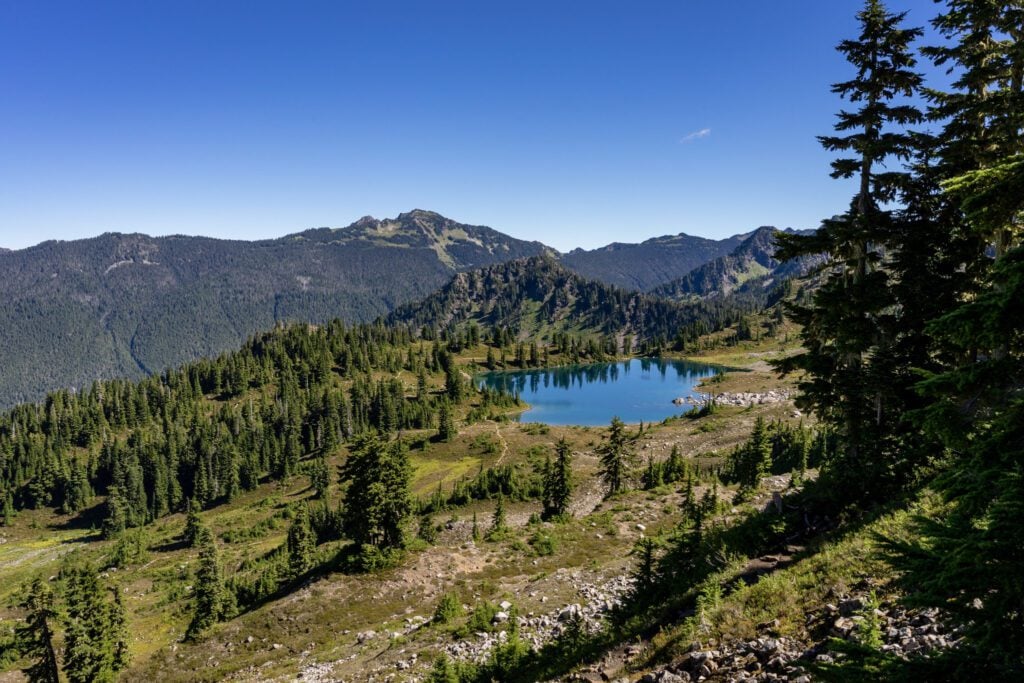
It’s beautiful, and you’ll be immersed in everything that makes this hike special, and it’s worth rearranging your entire trip and potentially doing a big first day all the way up onto the High Divide to spend a night here.
Round Lake and Clear Lake are in the same basin as Lunch Lake, but we have literally never seen a campsite available here for any date because there’s only one or two sites available.
On the eastern half of the loop, there are a bunch of campgrounds to choose from ranging from a few sites scattered along a creek to a bigger established campground complete with toilets and a bunch of people.
Here’s our ranking of the three we’d try to get:
- Heart Lake (7.6 miles in): Right at the base of the main climb up to the High Divide, this is the best campground of the bunch on this side of the loop. There’s a toilet, a bunch of sites along both the southern and northern shore of the lake, and it puts you in a great position to get up on the Divide.
- Sol Duc Park (6.8 miles in): This is the biggest campground, and it’s just a short distance closer to the trailhead than Heart Lake. They have a toilet, and it’s probably the easiest one to get permits for.
- Lower Bridge Creek (6.1 miles in): We camped here, and it was very low-key and quiet (we didn’t see anyone else camping here, though they were probably around). Good access to water, no toilet (go to Sol Duc Park).
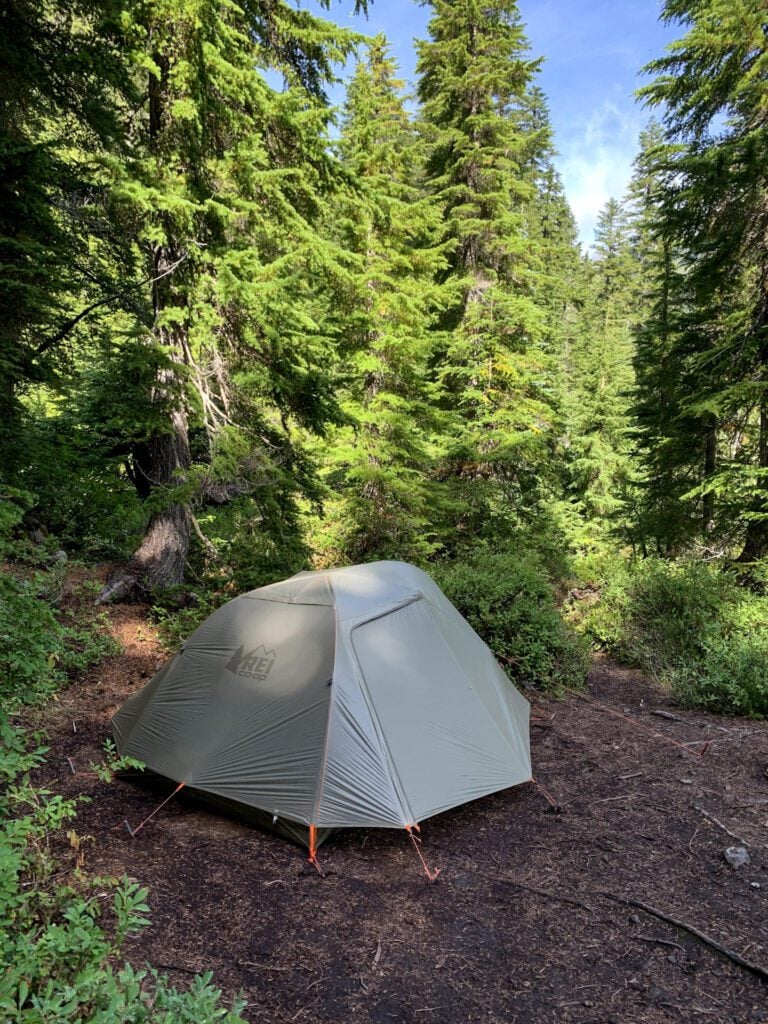
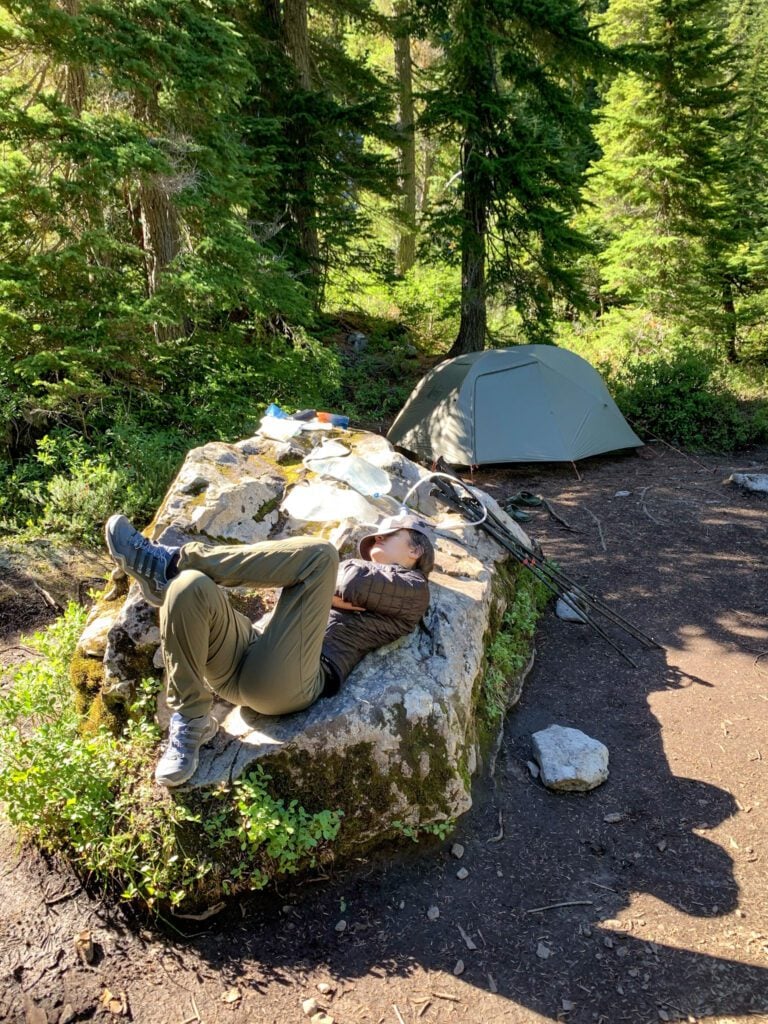
On the western end of the loop, the best option is Deer Lake, which is a big campground set on a lake with a toilet and a ranger station.
It’s 3.5 miles away from the trailhead, though there’s quite a bit of elevation between them.
There are a couple of other sites further down closer to the trailhead, but you might as well just finish the hike and head to your car at that point.
How to Get Wilderness Permits for the High Divide
In order to spend the night in the backcountry in Olympic National Park, you need to have a Wilderness Permit.
Your wilderness permits will cost $8 per person, per night, plus a non-refundable $6 reservation fee. As long as you cancel more than three days before your trip, you get everything but the $6 reservation fee back.
The process for getting a permit is relatively straightforward. Permits for the summer season (May 15th – October 15th) are released on April 15th at 7am PST.
While the summer season technically runs from mid-May to mid-October, you should know that certain hikes, including this trail, have different seasonal availability.
In the case of the High Divide – Seven Lakes Basin, when you login on April 15th, you’ll be able to reserve permits for trips from July 15th through October 15th.
From then on, here’s how to reserve your permit (you will need to know what your route looks like – how many days and what campsites you want – to make your reservation, which we covered above):
- Go to Recreation.gov and find the page for Olympic National Park Wilderness Permits (psst! It’s here).
- Scroll down to the “Available Permits” section and hit “Check Availability”.
- Select “overnight” for permit type, enter your desired entry date and group size, and then select the button labeled “Sol Duc” to see availability.
- Up pops an availability calendar! Scroll down to find the campsites along the route for the High Divide. It shows you how many spots are available per night at each campground along the trail.
- Select the night / campground combination you want for your first night, and the calendar magically updates to show you the next few nights. Repeat the process for your other nights.
- Once you’ve got all your nights selected – you’ll see a handy checkmark for each night you’ve got selected – hit “Book Now”.
- Log in, pay for the permits, and you’re done! You should get an email confirmation, and you can access your permits through your Recreation.gov account.
The other thing you need to know is that your permit will be issued electronically and you’ll need to print it out and bring it with you.
About three days before your trip start date, you’ll get an email saying your permit has been issued. You’ll need to login to your Recreation.gov account and print out your permit.
Once printed, no changes are permitted. Double check all the information – group size, dates, campsites – are correct before printing!
When to Hike this Trail
As we already mentioned, the season for the High Divide / Seven Lakes Basin is from July 15th to October 15th according to availability of Wilderness permits.
A lot of people coming from outside of the Pacific Northwest are confused by the fact that “summer” in the mountains in the Pacific Northwest means something different from “summer” in the lowlands of the midwest or the east coast.
You have to remember that the area we’re talking about here sits at anywhere between 3,000 and 5,300 feet above sea level in an area that gets A LOT of precipitation (which is why you get all the beautiful lush rainforests).
That means that the trail will be covered in snow through June most years, and snow will linger on the High Divide itself (which is up at ~5,300 feet above sea level) into July.
If you want the best chance of warm days and blue skies, late July through August is your best bet. It’s also the best time to catch wildflowers, if that’s your thing.
We hiked this trail in September, when it’s a little quieter (and thus permits are easier to get). However, the weather is a little bit more erratic, with cooler nights and a higher chance of rain.
Once you get into October, you’re probably going to run into chilly nights that drop into the 40’s (even lower, depending), and by mid-October you might get the first snow up on the High Divide, which can make traversing the ridge a little treacherous.
The other thing to keep an eye on is air quality due to nearby wildfires.
The Pacific Northwest has been ravaged by big fires each of the past several years, and we’ve had to cancel multiple trips due to closures or terrible air quality.
Keep an eye on any fires that pop up on the Olympic Peninsula that might close the trail (check trail conditions here, scroll down to “Sol Duc” for this trail) and you can check air quality for the area here (we use IQAir all the time to monitor things for our trips).
Which Direction Should You Hike?
We usually have a strong opinion on this topic, but we truly don’t believe the direction you hike makes much of a difference on this particular trail.
Instead of picking a direction, use permit availability to dictate which way you go, because that will almost certainly be the limiting factor.
If you go clockwise, which is what we did, you start with a nice, gentle climb through a beautiful stretch of ferny forest with babbling creeks to keep you company.
At about two miles in, the climbing begins in earnest, and you gain 3,000 feet of elevation over the next five or so miles.
If you go counter clockwise, you start climbing from the one mile mark (right after Sol Duc Falls) and gain that elevation over about four and a half miles.
Like we said, roughly the same in either direction, and we chose to do the extra mile of flat trail at the beginning of the hike when we were fresh.
Getting to the Trailhead
This hike leaves from the Sol Duc Trailhead, which is at the end of Sol Duc Hot Springs Road.
It shares a trailhead with the shorter hike to Sol Duc Falls, which is one of our favorite short hikes in the park.
It’s quite a detour from Highway 101 and it always seems to take us longer than we think to get out here.
Here are the rough drive times from other parts of the park:
- From Port Angeles: 1 hour 5 minutes / 43 miles
- From Hurricane Ridge: 1 hour 40 minutes / 61 miles
- From Lake Crescent: 40 minutes / 23 miles
- From Forks: 55 minutes / 41 miles
- From the Hoh Rainforest: 1 hour 45 minutes / 73 miles
If you’re coming from Seattle, it’ll take you somewhere around three and a half to four hours, depending on traffic and ferry times (if you take the Bainbridge ferry).
It’s a small parking lot with very limited overflow parking, so you’ll want to either get an early start, or be prepared to wait.
Most people are here for the trail to Sol Duc Falls (which you’ll share on your way out), so turnover should be relatively frequent.
Our Experiences Hiking the High Divide / Seven Lakes Basin
As we already mentioned, we did this hike as a three day, two night hike and we went clockwise.
We started out bright and early after camping at nearby Sol Duc Campground (a great option if you want to get an early start) and easily got a spot in the relatively small parking lot.
We strapped on our packs and hit the trail only to take them back off to do some photography at Sol Duc Falls, which you’ll hit about a mile into the hike.
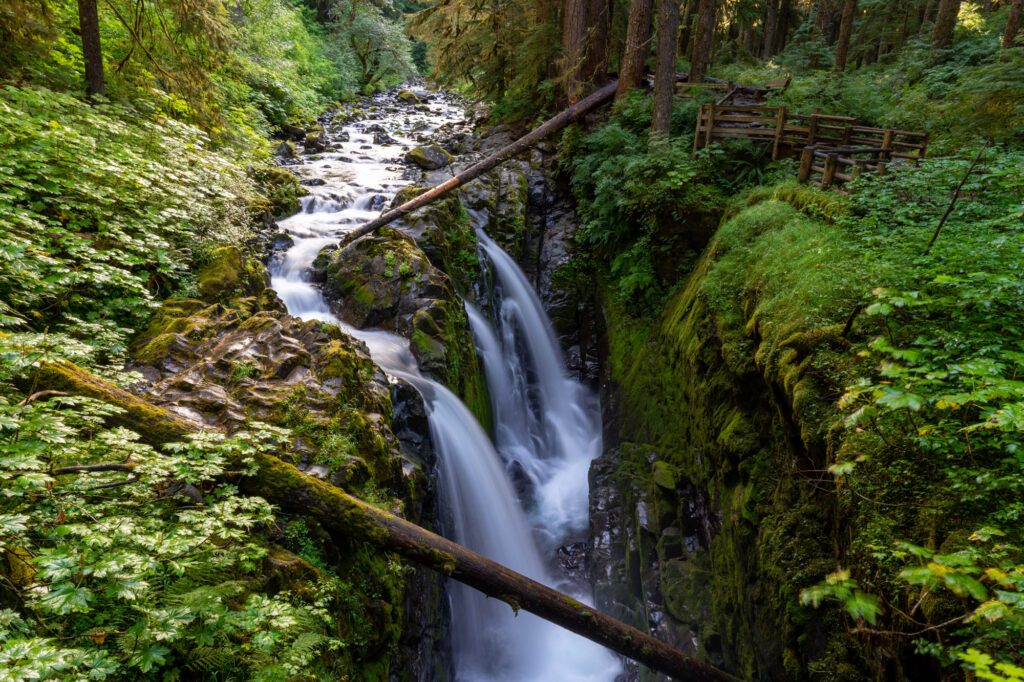
It’s a beautiful waterfall – probably our favorite in the park because of the unique angle from the wooden footbridge over the river – and it’s worth stopping to look at.
From there, the next mile was an easy, very gradual climb through the forest that got us warm and ready for the meat of the climb, which begins at almost exactly two miles into the hike.
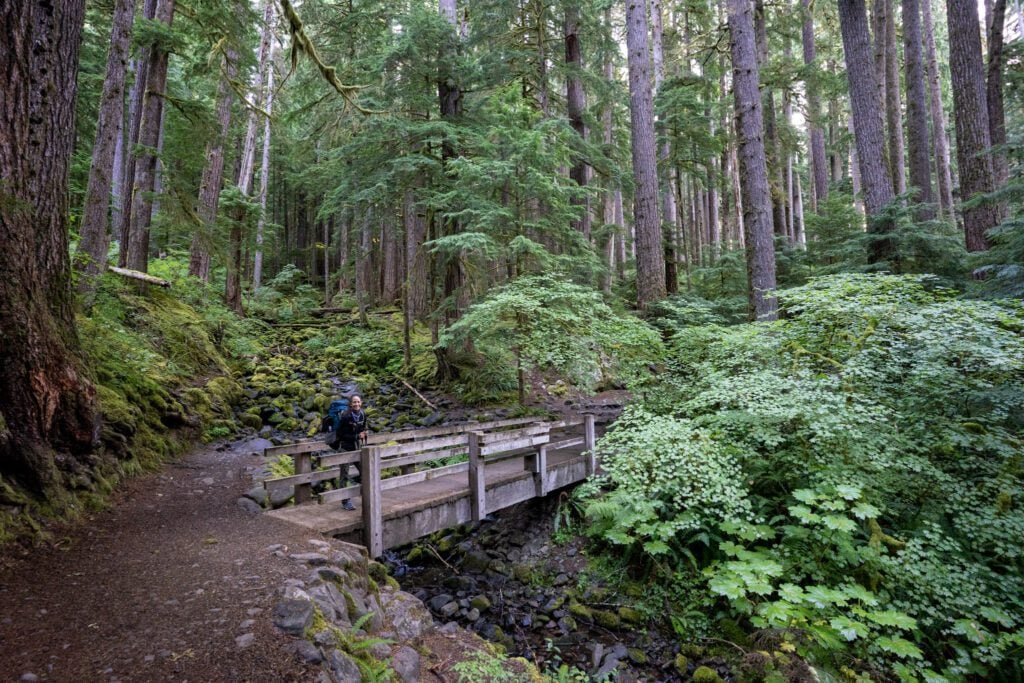
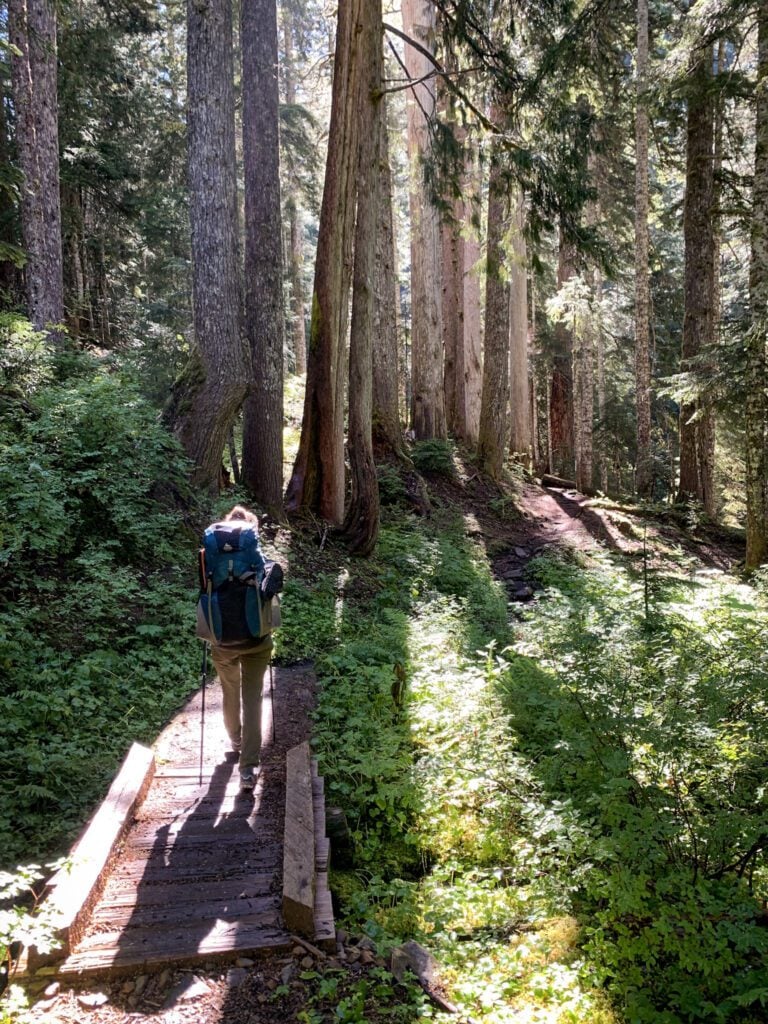
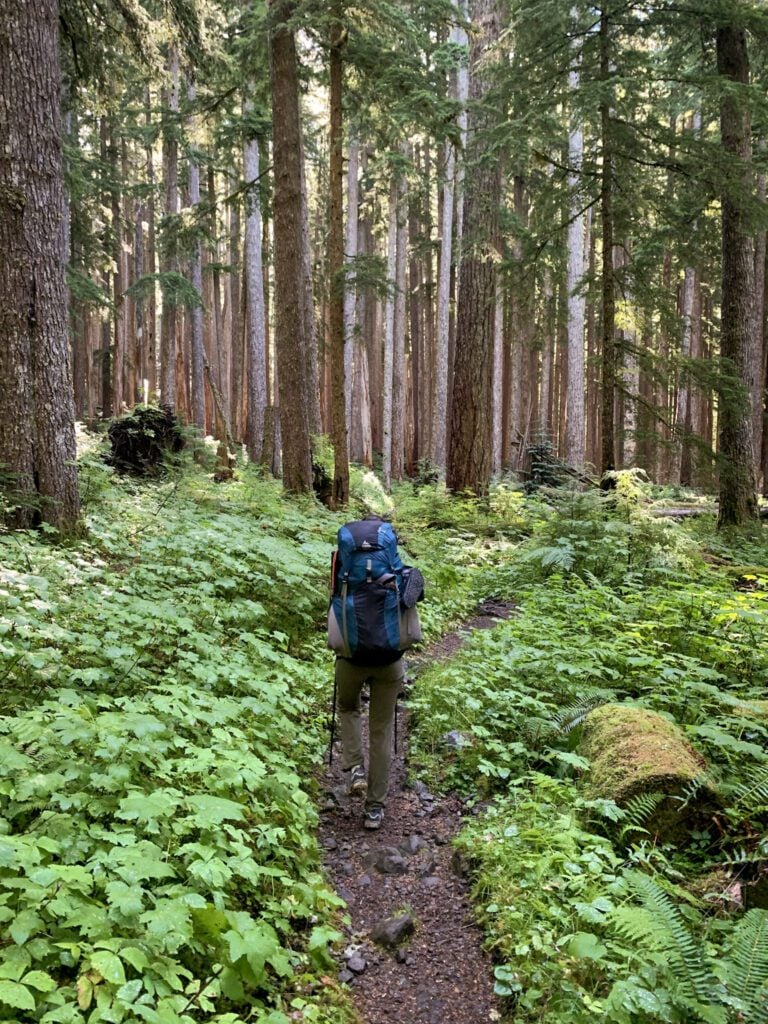
For this entire stretch, you’re within earshot of the Sol Duc River, and the white noise is a really nice companion for the hike.
From mile two to mile five (ish), the trail climbs 2,800 feet, which means you’re climbing nearly 1,000 vertical feet per mile. Anything over 500 puts you in the “hard” category in our book, so this section is tough.
If you’re camping at either Sol Duc Park or Lower Bridge Creek, you’ll break this climb roughly in half.
We camped at Lower Bridge Creek, and it was a nice, quiet site where we sat, read, went on a couple of little excursions further up the trail, and hung out for the day.
The next morning, we woke up early and got on the trail because we had a big day ahead of us (about 10 miles).
We were camping at Deer Lake for the second night, which meant a big climb up onto the High Divide, a walk along the ridge, a detour down to Lunch Lake (extremely worthwhile!), and then a downhill walk to Deer Lake.
We hit the trail to get to Sol Duc Park, where we used the toilets there and continued on our climb with the intention of spending as much time as possible above the treeline.
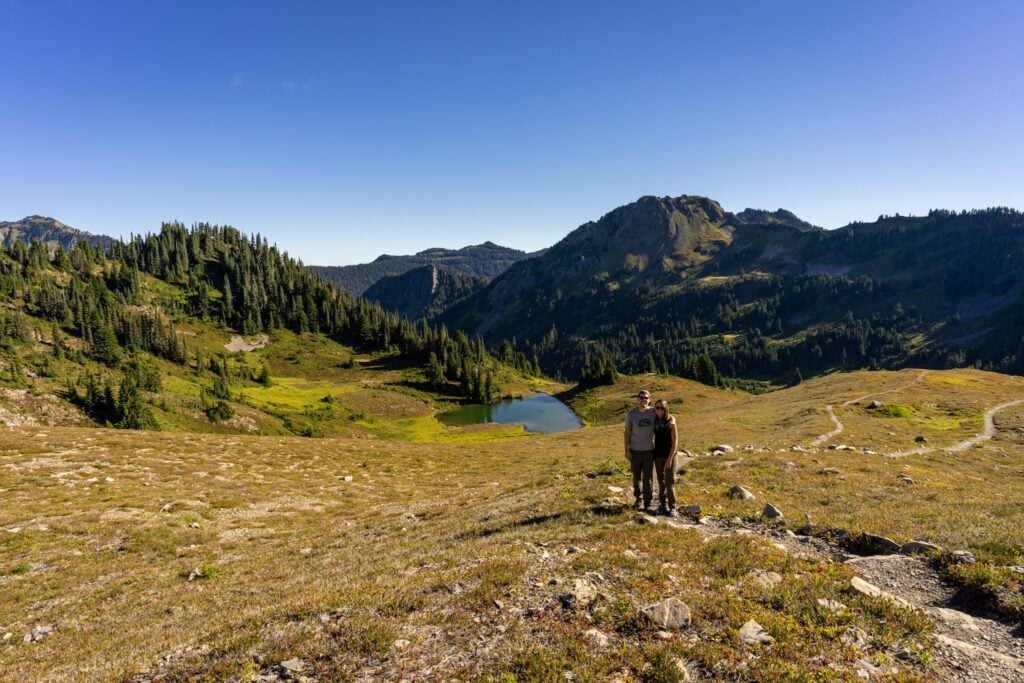
As you arrive at Heart Lake, you burst through the treeline and are greeted with your first glimpse of the High Divide, sitting 500 vertical feet above the lake.
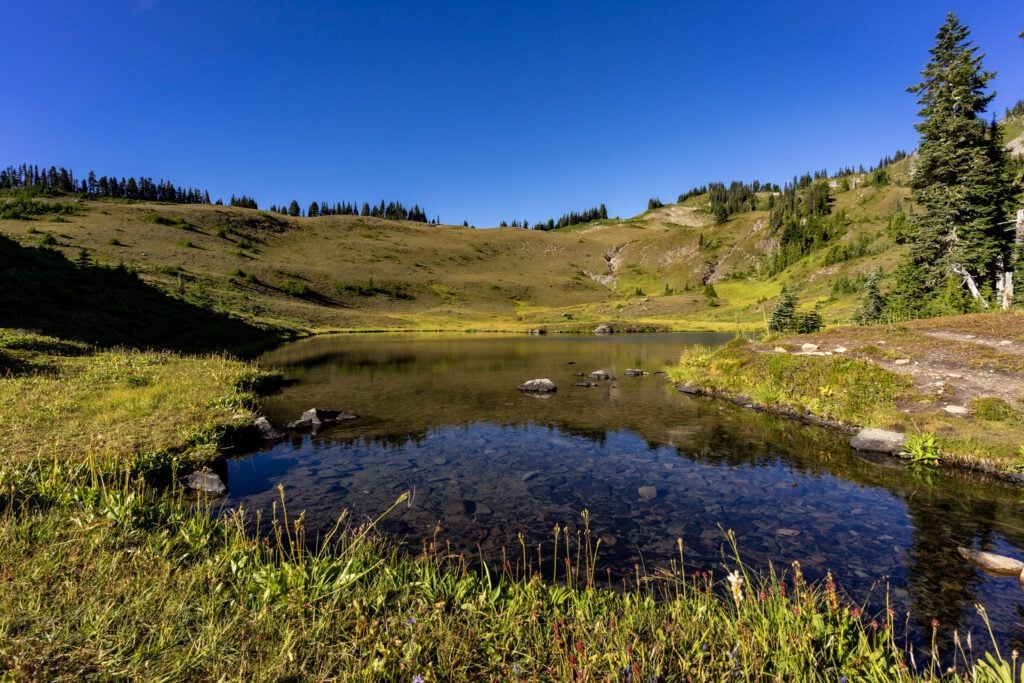
We stopped at Heart Lake to take some pictures, and then stopped again on the hillside above the lake to set up the tripod and take some pictures of ourselves.
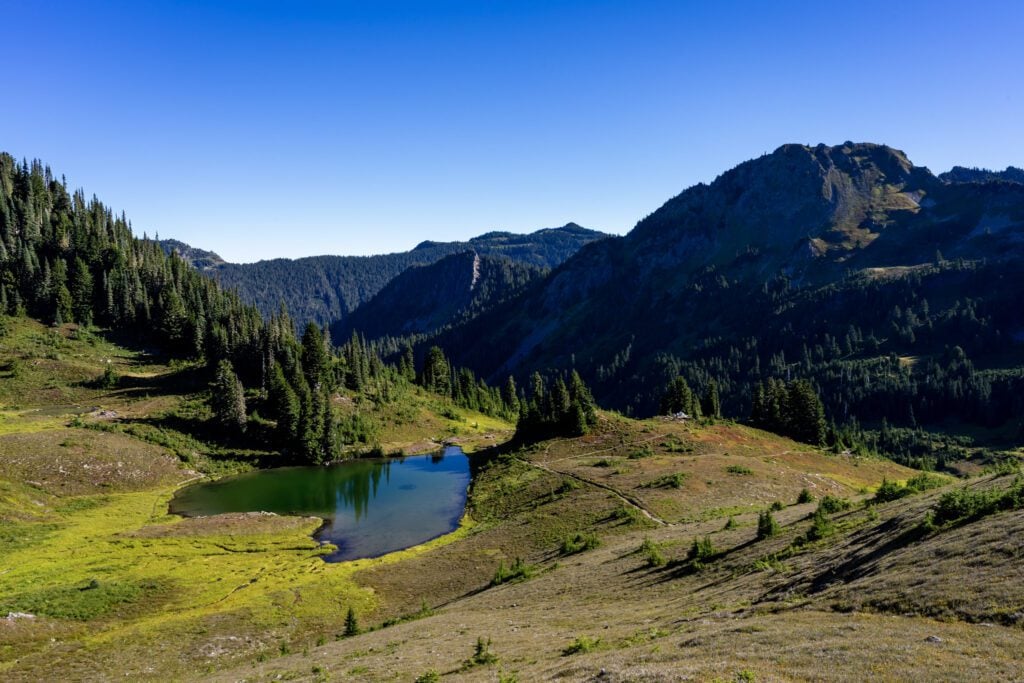
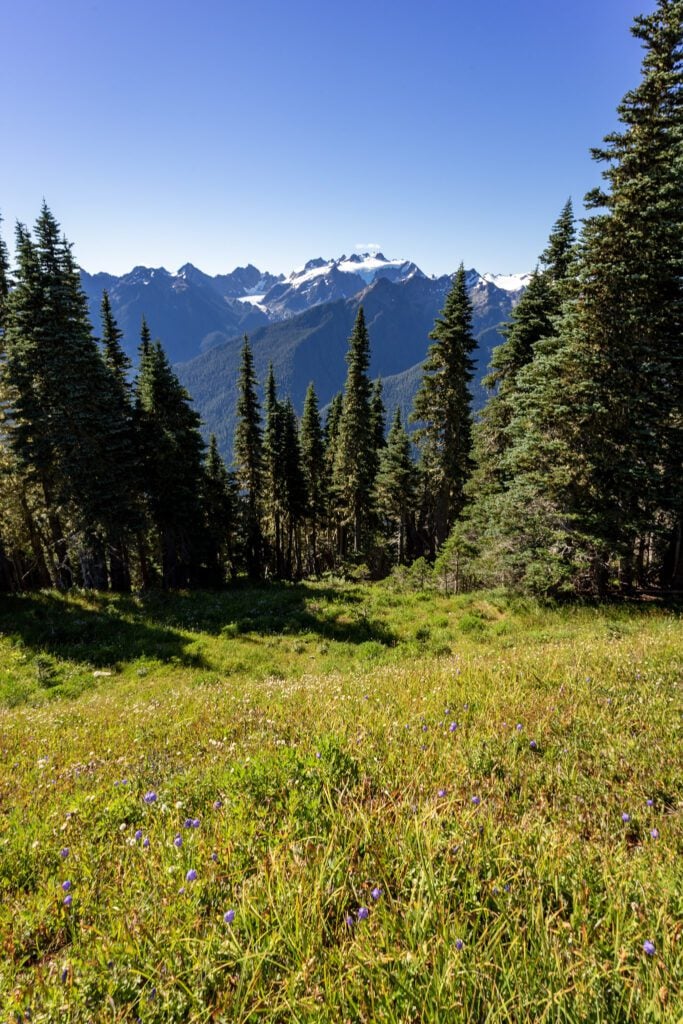
Finally, a short climb later, we arrived on top of the ridge, and the views are truly spectacular, particularly to the south, where you have Mount Olympus and the Olympic Range looming above the Hoh River Valley, which is on the other side of the ridge you’re standing on top of.
From there, we made our way along the ridge for about three miles to get to the trail junction that takes you down to Lunch Lake.
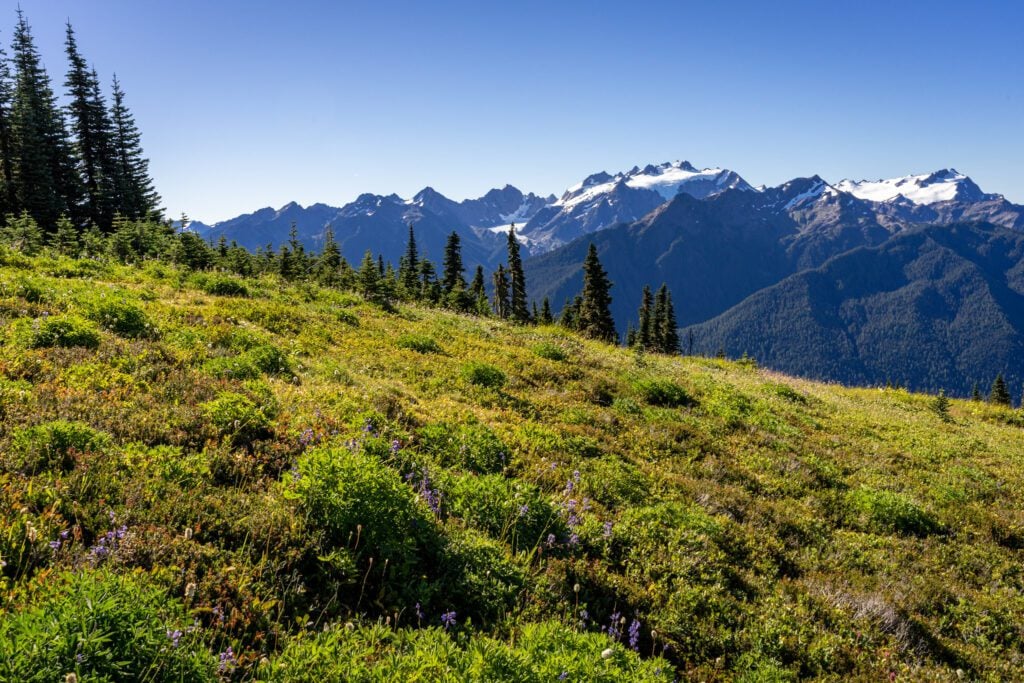
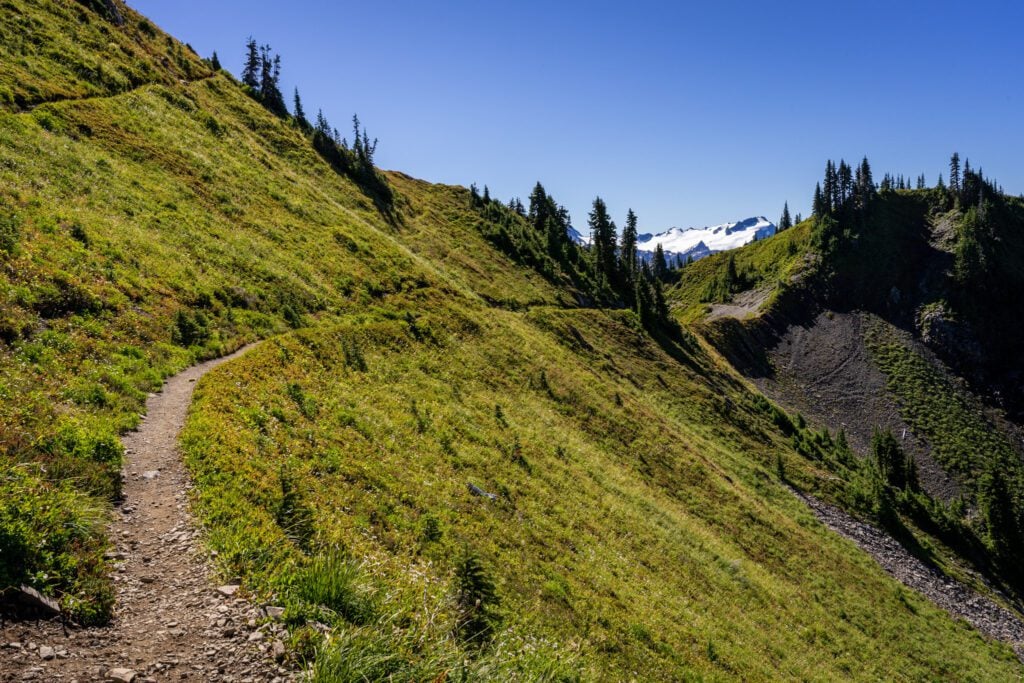
This stretch of the ridge is a set of rolling hills, so there’s some climbing and some descending to do, but nothing too intense. You’re hardly going to notice because you’ll be so focused on the amazing views from up here anyway.
The detour down to Lunch Lake is not really optional, in our opinion.
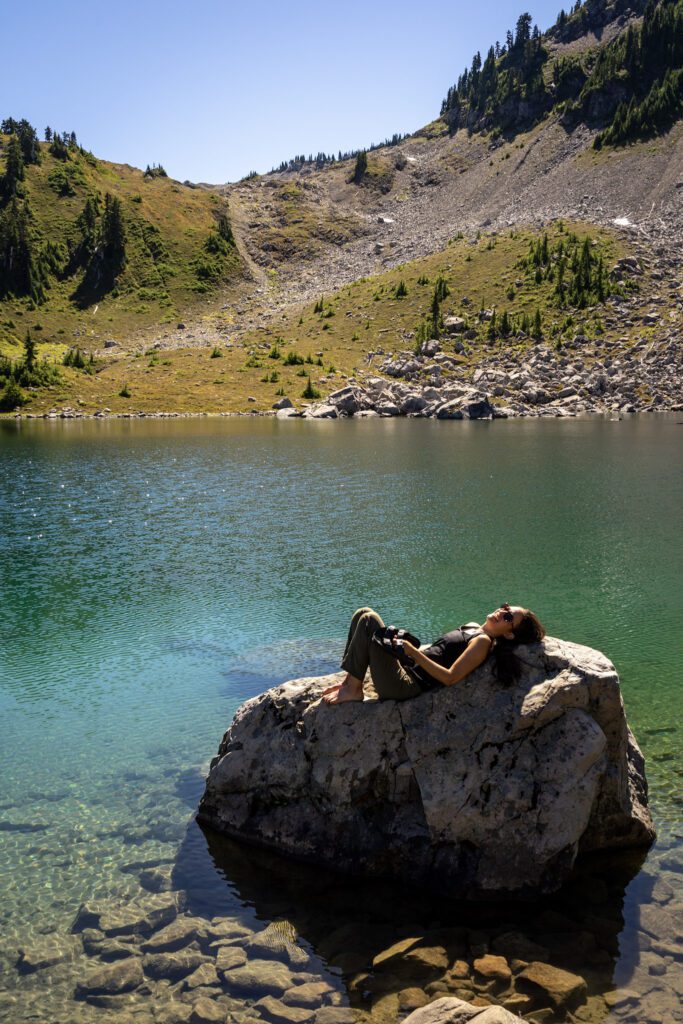
It does require some elevation loss (and then gain) as you drop ~450 feet down into the basin, but this is the heart of the Seven Lakes Basin and is what makes all of the hiking to get here worth it, we think.
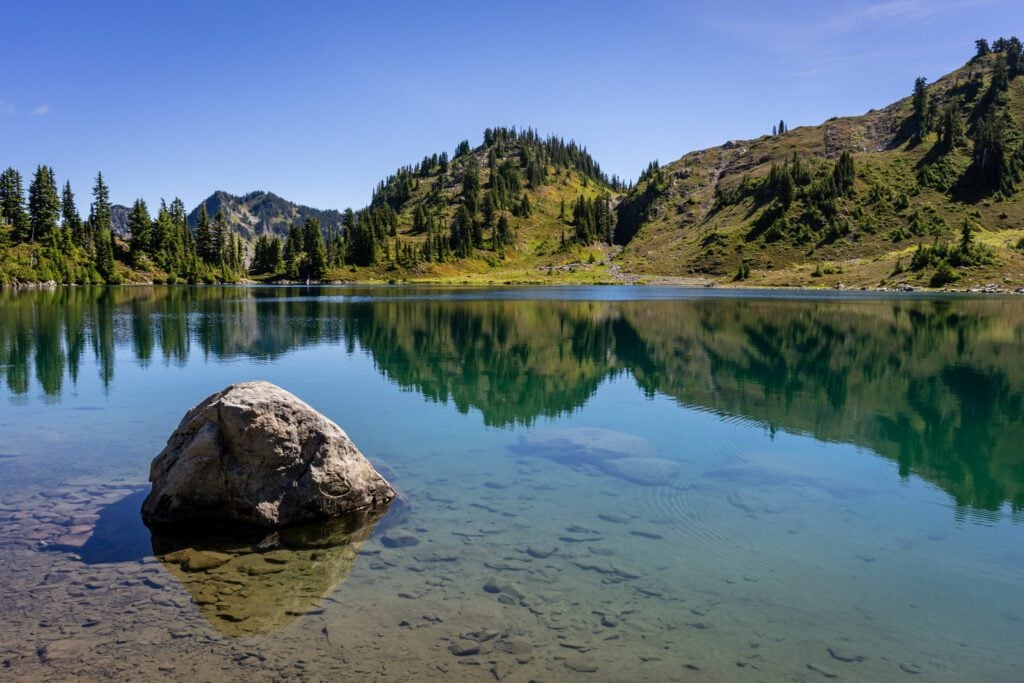
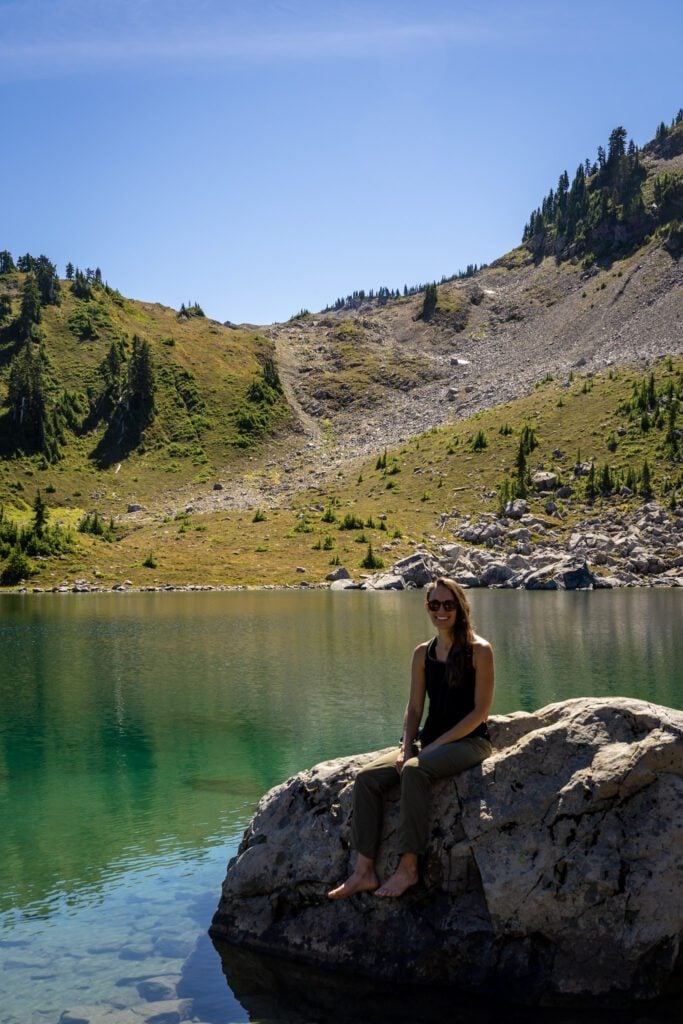
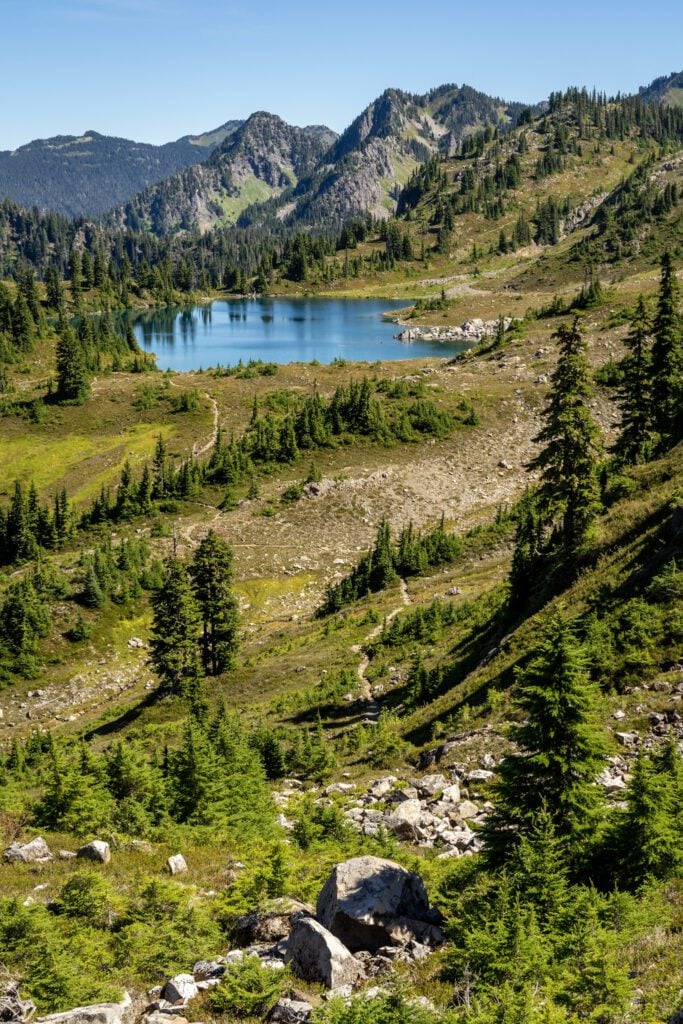
Once we got back up onto the High Divide, it was all downhill to Deer Lake, which was another three miles of hiking and about 1,500 feet of elevation loss.
We passed the Potholes, a series of glacial tarns (and another good campsite option with just a few sites) on our way, and eventually arrived at Deer Lake, set up camp, and relaxed.
Deer Lake is back under the treeline, so there’s plenty of shade and wind protection here. We had dinner on the lake, which was nice aside from all the mosquitoes.
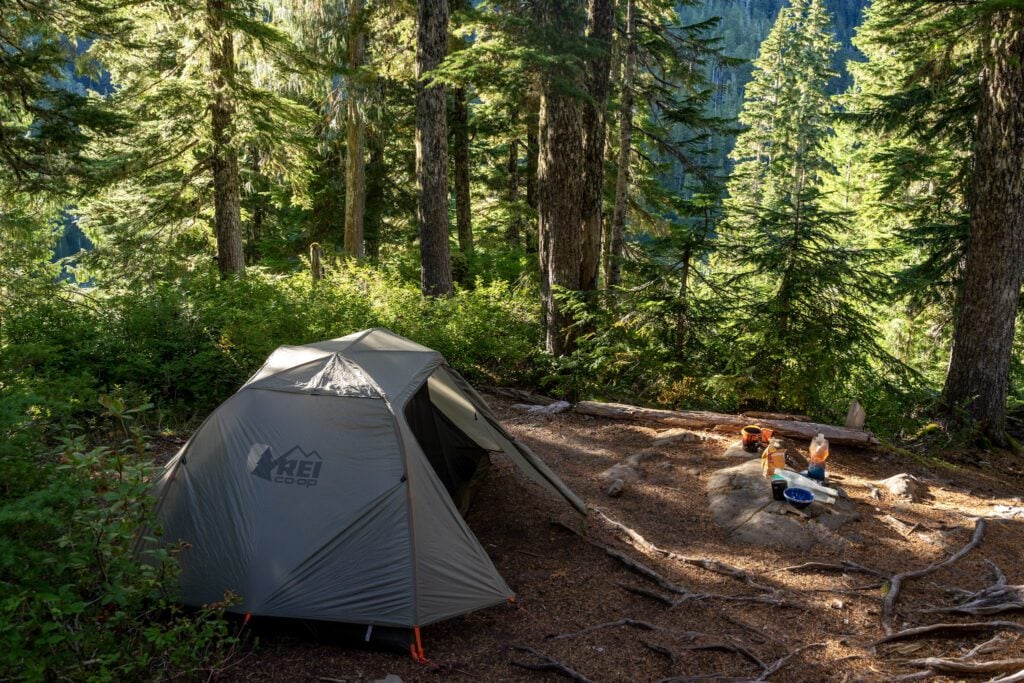
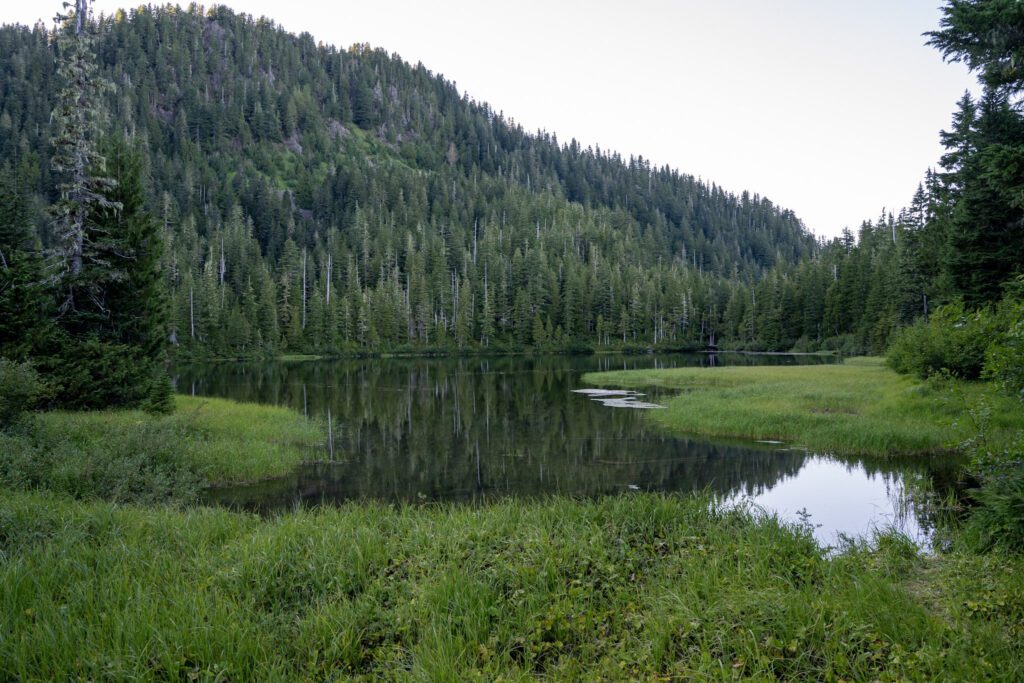
The next morning, we woke up, had coffee and breakfast, and got on the trail to head down to the car and finish the hike.
From Deer Lake to the trailhead, it’s about 3.8 miles and 1,500 feet of descent, and it’s not a particularly beautiful stretch of trail (especially after a day up on the High Divide).
Planning a Trip to Olympic National Park?
We’d Love to Help!
We have a bunch of detailed guides to visiting the Olympic Peninsula that are all based on our own personal experience exploring the park.
- All of our Favorite Things to Do in Olympic National Park
- How to Plan a Perfect Olympic National Park Itinerary (3-4 Days)
- Where to Stay in Olympic National Park: A Complete Guide
- The Best Hikes in Olympic National Park: A Helpful Hiking Guide
- Hiking the Enchanted Valley Trail: A Perfect 2-3 Day Backpacking Trip in Olympic National Park
