How to Plan a Perfect Rocky Mountain National Park Itinerary
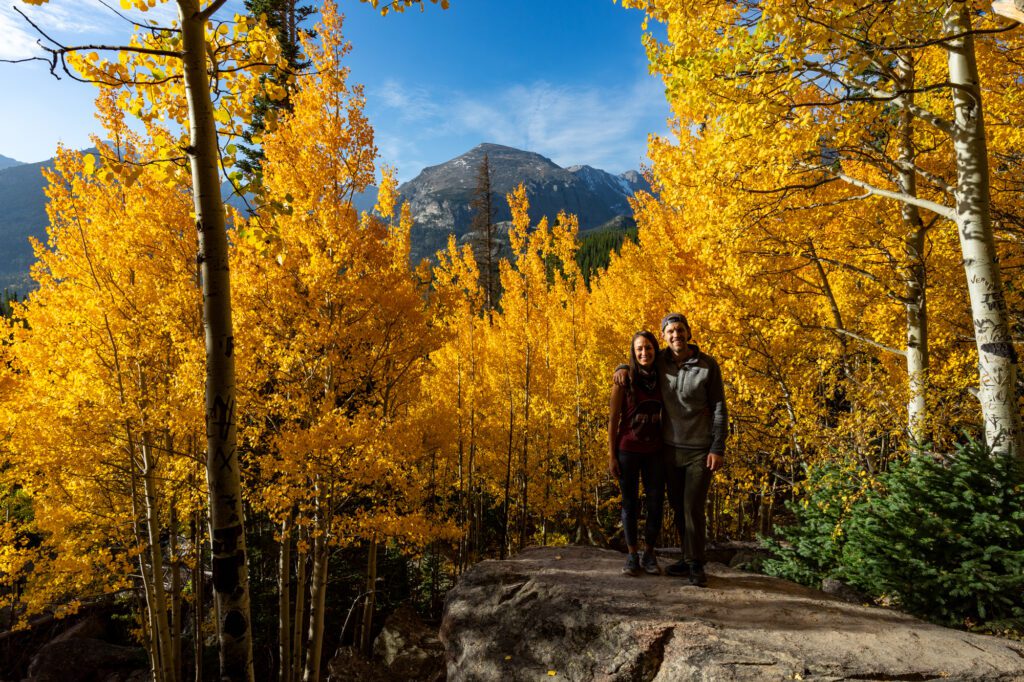
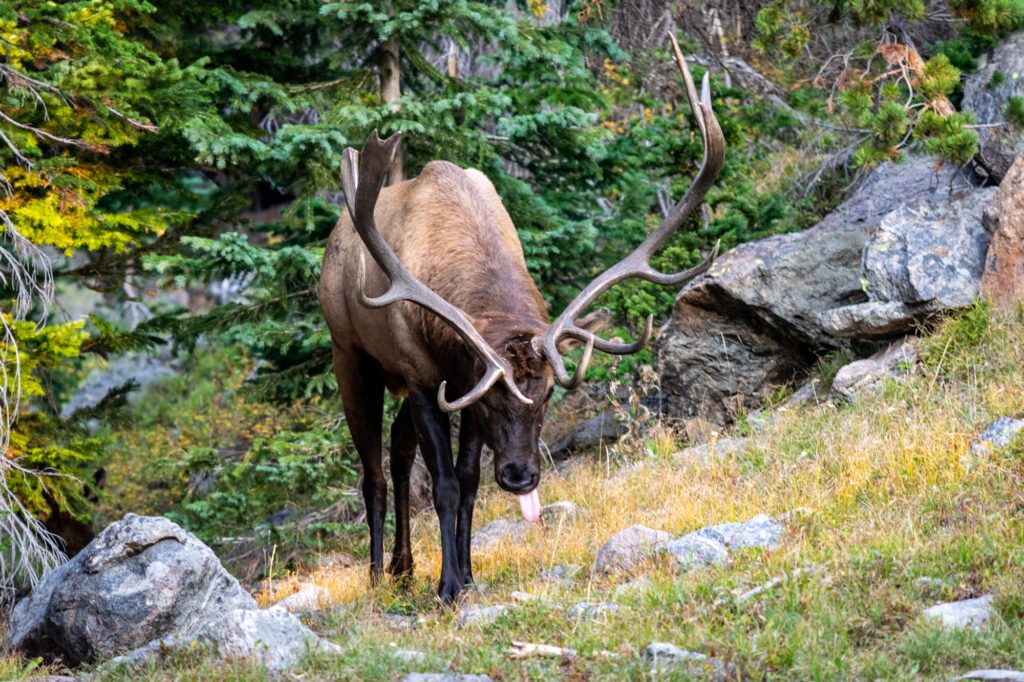
Rocky Mountain National Park is an incredible combination of alpine lakes, rugged rocky peaks (mountains, if you will), and an abundance of wildlife that you won’t find many other places around the country. We spent five full days in Rocky Mountain National Park, and loved every minute of it. Spend your mornings hitting the hiking trails, drive above the treeline on Trail Ridge Road to experience the unique Alpine Tundra landscape, and spend your evenings watching elk, moose, bighorn sheep, and black bears in their natural habitat.
This complete Rocky Mountain National Park itinerary will give you the information you need to plan the perfect trip to the park, including:
- Where to hike, drive, and see wildlife
- Where to stay inside or outside the park
- How to organize your time to make the most of your time
Are you into hiking? Make sure to read this guide to the best hikes in Rocky Mountain National Park to discover the best hikes to add to your itinerary.
Disclaimer: Some of the links in this post are affiliate links, meaning at no additional cost to you, I make a little bit of money if you click through and book. That being said, I would never recommend something to you that I don’t stand behind 100%.
What is the Best Time to Visit to Rocky Mountain National Park?
Peak season for exploring the park is summer – mid-June to Labor Day. In the summer, you’ll find relatively warm temperatures in the 70’s and 80’s during the day, with cooler nights that come with the elevation (~8,000 feet above sea level). However, you’ll also find daily thunderstorms above the treeline, which means you should plan on starting hikes early and being off the trail by noon. Or at the very least, on the way down. That being said, you’re in the mountains. Weather can be unpredictable, as the snow storm in September showed us in 2020.
Shoulder season, mid-May to June and Labor Day to the first week of October, are a great time to be inside the park. Weather will be more variable, but there will be a whole lot less people.
We have been to Rocky Mountain National Park twice now, spending about a week total inside the park exploring the best hikes and wildlife spots, and neither has been “peak season.” However, both May, when the days are a little cooler but everything is GREEN, and September, when temperatures are still warm and snow is mostly gone from all trails, were very pleasant times to be in the park.
Plus, the elk rut is in September, and we spent multiple evenings at Moraine Park watching hundreds of elk mill about with the males bugling their little hearts out competing for the attention of the females. And by “little,” I mean “that animal is enormous and could kill me in about three seconds flat.”
How to Get to Rocky Mountain National Park
If you’re coming from out of state and planning on flying, the easiest way to get to Rocky Mountain National Park is to fly into Denver International Airport, rent a car, and drive.
From Denver, it’s just over an hour and a half (68 miles) to the Beaver Meadows Visitor Center, which is the most visited portion of the park. The shortest route is to get yourself to Highway 36 and follow it north through Boulder and Estes Park.
From Boulder, it’s going to be just over an hour (40 miles) to the Beaver Meadows Visitor Center near Estes Park. You’ll basically follow Highway 36 all the way there.
This route along Highway 36 can get packed on summer weekends, so check Google Maps before you leave to prepare for a longer journey if there’s traffic.
How Many Days in Rocky Mountain National Park?
Two days is a good amount of time to see the park if you’re not into long hikes (pssst! Have you read our guide to the best hikes in Rocky Mountain National Park yet?).
If you want to do some hiking, we’d suggest planning on three or more days.
“But Matt, I have [1, 3, 5, 86] days, what should I do?” Don’t you worry, I have some recommendations below the itinerary itself for things to do if you have more time.
Where to Stay at Rocky Mountain National Park
If you’re up for it, camping is the best way to see Rocky Mountain National Park, since it’s the only way you’ll be able to stay inside the park. Unlike places like Yosemite, Yellowstone, and Grand Teton, there are no historic National Park Lodges in the park.
Camping in Rocky Mountain National Park
Camping is extraordinarily competitive. If you don’t get campsite reservations immediately, KEEP CHECKING. I mean daily. We got our sites by checking on availability a few times a week, and were able to get four nights inside the park.
On the more popular east side of the park, you have a couple of choices in terms of camping.
We camped at Moraine Park Campground, and really enjoyed it. It’s super central to most of the sites you’re going to want to see on the east side of the park. Plus, it’s on the shuttle route, so you don’t have to stress about parking. There are 245 sites, including a tent only loop (loop D) if you want to get away from the RV’s full of loud kids and generators. If you’re visiting in peak season you should plan on making reservations months in advance. From October to May, it is first-come-first-served. Check availability here.
Other options on the east side of the park include Aspenglen Campground (small, quieter – reserve here) and Glacier Basin Campground (on Bear Lake Road – reserve here).
On the west side of the park, which is worth a visit for its solitude and wildlife (like moose!), there’s only one option – Timber Creek Campground. There are 100 sites, and it’s open year round.
If you’re planning on hiking Longs Peak (or any of the other hikes nearby, like Chasm Lake), camp at Olive Ridge Campground or Longs Peak Campground, which are both off of Highway 7 south of Estes Park. Both are first-come-first-served, and get full by noon in the summer months. If you want to grab a site here in the summer, I’d say get here by 10am at the latest to be safe.
Can’t find ANY sites inside the park? Check out Estes Park campgrounds at East Portal and Mary’s Lake. We stayed our first night at East Portal because it was a Saturday, and it was nice enough (hot showers were a bonus). Plus, it’s only going to be a 15 minute drive to the park entrance. (Also, keep checking availability. People cancel all the time). Note that these are outside the park, but are within a 10-15 minute drive of the entrance.
Where to Stay Outside Rocky Mountain National Park
If you’re not into camping, your best bet is going to be Estes Park, which is about 10-15 minutes outside the park.
It’s a popular place in the summer, between visitors to Rocky Mountain National Park and people visiting for the summer festivals. In the spring and fall, things are quieter, and you’ll get lower prices and less people.
Hotels, Cabins, and Lodges in Estes Park
Here are three places to stay near Estes Park that will put you 10-15 minutes away from the park entrance.
StoneBrook Resort: This place is perfect for a couples getaway to Rocky Mountain National Park. Adults-only (yes please) cabins along the Fall River. Kitchenettes, so you can save money on meals, and all of the amenities you’d expect at a resort in a town adjacent to a National Park.
Inn & Cabins on Fall River: This is another riverside resort just outside of Estes Park with lodge and cabin-style accommodations of all shapes and sizes, from one to three bedrooms.
YMCA of the Rockies: We drove by this place and I was very confused and had to Google what it was, because when I think YMCA I think the place down the street where you play pickup basketball on Sunday mornings. This is DEFINITELY not that. It’s basically a resort, with cabins and hotel-ish rooms to choose from. No frills, but comfortable.
Click here to see all hotels & resorts in Estes Park
The Best Airbnbs in Estes Park
There are a ton of awesome Airbnb options in and around Estes Park of all shapes and sizes, from rustic cabins to modern flats.
If you’re a couple or a group of two, look at either this modern loft or this light-filled apartment with a deck a if you want to be in the middle of all the action in Downtown Estes Park. For a more rustic stay, look at this historic 1BR cabin with a hot tub.
For groups of 4 or more, look at this gorgeous cabin built in 1914 with all the rustic charm you want when you’re visiting a National Park, or this modern riverside cabin with three bedrooms and plenty of space for you and your group to spread out (plus, stunning design and a hot tub).
Click here to see all of the Airbnb options in Estes Park
Tips for Visiting Rocky Mountain National Park
- Entry Fees – it’s going to cost you at least $20 to get into the park for a day, and $30 for entry that is good for 7 days (note: in 2020, 7 day passes were unavailable, and the cost of a single day entry was $25. TBD whether that continues into 2021). If you’re planning on visiting multiple National Parks in the next 12 months, you’ll want an America the Beautiful Pass, which costs $80 and pays off with 3 visits to National Parks, National Forests, or National Recreation Areas. Get it here.
- The altitude is no joke – you’ll be at 8,000 feet in most parts of the park, which means if you do a long hike you’ll get up above 10,000 feet. We came from Yellowstone and Grand Teton, where we were at around 7,000 feet, and the altitude hit us like a ton of bricks on the first day. Make sure to take it easy on your first day (maybe don’t do Longs Peak on your first day at elevation) and stay hydrated.
- The sun is also no joke – for some reason, it feels like the sun is stronger in the mountains. Maybe that extra few thousand feet closer to the sun really does make a difference? Always bring sun protection like sunscreen (We love Sun Bum!) and a sun hat.
- Parking can be a nightmare – in mid-September, the parking lots at Glacier Gorge was full by just after 6am, and the Bear Lake parking lot was full by 7am. We think the reason is there are at least 4-5 highly trafficked hiking trails that leave from each of those trailheads. Luckily, there’s a handy park and ride with tons of parking and a shuttle system that will whisk you away to the trailheads along Bear Lake Road. There’s even a hiker shuttle that will bring you in from the Estes Park Visitor Center so you don’t even have to worry about parking in the park at all.
- East versus West Side of the Park – the eastern half of the park is connected to the less-visited west side by Alpine Ridge Road, which closes for the winter. It’s worth a drive on any Rocky Mountain National Park itinerary, because it takes you up above the treeline into the alpine tundra with fantastic views of the surrounding Rocky Mountains. The west side can be accessed by that drive, or via Grand Lake. It’s worth a visit – do the Green Mountain Trail to Big Meadow for some good chances to see wildlife, including moose.
A Perfect 2 Day Rocky Mountain National Park Itinerary
We spent four days in the park on our Colorado road trip, and the recommendations below are based on personal experience. We took our favorite things, cut some of the more “meh” experiences, and consolidated it into a perfect 2 day itinerary.
Here’s how to spend a couple of days in Rocky Mountain National Park.
Note: If you only have one day in Rocky Mountain National Park, I’d follow the first day of the itinerary below.
Day 1 in Rocky Mountain National Park
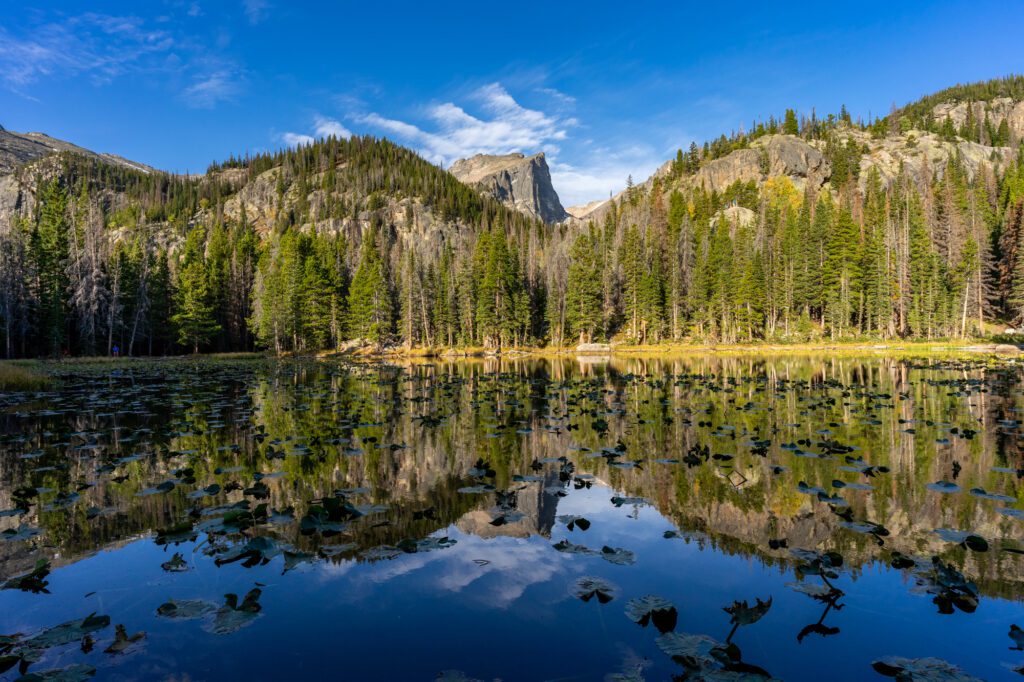
On the first day of your Rocky Mountain National Park itinerary, you’ll get in a morning hike before driving one of the most scenic drives in the park, and finally doing some wildlife spotting at dusk before heading back to get a good night’s sleep.
Pro-tip: You’ll want to pack a lunch for both days, since there aren’t any places to eat inside the park.
Do a Hike Near Bear Lake
Start your trip off right, with a hike from the Bear Lake trailhead at the end of Bear Lake Road.
You’re going to want to start early, because parking fills up fast. Plan on being at the trailhead by 7am (or earlier) if you want to park at the trailhead itself. If that sounds too early for you, head to the park and ride instead, which still gets busy, but there are far more spots to choose from. From there, it’s an easy shuttle ride to the Bear Lake Trailhead. After the hike, pick up the shuttle back to the park and ride from the same spot you get dropped off at.
There are a couple of hike options from the Bear Lake Trailhead, depending on your appetite for high altitude hiking.
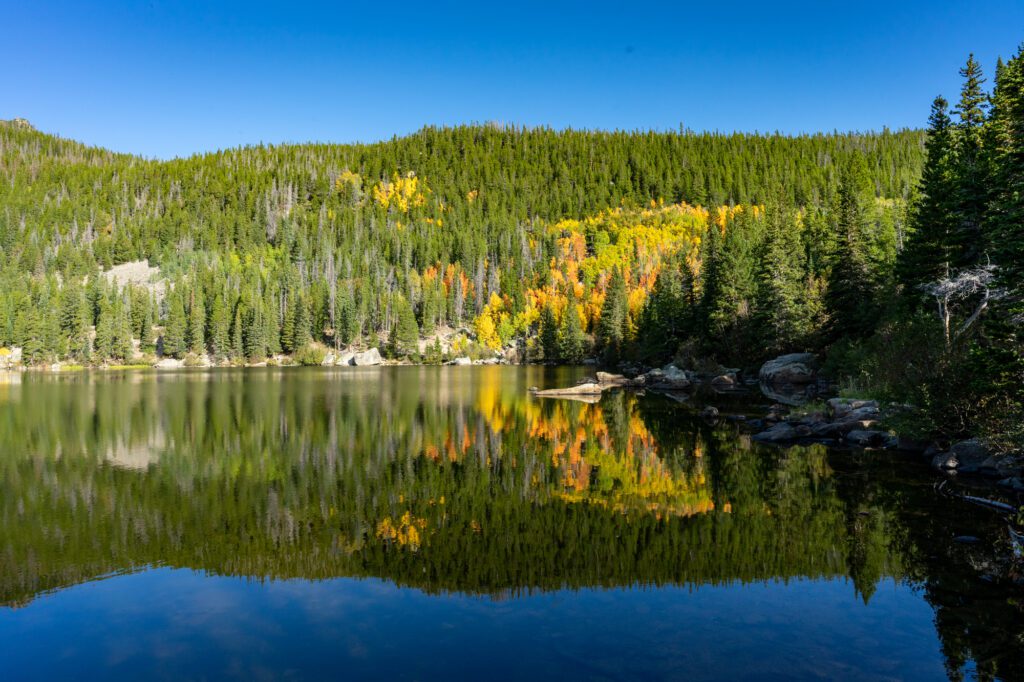
If you’re looking for the easiest possible stroll, do the ¾ mile Bear Lake Loop, which takes you all the way around Bear Lake. It’s relatively flat, and Bear Lake is a nice spot, but it’s not going to tire you (or your kids) out.
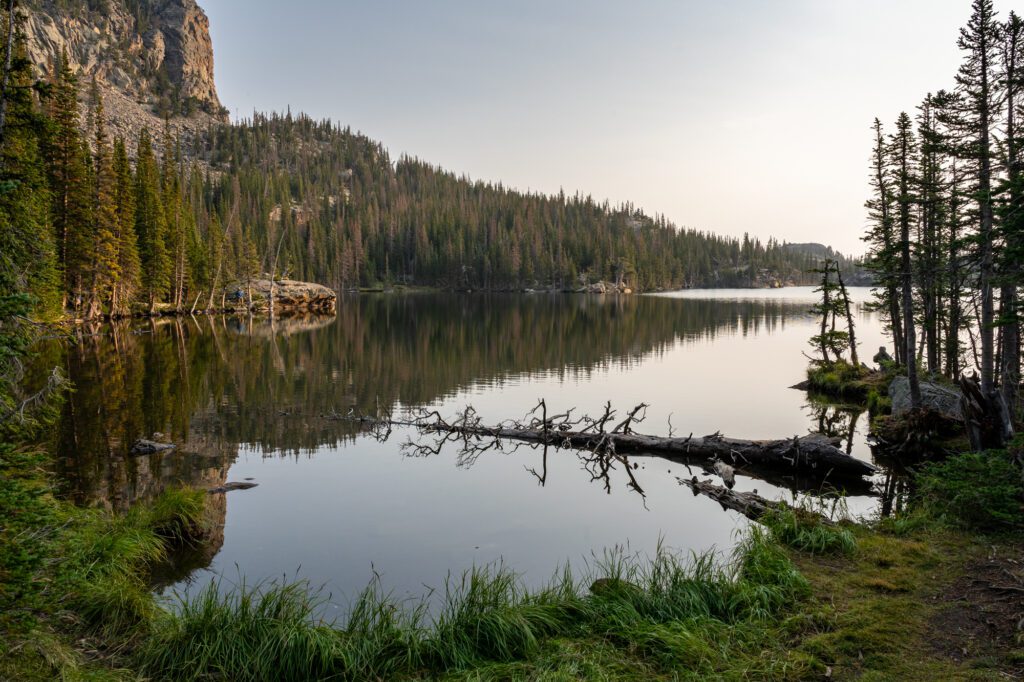
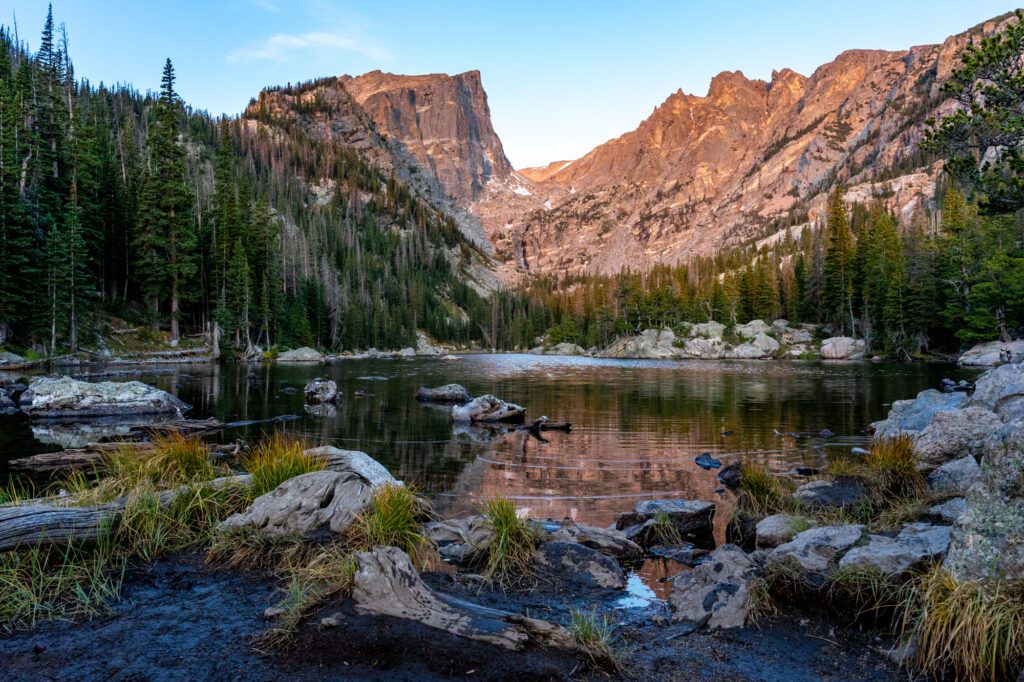
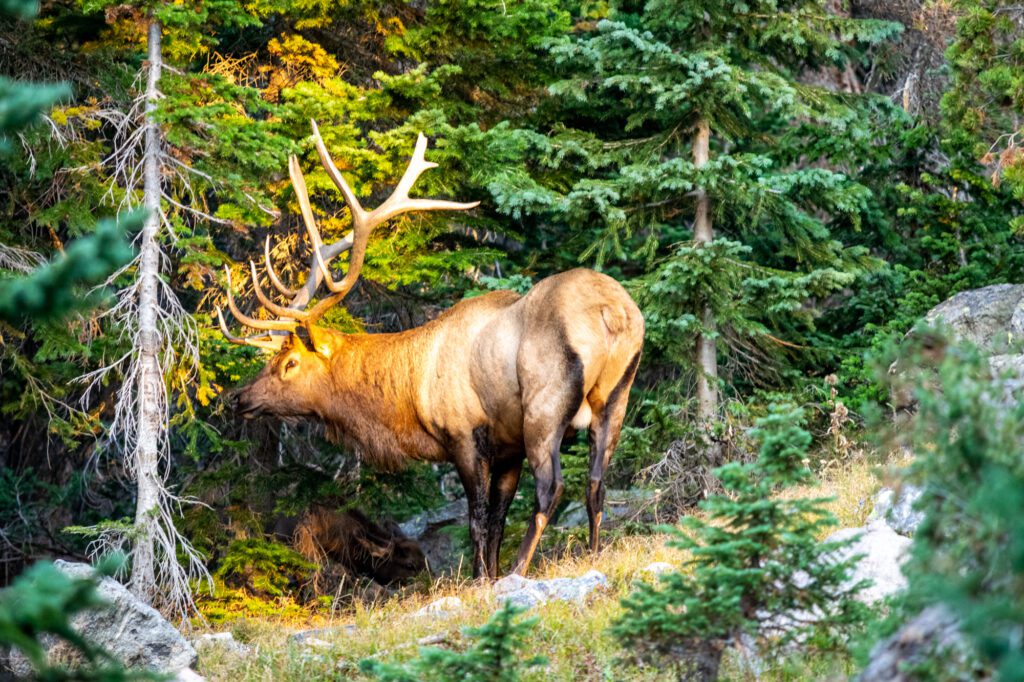
The best beginner hike would be to Dream Lake and Emerald Lake. Dream Lake is especially stunning at sunrise, where you’ll see photographers gathered to watch the pink glow light up the mountains across the lake. Continue on to Emerald Lake, and then head back the way you came. It’s also a good place to see wildlife – we saw a herd of elk along the shore of Dream Lake, including a big bugling bull.
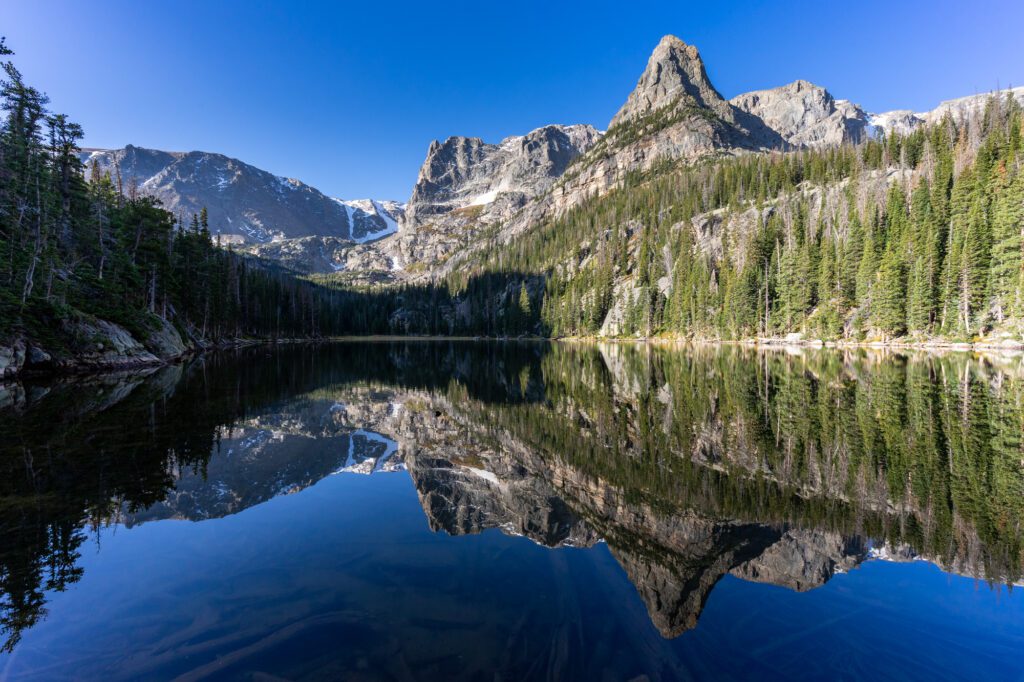
If you’re up for a challenge and you’re in for some alpine lakes, do the Fern Lake Trail with stops at Lake Helene and Odessa Lake. You can either hike this one way from Bear Lake to the Fern Lake Trailhead near Moraine Park Campground, or make it a loop and head back the way you came. In my opinion, Odessa Lake is actually the main attraction here – it’s way more photogenic than Fern Lake.
Insider Tip: If you’re really feeling adventurous, you can do a hike that I’m calling “All of the Lakes” (don’t sue me, Kanye) by continuing past Fern Lake to Cub Lake, and then looping back to Bierstadt Lake, where you can catch the shuttle back to your car either at the park and ride or Bear Lake Trailhead. It’s a long hike, but the elevation gain isn’t terrible if you end at Bierstadt Lake.
Either enjoy lunch on the trail, or find a picnic spot along Bear Lake Road (this is where we stopped) to relax and fuel up for the second part of the day.
Drive Trail Ridge Road to the West Side of the Park
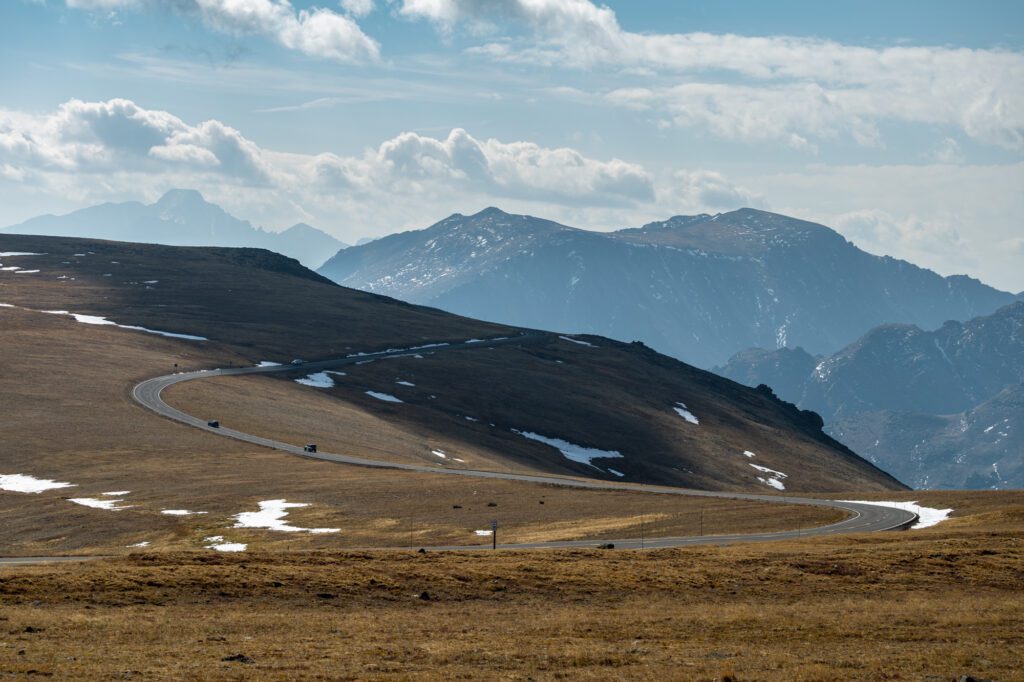
For the afternoon, head to Trail Ridge Road for one of the most scenic drives in Colorado.
This road takes you from the more visited eastern side of the park, over the Continental Divide, and down into the more peaceful western side of the park, home of elk and moose.
There are multiple pull offs along the road with some pretty spectacular photo opportunities. Definitely stop at the Alpine Visitor Center and do the quick walk on the Alpine Ridge Trail, which will take you up to 12,000 feet above sea level.
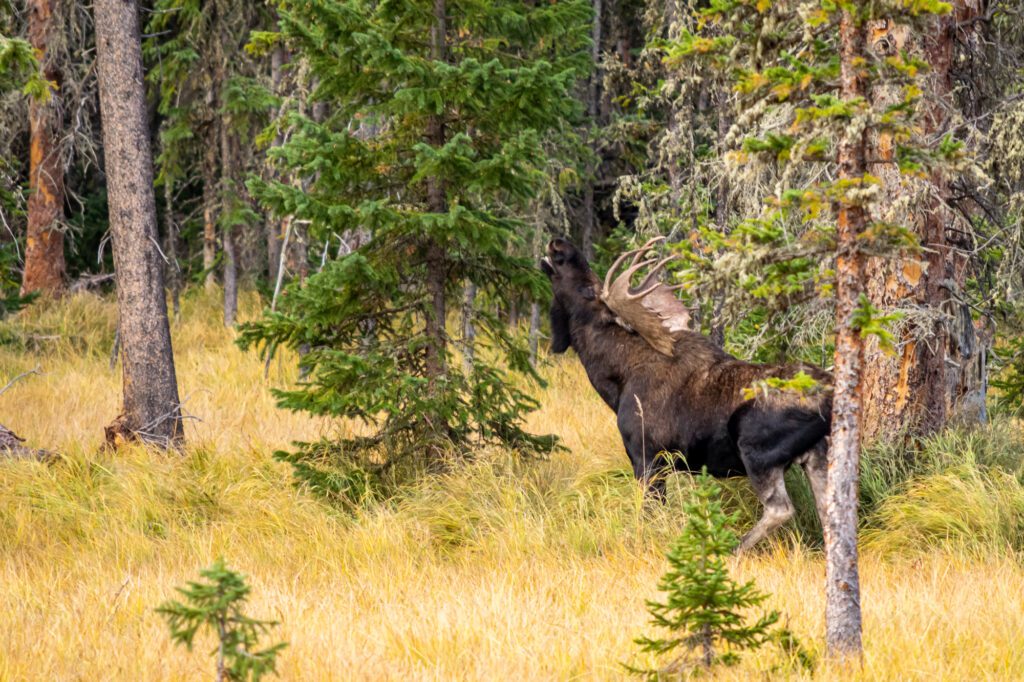
Drop down into the valley on the other side and head to the Green Mountain Trailhead to do the quick and easy hike to Big Meadow. It’s about four miles round trip with pretty minimal elevation gain, and along the way to Big Meadow, which is in fact a big meadow, you’ll pass a couple of smaller meadows on the right which are prime spots for animals like moose and elk to hang out. We saw a family of three moose – mama, dad, and baby moose – hanging out in the second meadow on the right.
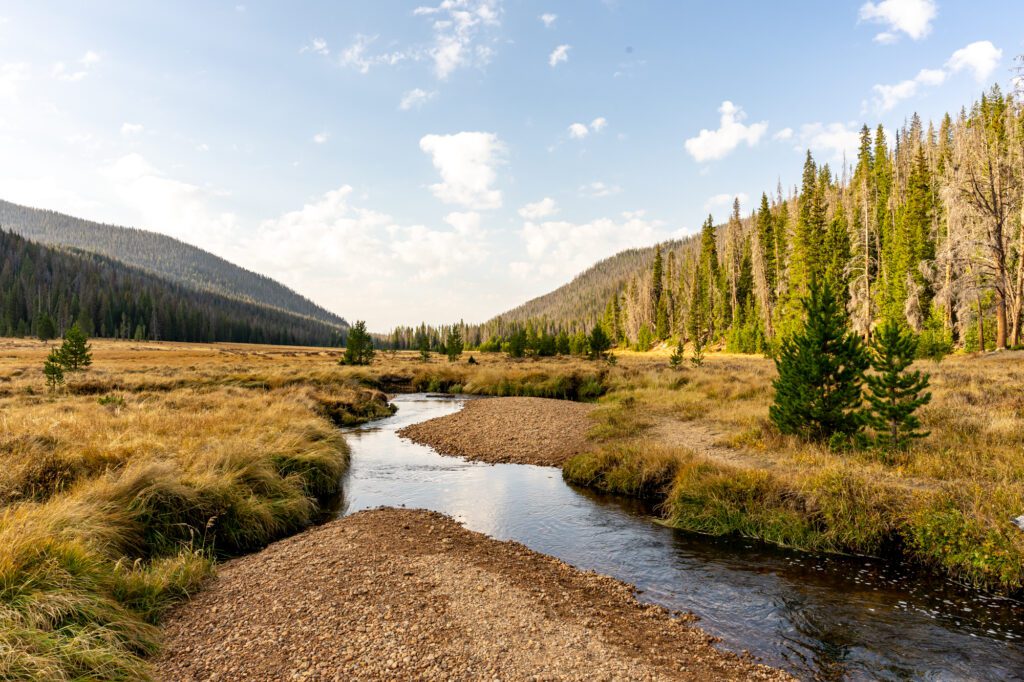
Drive down to Grand Lake and check out Arapahoe Bay before turning around and heading up and over the pass back to the east side of the park, or stay at Timbercreek Campground for the night, which is the only campground on this side.
On your way back, stop at Sheep Lakes to spot more wildlife. A ranger told us this is one of the best places to see elk, and THE place to see bighorn sheep. Plus, you’ll drive along Fall River Road, which was the original road up and over the pass.
Day 2 in Rocky Mountain National Park
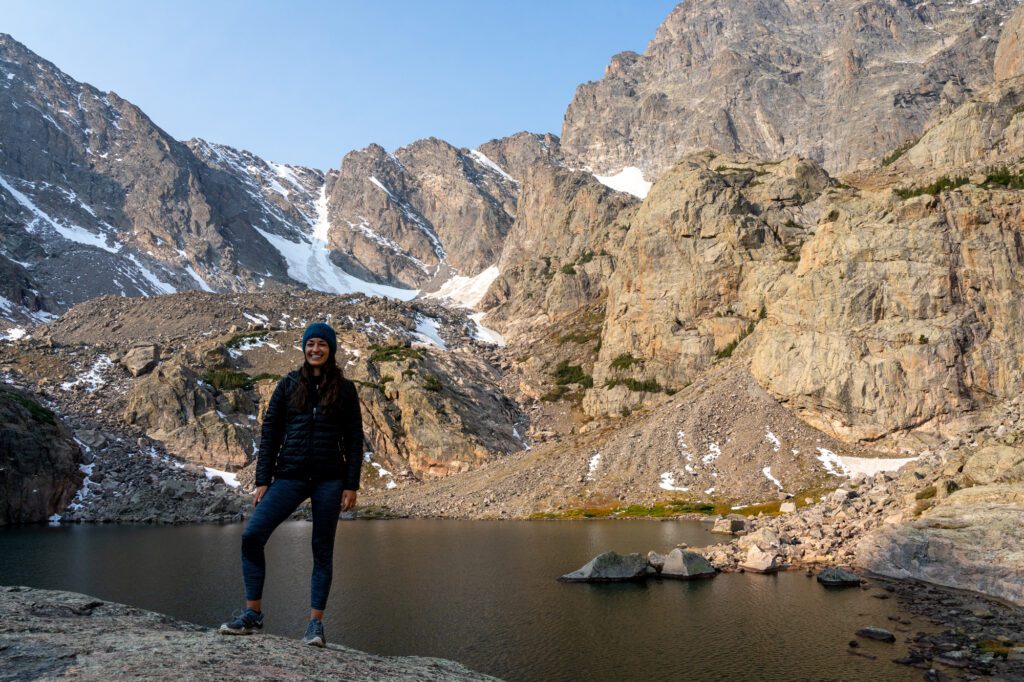
For day 2, I’d recommend doing one of the longer hikes in the park, which will probably take you most of the day with the mileage, elevation gain, and altitude associated with some of these hikes.
If you’re not up for a long hike, I’d do the hike to Alberta Falls in the morning, which is a short and easy hike from the Glacier Gorge Trailhead. Then, do a picnic lunch, and in the afternoon do the hike to Cub Lake, which leaves from a trailhead near Moraine Park Campground.
If you are up for a longer hike, I have two options for you.
The first hike is Sky Pond, which leaves from the Glacier Gorge Trailhead. The trail takes you up past Alberta Falls, which is worth a stop, and winds up some forested switchbacks before you emerge onto the Loch, a beautiful lake that serves as the halfway point on the way to Sky Pond.
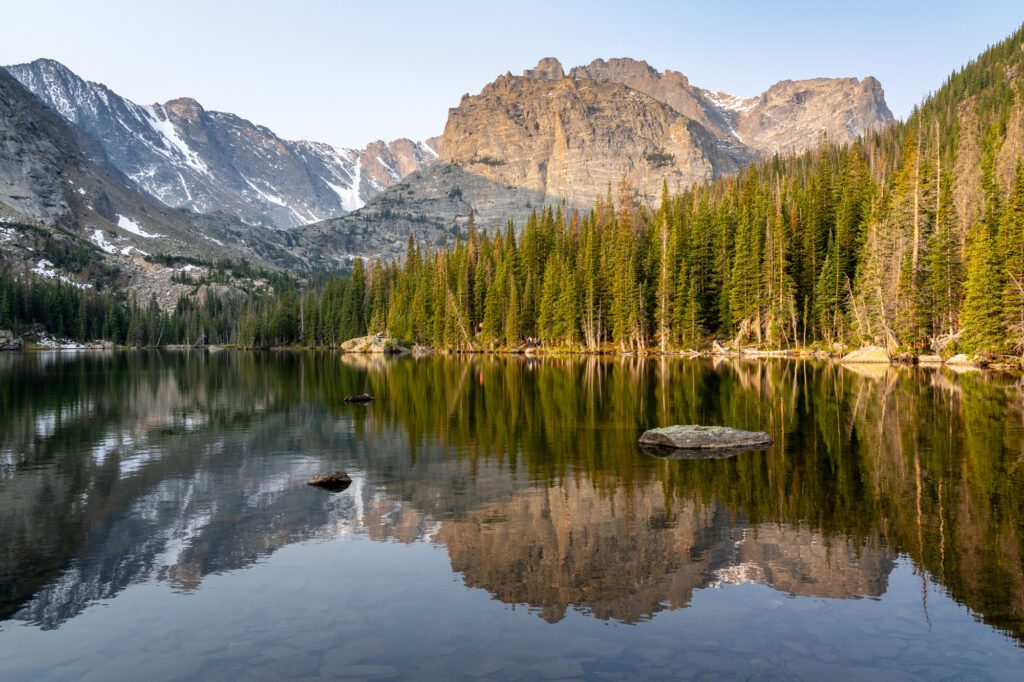
Take a short break, admiring the views of the rocky peaks towering above the shores of the Loch, and continue on the trail up to Sky Pond. As you near the end of the hike, you’ll need to scramble up a waterfall bed (it’s more of a trickle than a gushing falls, don’t worry). Take it slow, and definitely avoid this hike if it’s still icy or snowy when you’re in the park. We did it, and thought that the buildup was worse than the actual hike.
All that being said, it is a bit of a scramble, but the Lake of Glass at the top of it is worth the price of admission, as is the final stop on this trail – Sky Pond.
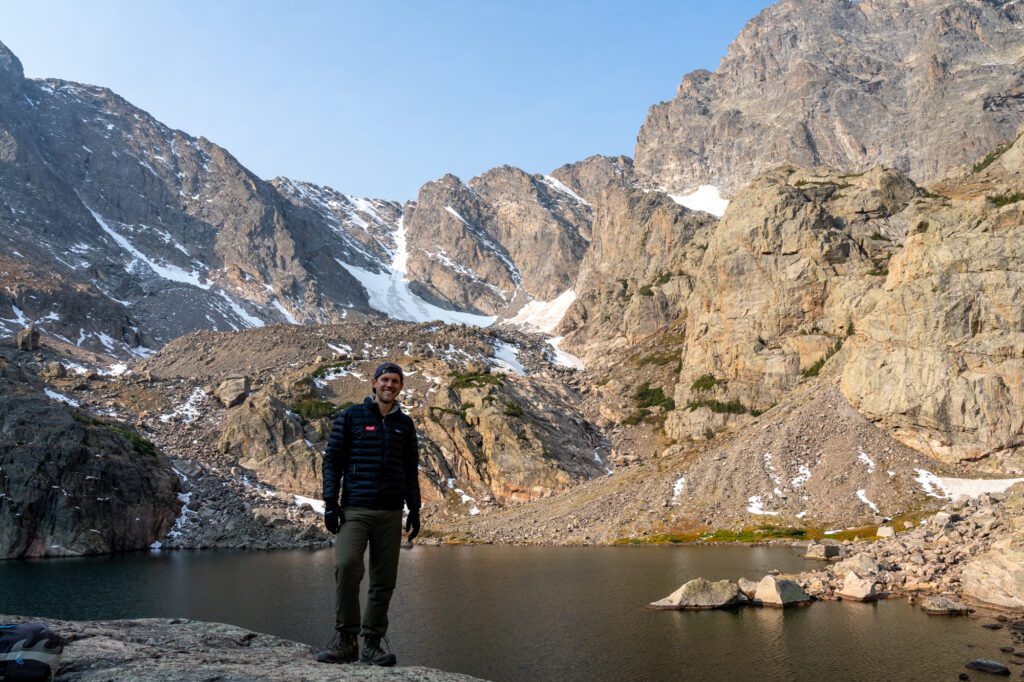
The second option is Chasm Lake. To get there, you actually need to head outside the park south of Estes Park along Highway 7. It’s about 30 minutes from Moraine Park, and 15 minutes from Estes Park. You need to get to this trailhead EARLY because it fills up fast with ambitious hikers tackling Longs Peak, one of the most accessible 14ers in Colorado, which shares the same trailhead. Show up before 7:30 for the best chances at a spot.
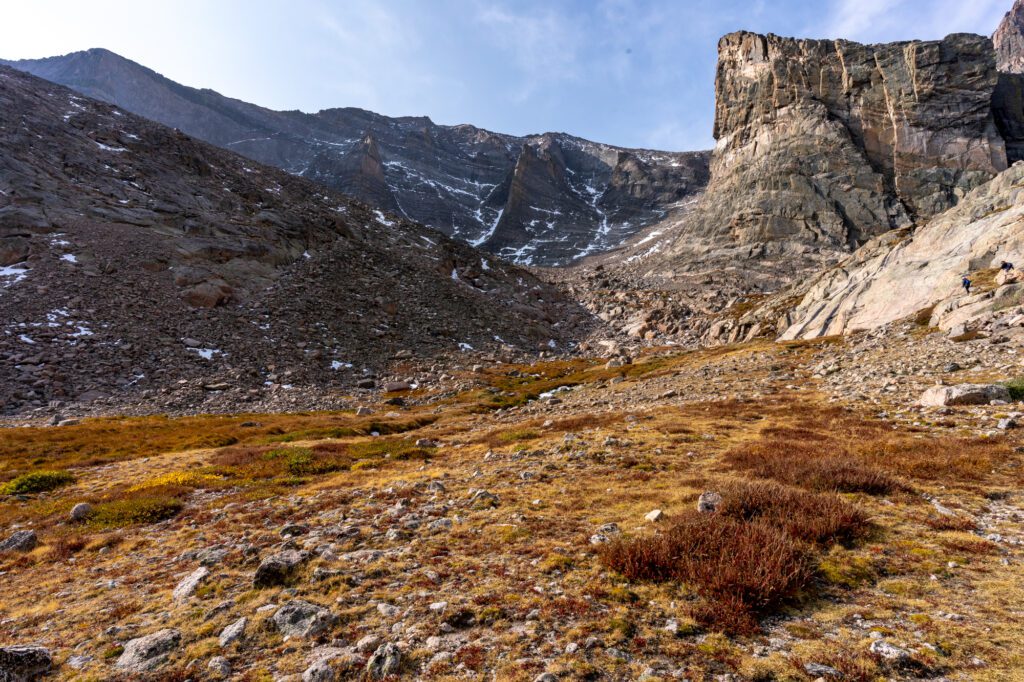
As for the hike itself, it steadily climbs with switchbacks through the forest of aspen. After a few miles you’ll emerge into a new and exciting landscape – the barren alpine tundra. The climb flattens out a bit, the switchbacks end, and eventually you’ll find yourself at the junction for Longs Peak, which you’ll pass and continue on to Chasm Lake.
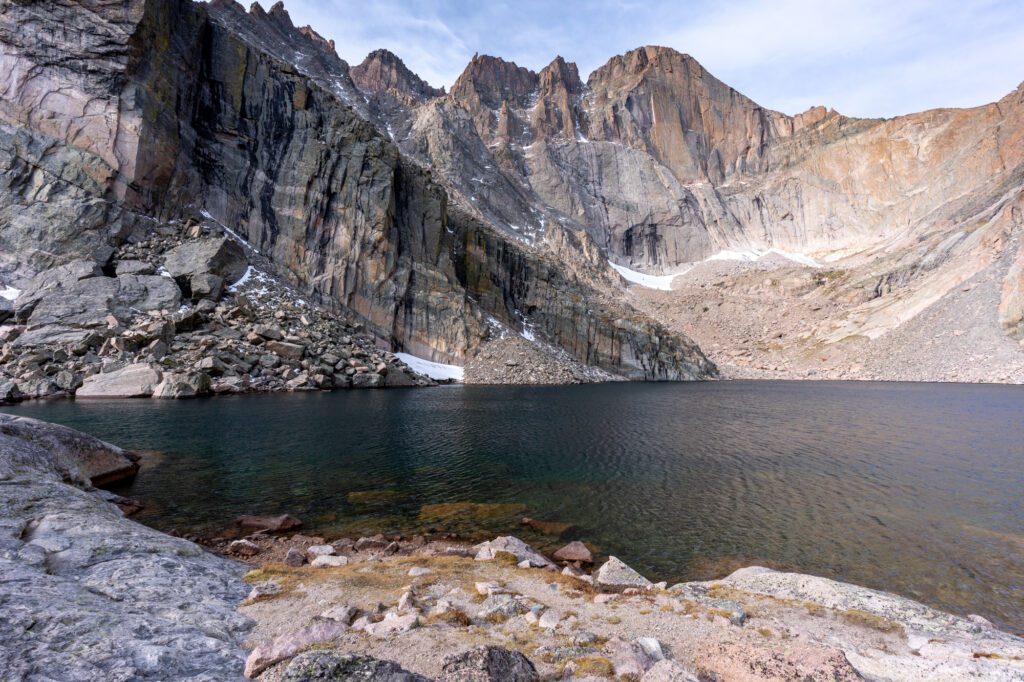
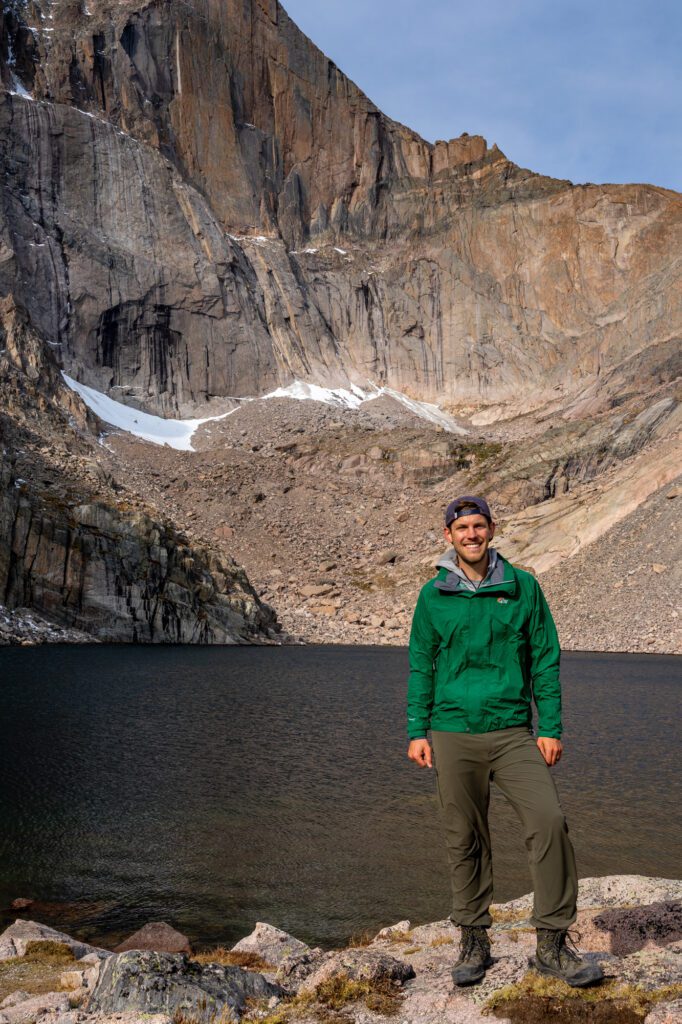
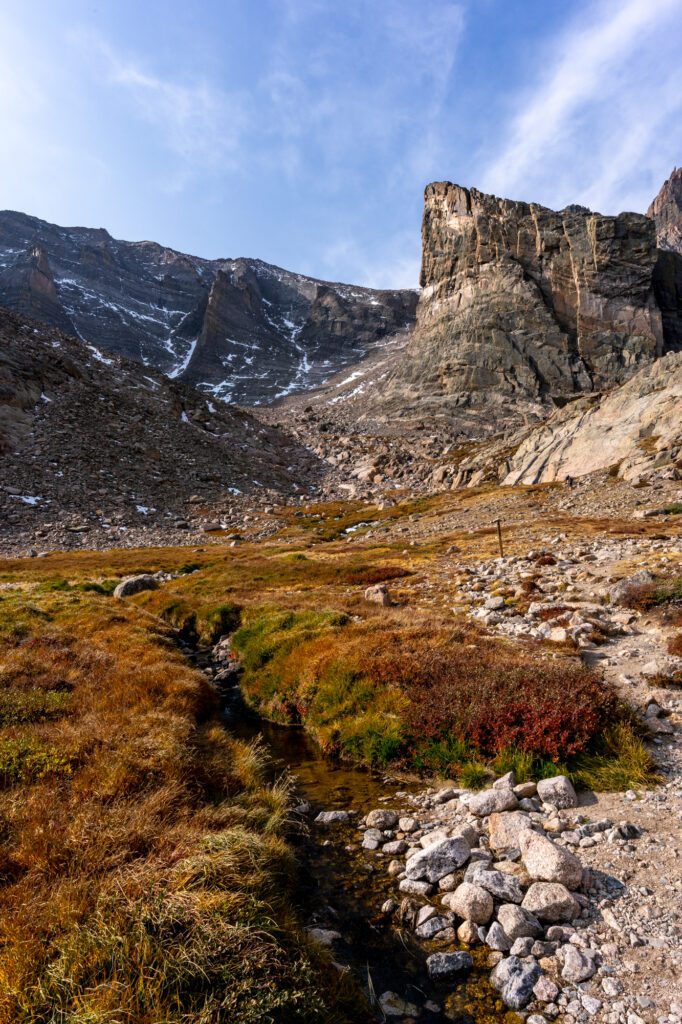
From here, the trail drops into a valley that is absolutely gorgeous. The last part of this trail is also a scramble, but it’s a short and easy one over the rockpile that separates you from the lake.
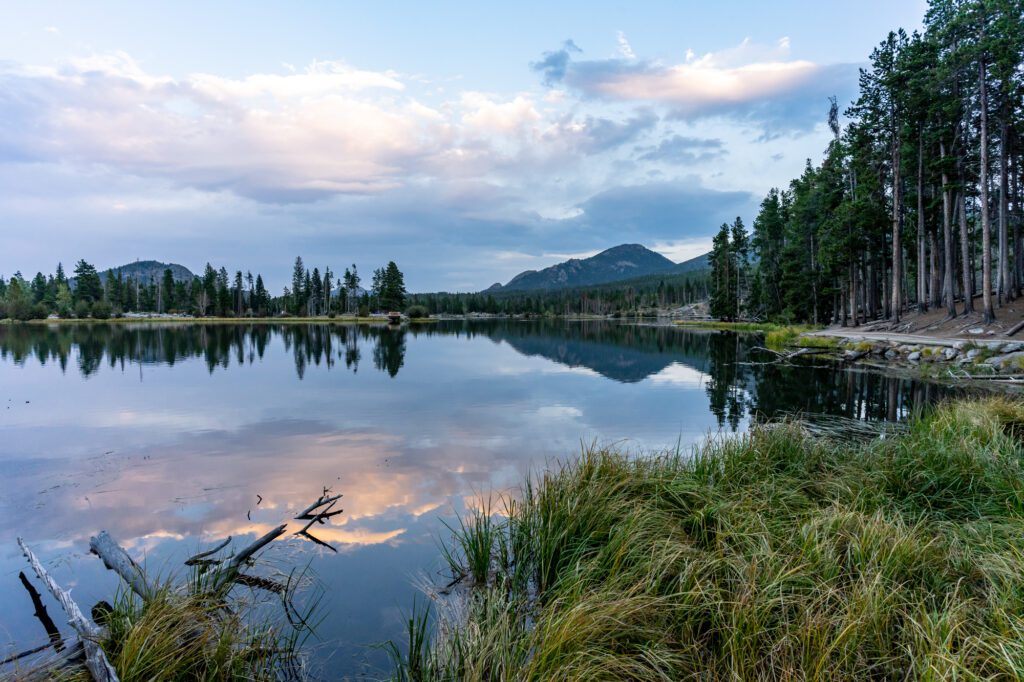
Whichever hike you choose, it’s going to take you most of the day and sap your energy for doing anything else active. Head back to do some more wildlife spotting at Sprague Lake or Moraine Park, or head into Estes Park and treat yourself to a well-deserved dinner and drink. I’d recommend Ed’s Cantina for their bison enchiladas, which happen to be gluten free and Celiac-friendly!
You’re going to love Rocky Mountain National Park – it’s packed full of the natural beauty that you’ll find throughout the entirety of the Rocky Mountains all in one relatively small, accessible area. It was one of our favorite spots on our Colorado road trip, and is well worth spending a few days exploring.
Don’t miss these other posts about the Great Outdoors and America’s National Parks.
- What to Do in Seattle: A Complete Guide (for First Timers)
- Where to Find the Best Specialty Coffee in San Francisco
- 15 Things to Know Before Your First Trip to San Francisco
- How to Plan an Incredible Highway 395 Road Trip
- Hiking in Mammoth Lakes: A Complete Guide
- Hiking the Tam McArthur Rim Trail to Broken Hand

Have you been there since they implemented the ticketing system for getting in? I was wondering if Bear Lake was inside the park where tickets are needed. What would you recommend with the current ticketing system?
Yep! We were there last summer for a week. Bear Lake is inside the park, so it’s subject to the ticketing system. Our best recommendation is to enter the park before 6am (which is when tickets start to be required). When we were there, which was in the fall, trailhead parking lots were already full by 6:30-7am. Even if you have a ticket, I’d suggest entering the park before 6am if you can.